Eagle Eye X6 BLF Special Edition
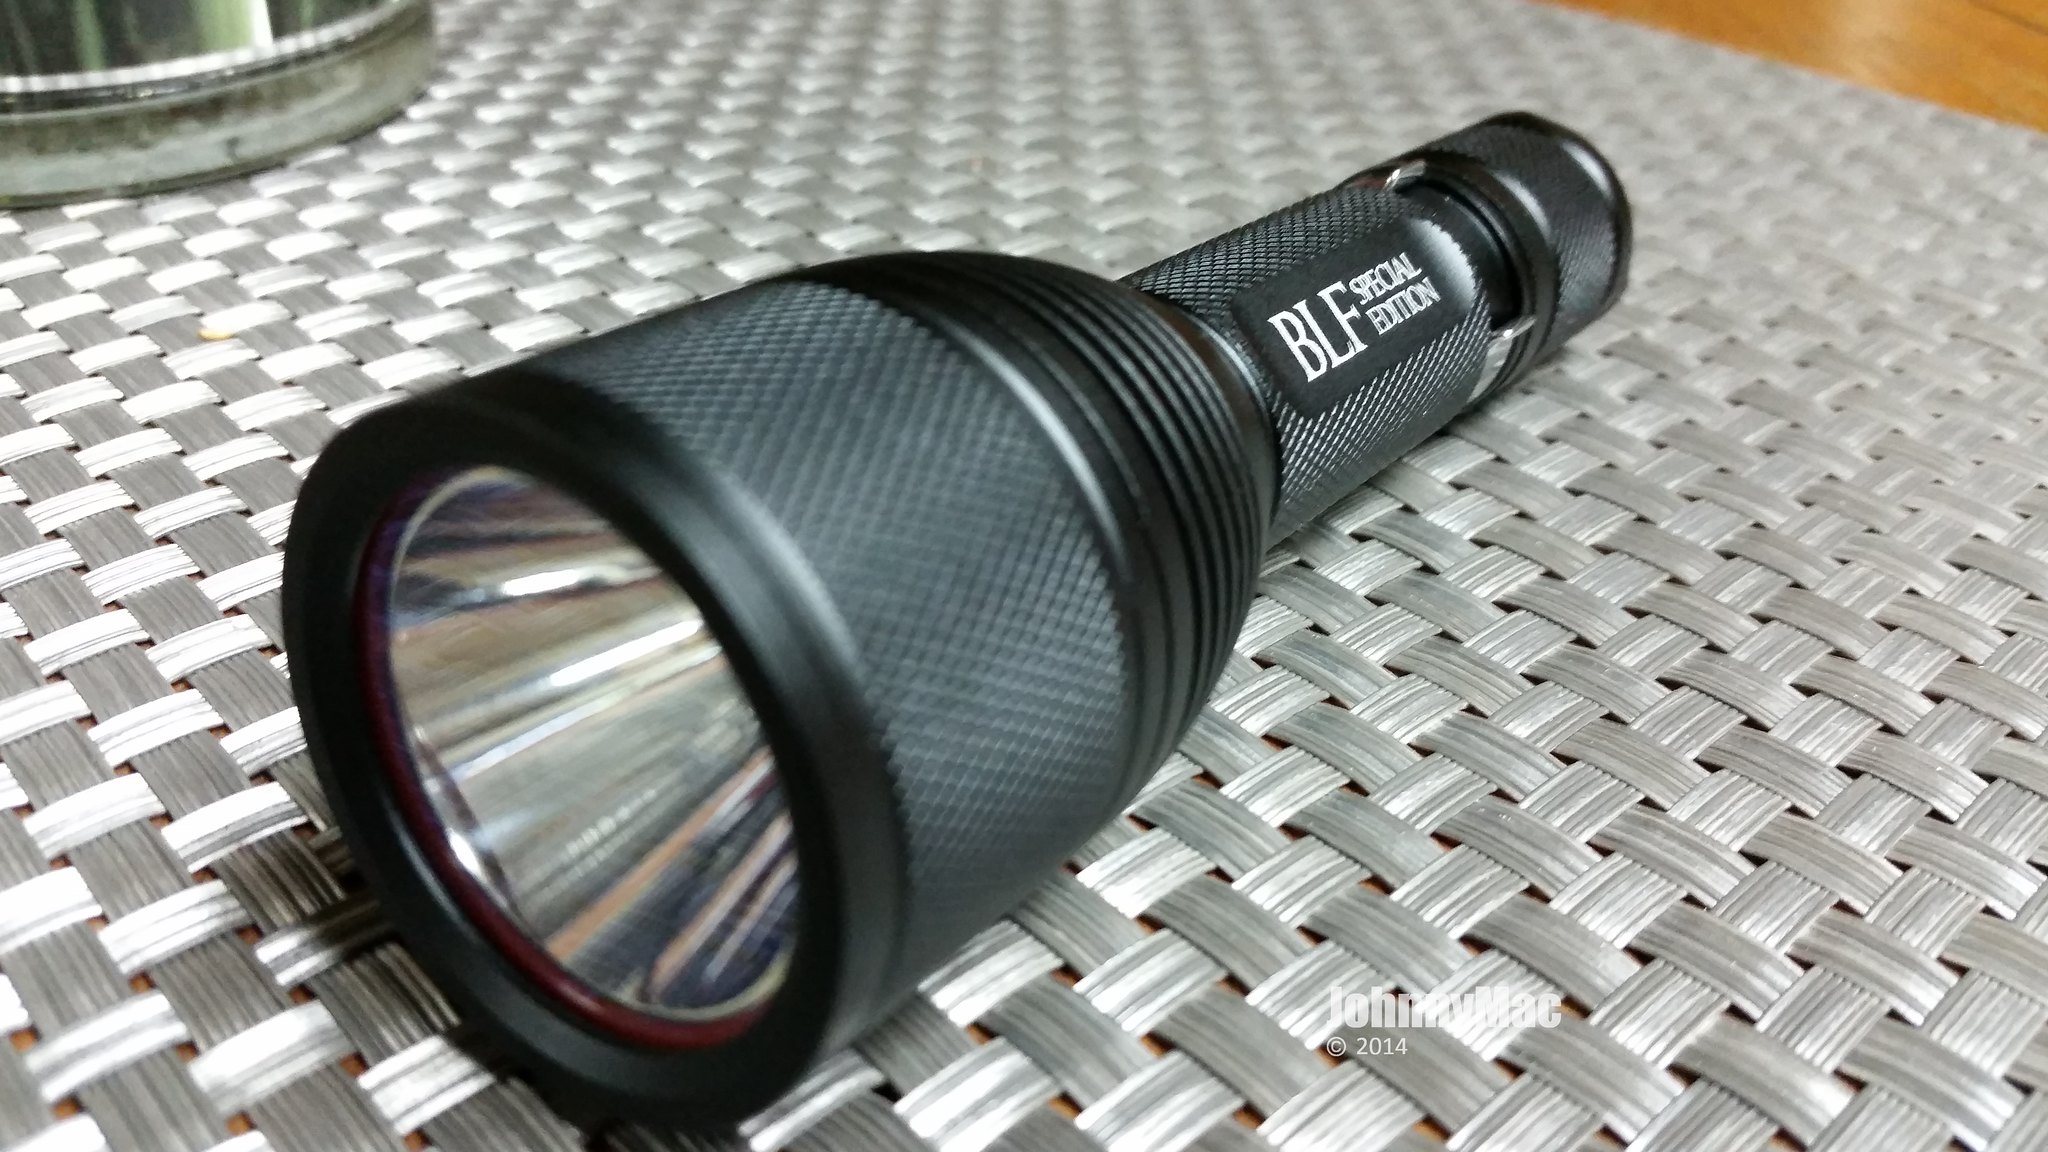
This is the pre-release sample of the new BLF Special Edition of the Eagle Eye X6.
Special thanks to Kronological for organizing this Group Buy and to Neal at Banggood.com for all his cooperation in putting up with our strict demands and requirements for this light and making it all possible especially at the incredible price it will be selling for!
I haven’t done any output measurements yet but plan on doing that this evening. All I had time for last night was photos and breakdown. I will append this post later with the output stats and some beam shots.
Meanwhile, let’s take a look at this fabulous host. Spoiler alert… it ROCKS!
* Right-click any of the images and select “view image” to see it in full size.
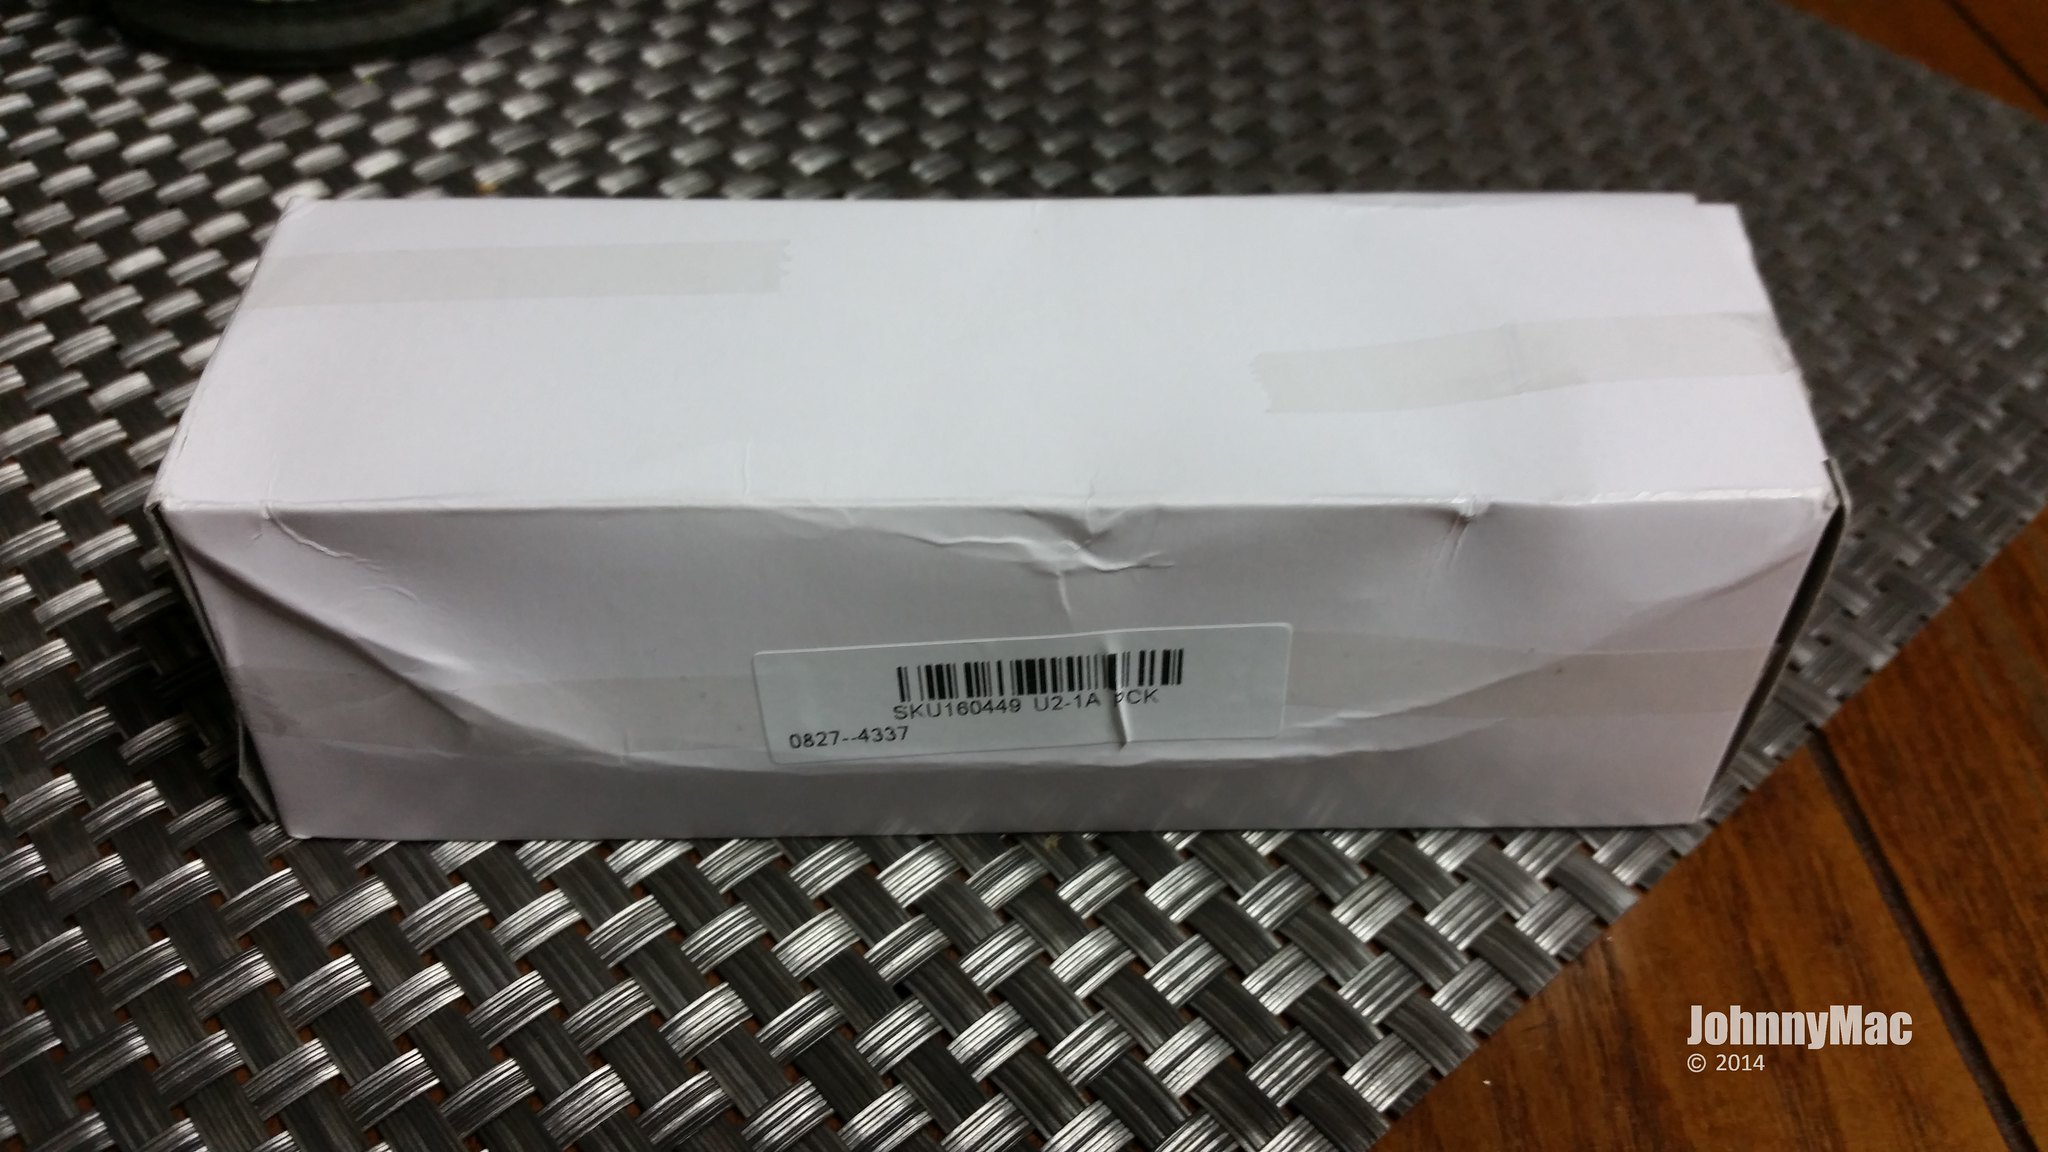
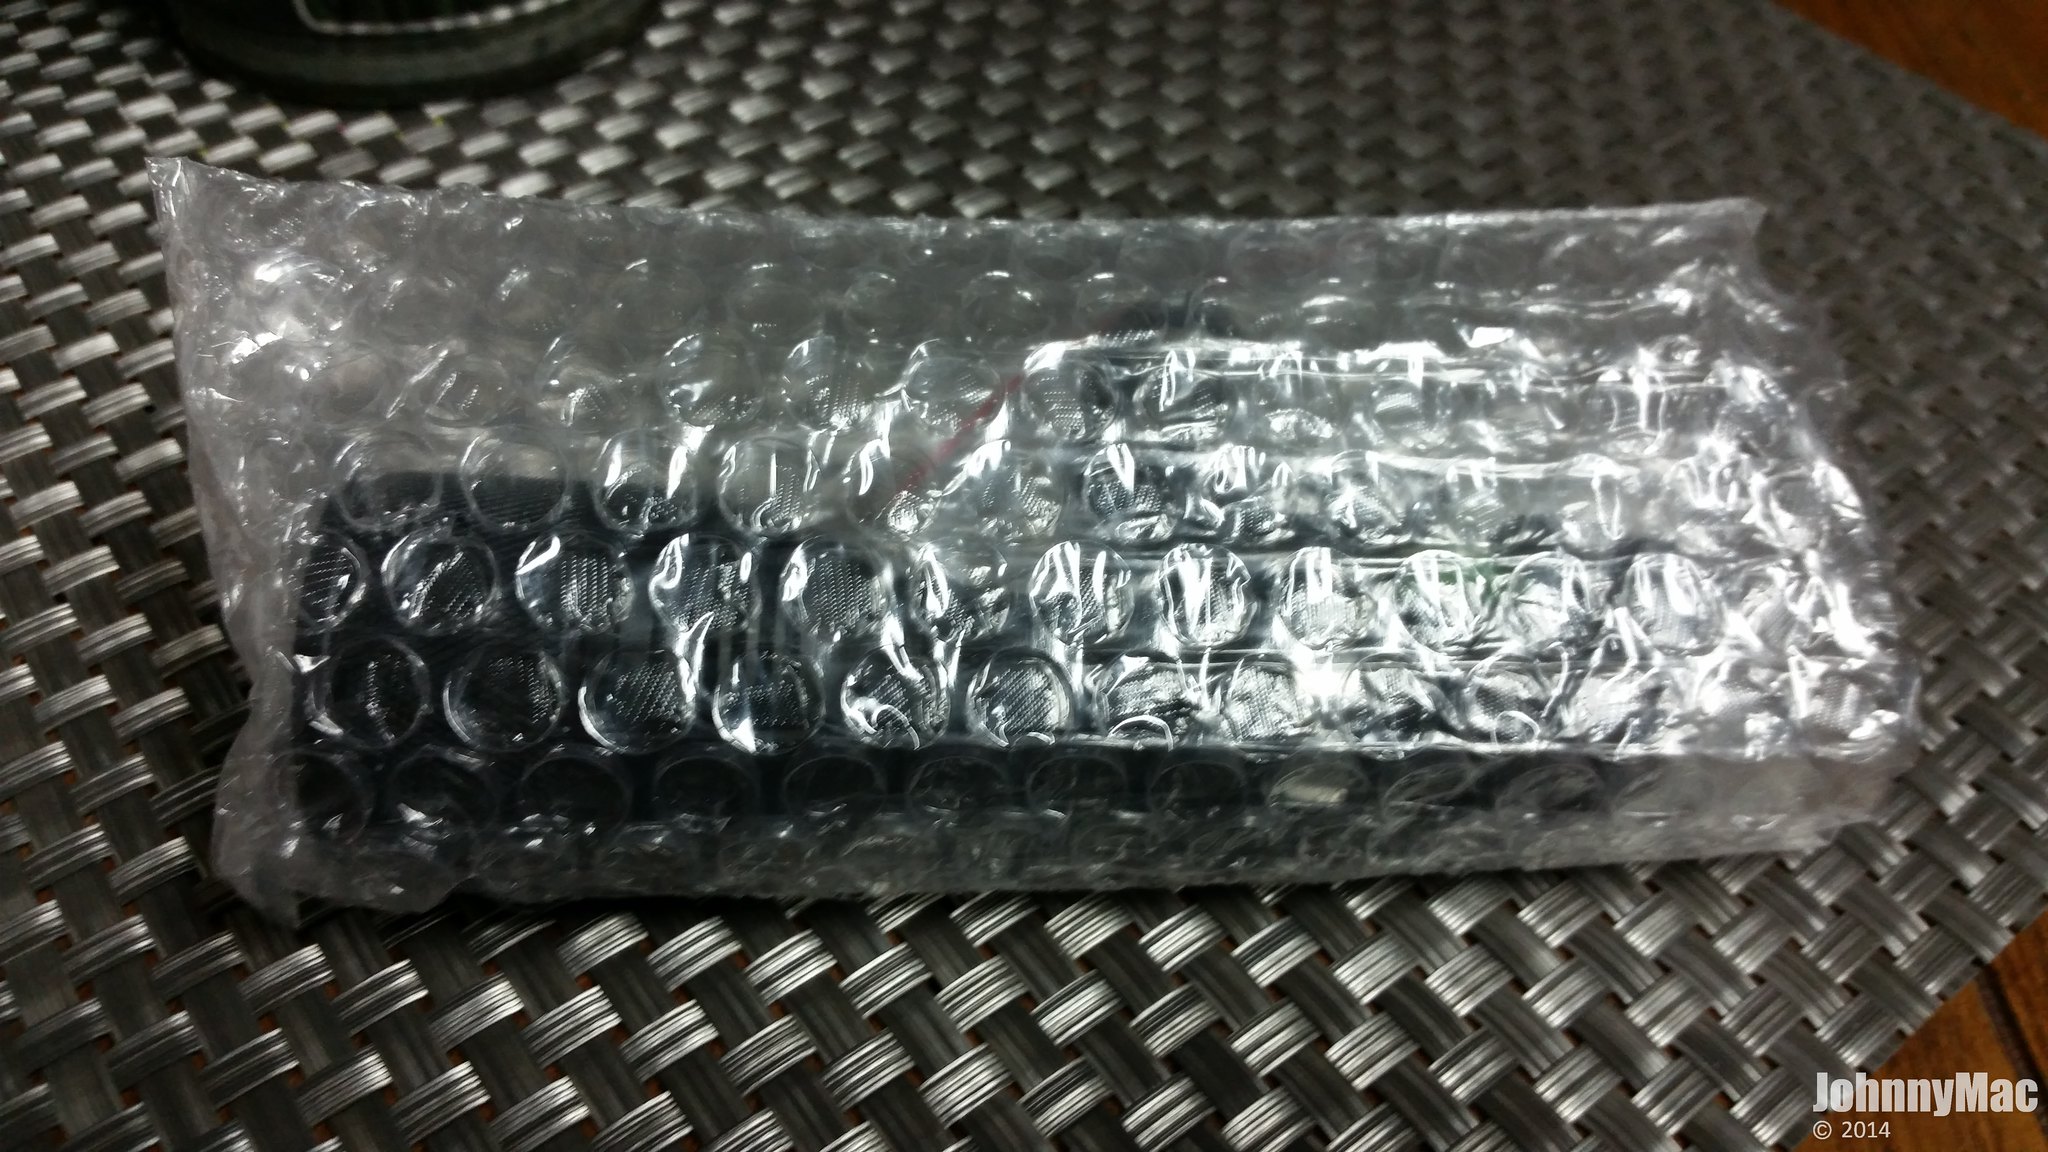
The BLF SE X6 arrived in the usual white, thin cardboard box. Inside that was a bubble pouch containing the light and it’s accessories. All the bubbles were intact!
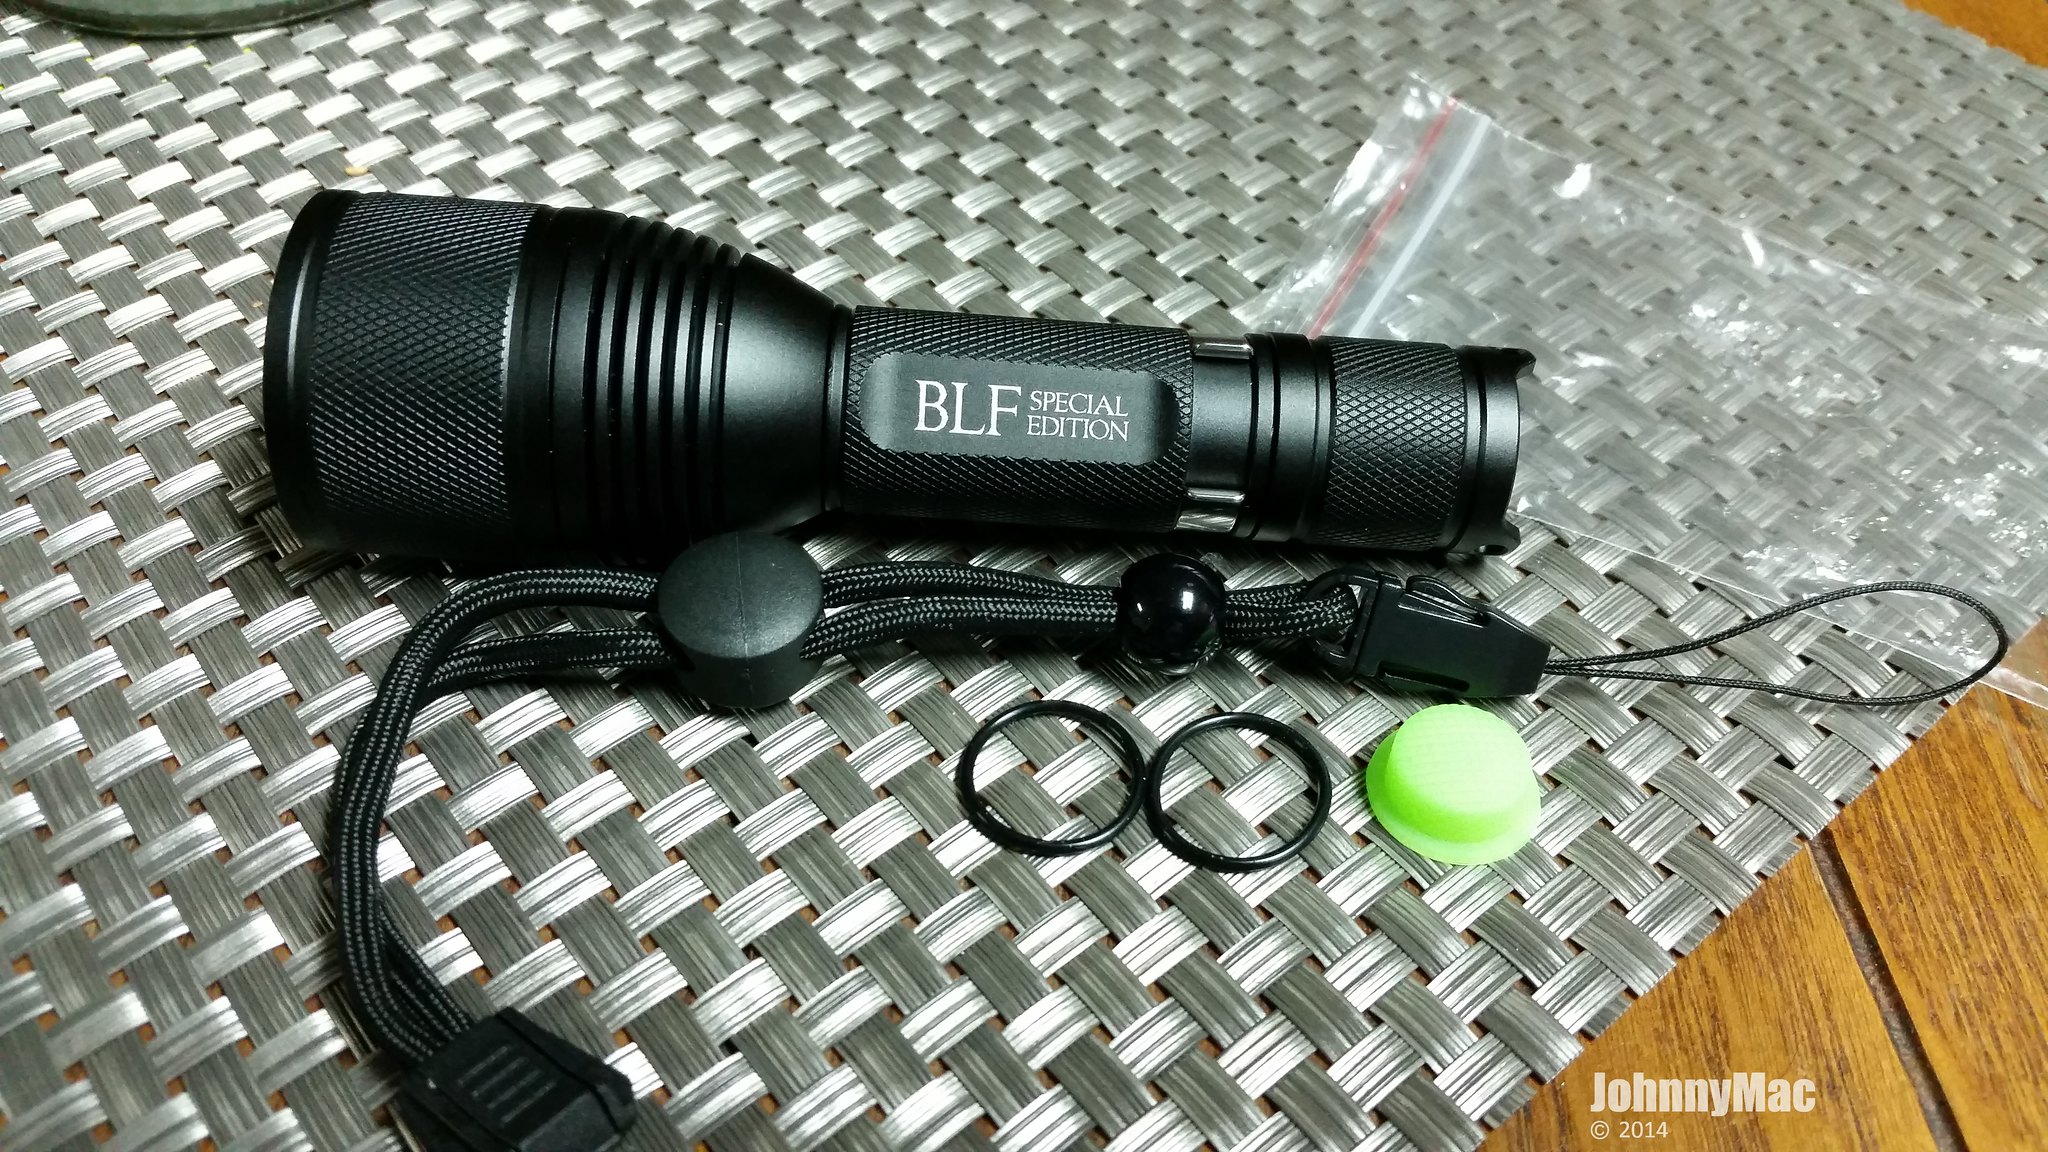
Inside that pouch was this beautiful light along with a real nice lanyard, a GITD switch boot, should you prefer GITD, and a pair of spare O-rings.
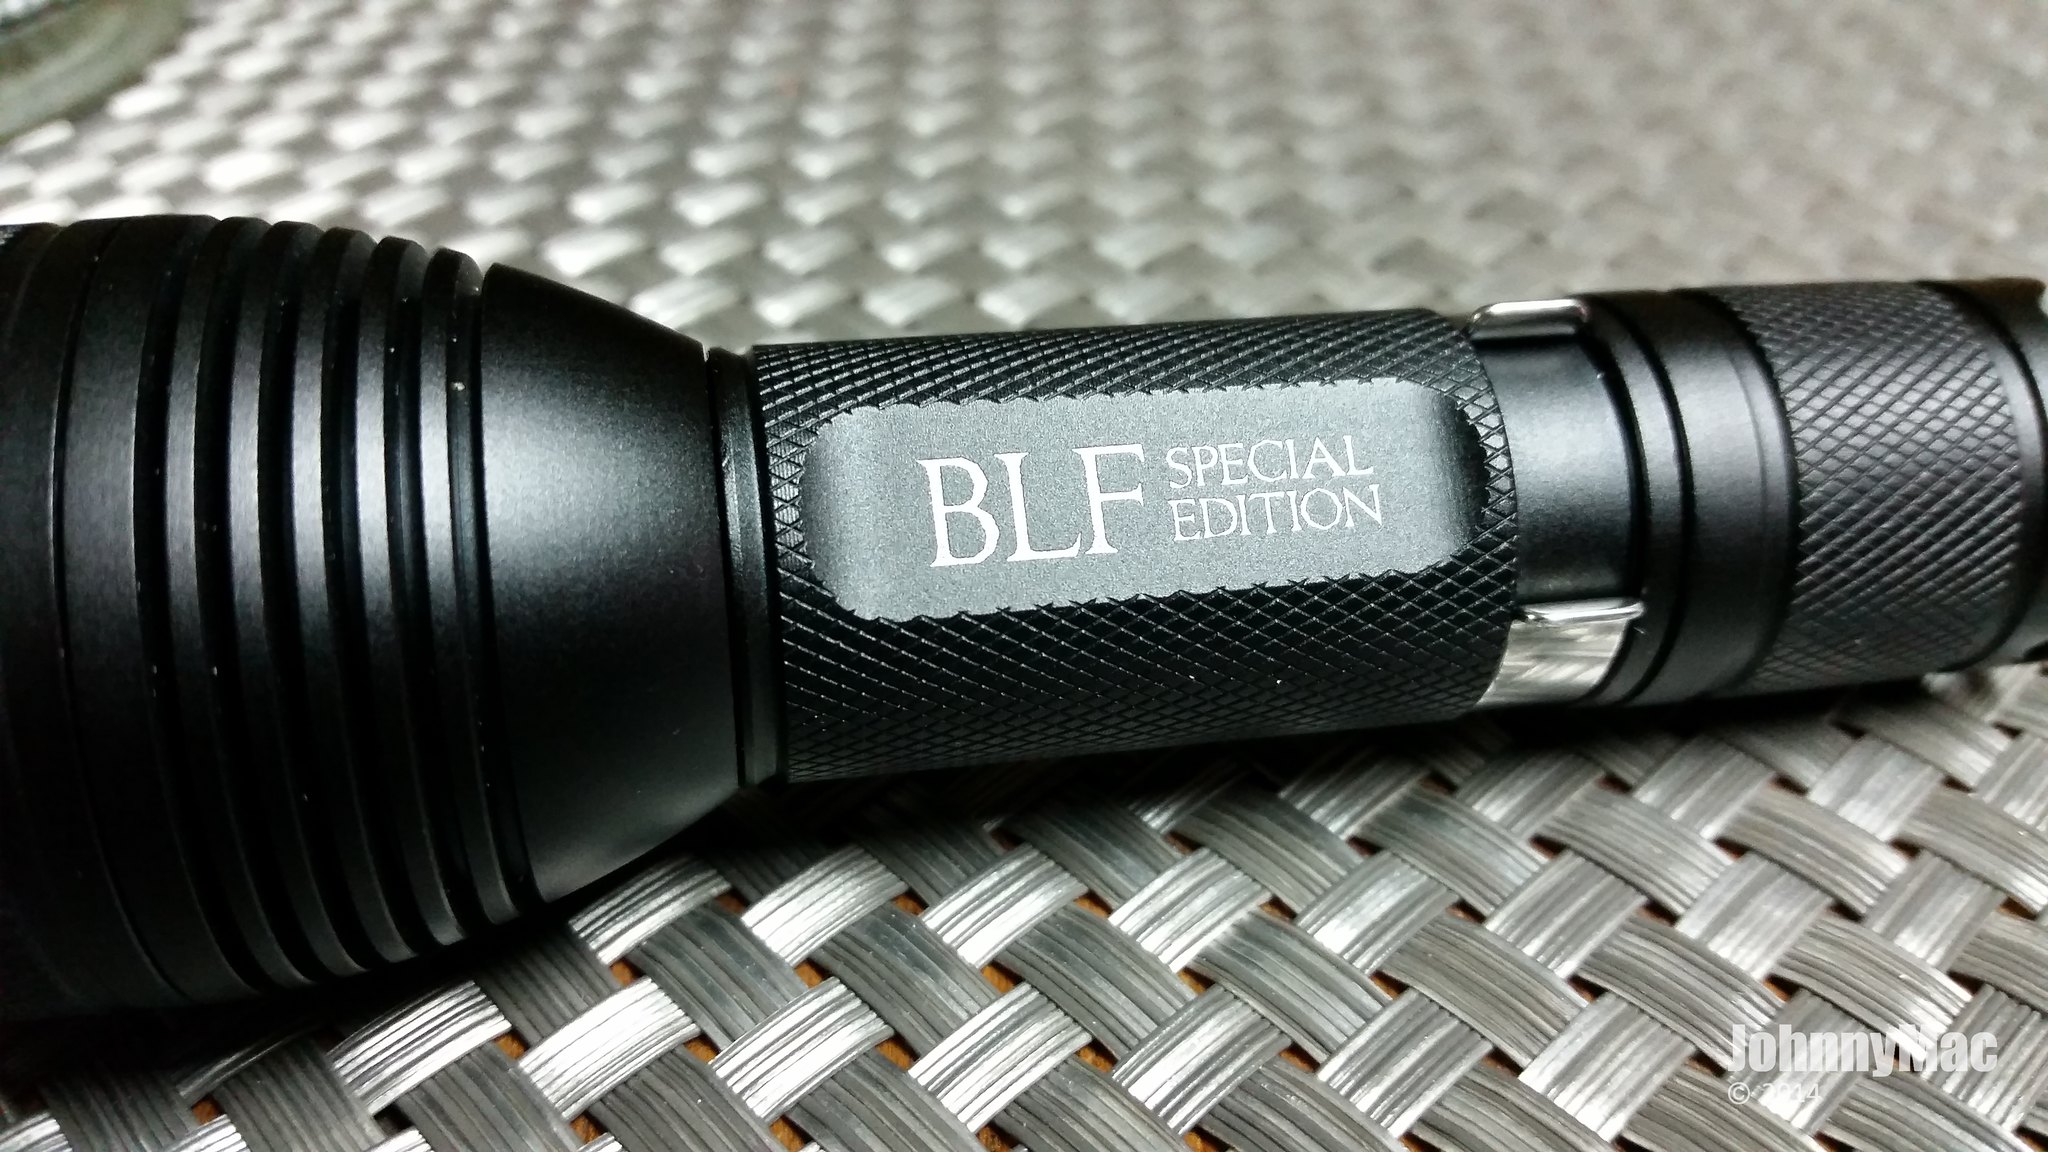
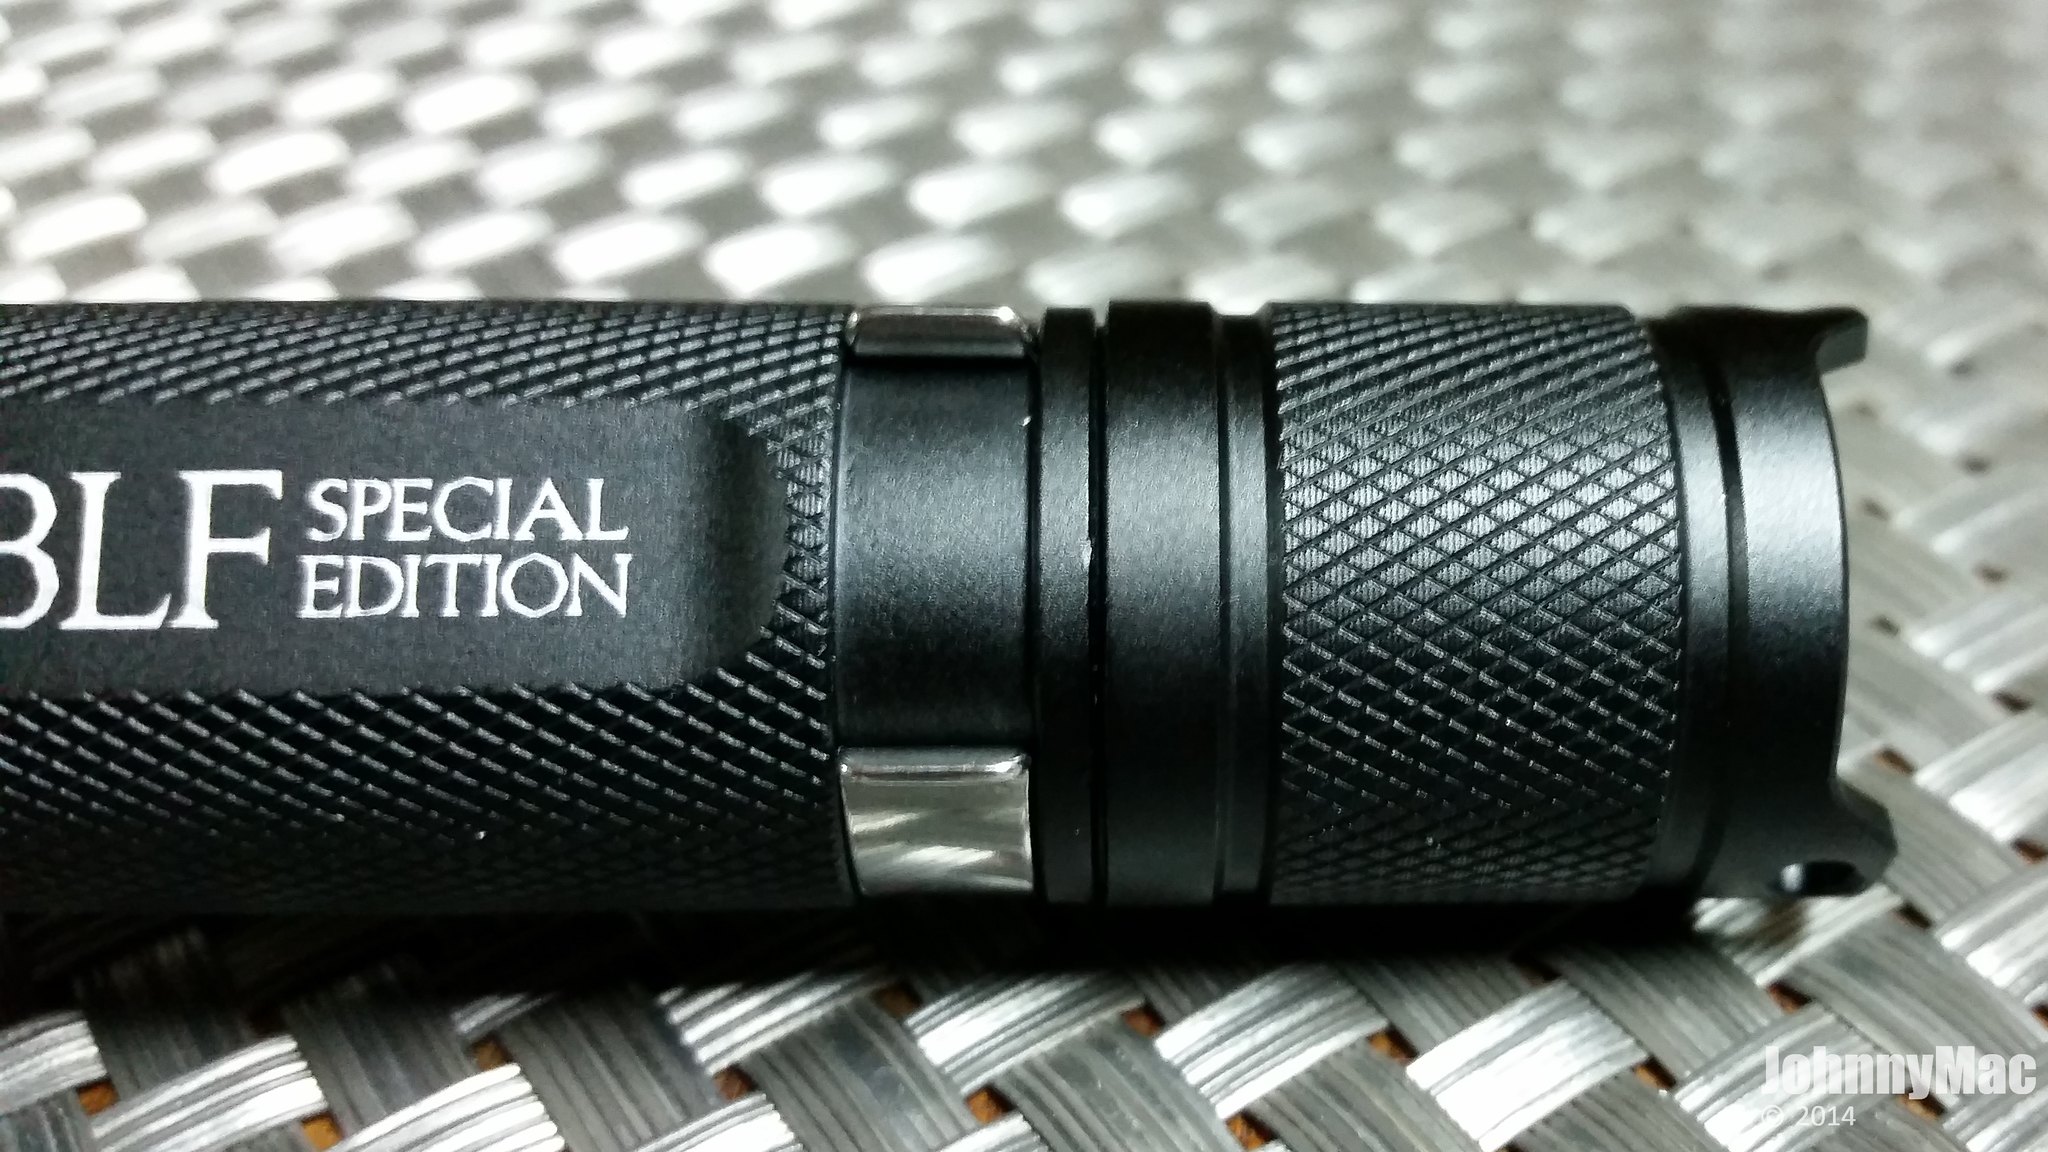
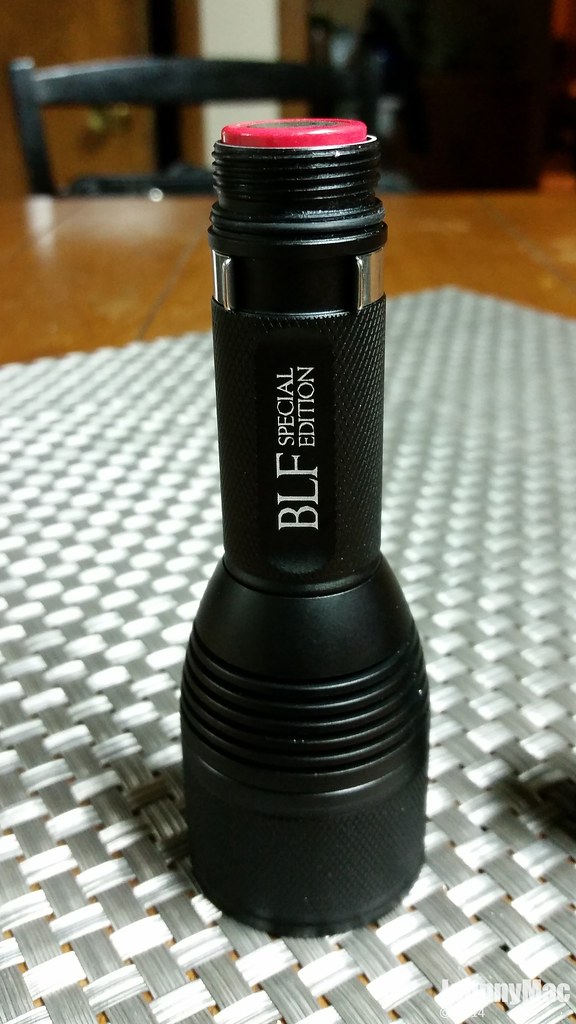
The only laser etching on my sample was “BLF Special Edition” on the one of the two flats on the battery tube. The production version should have this logo as well as the standard Eagle Eye logo what is now the blank flat.
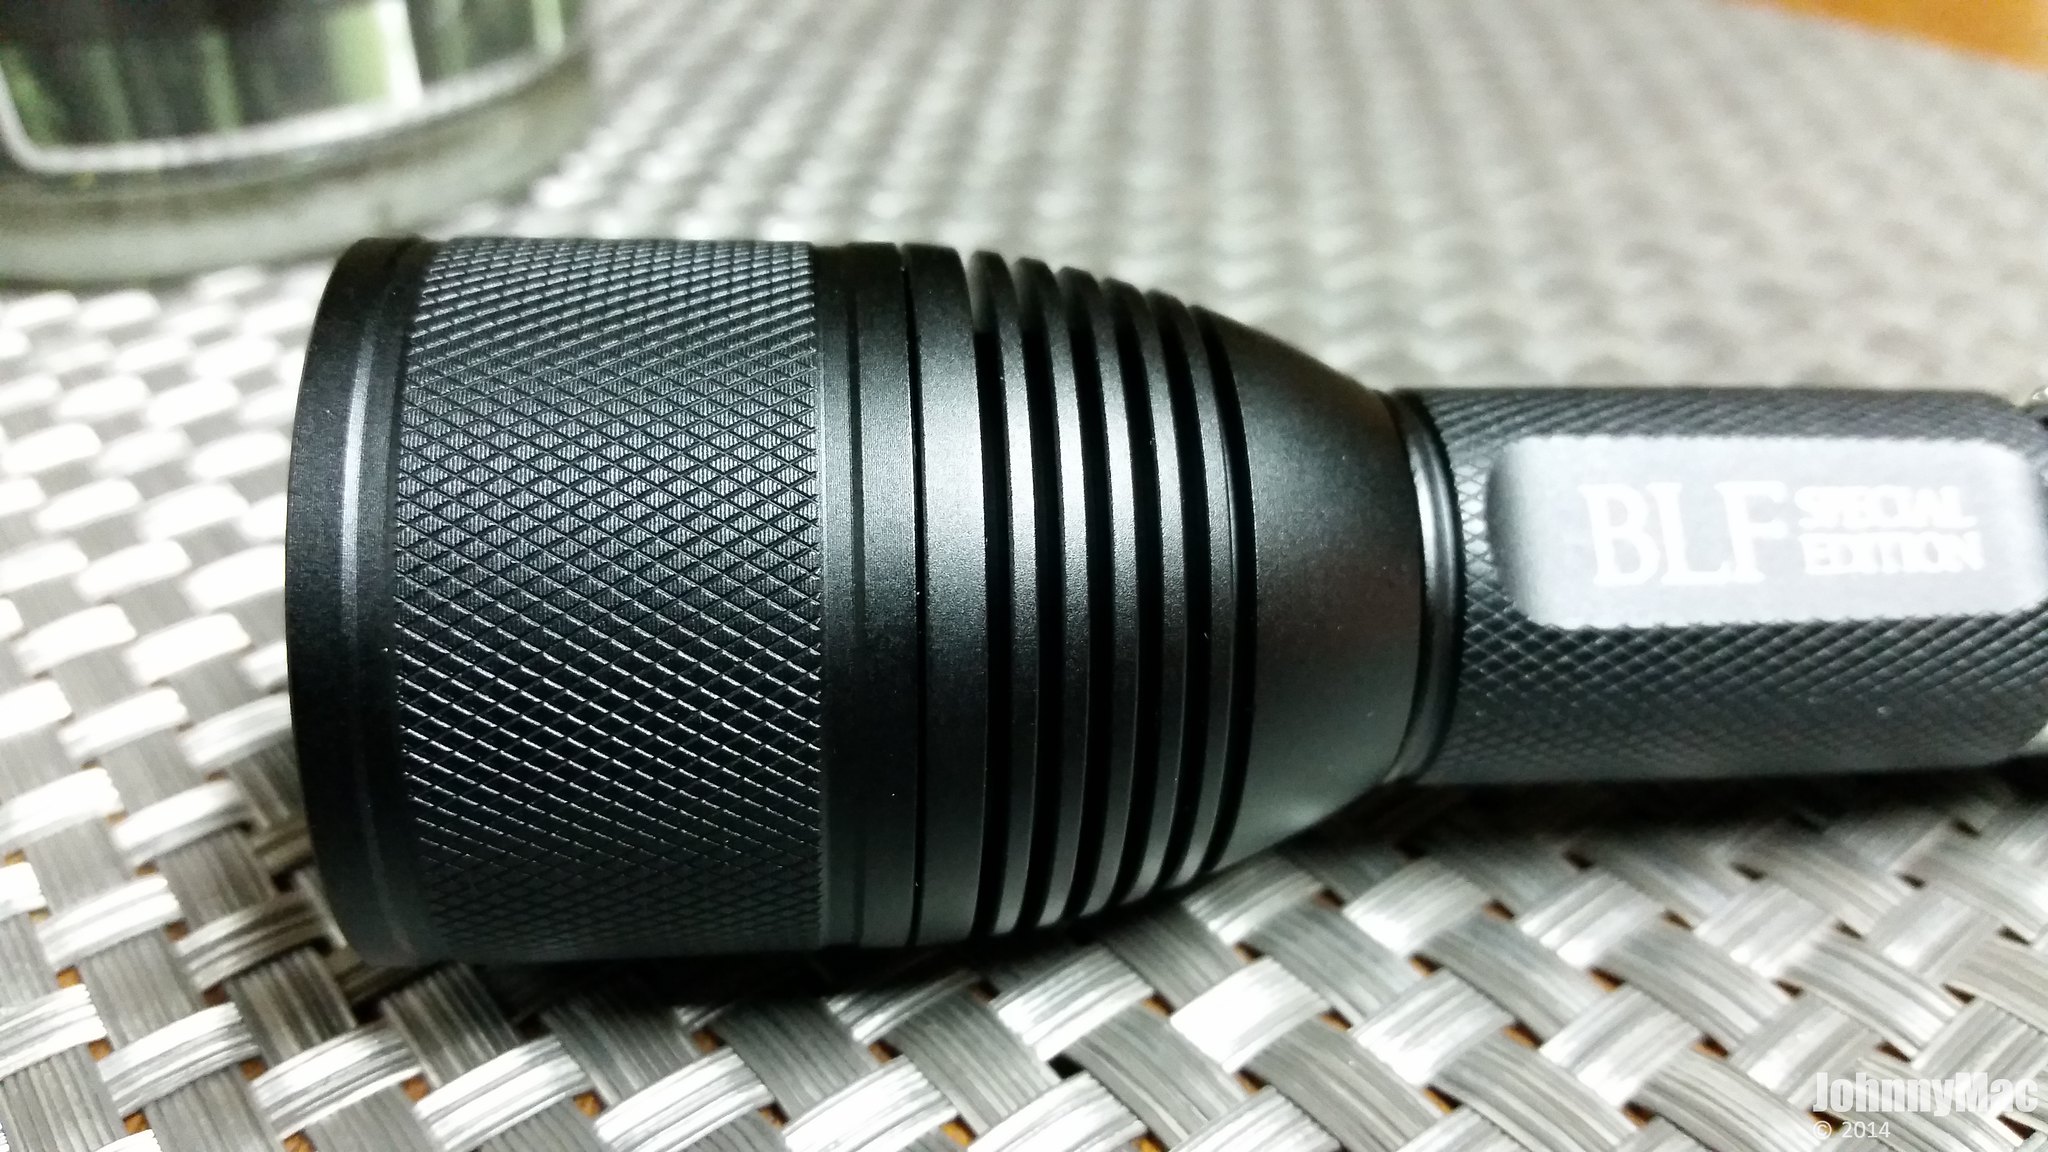
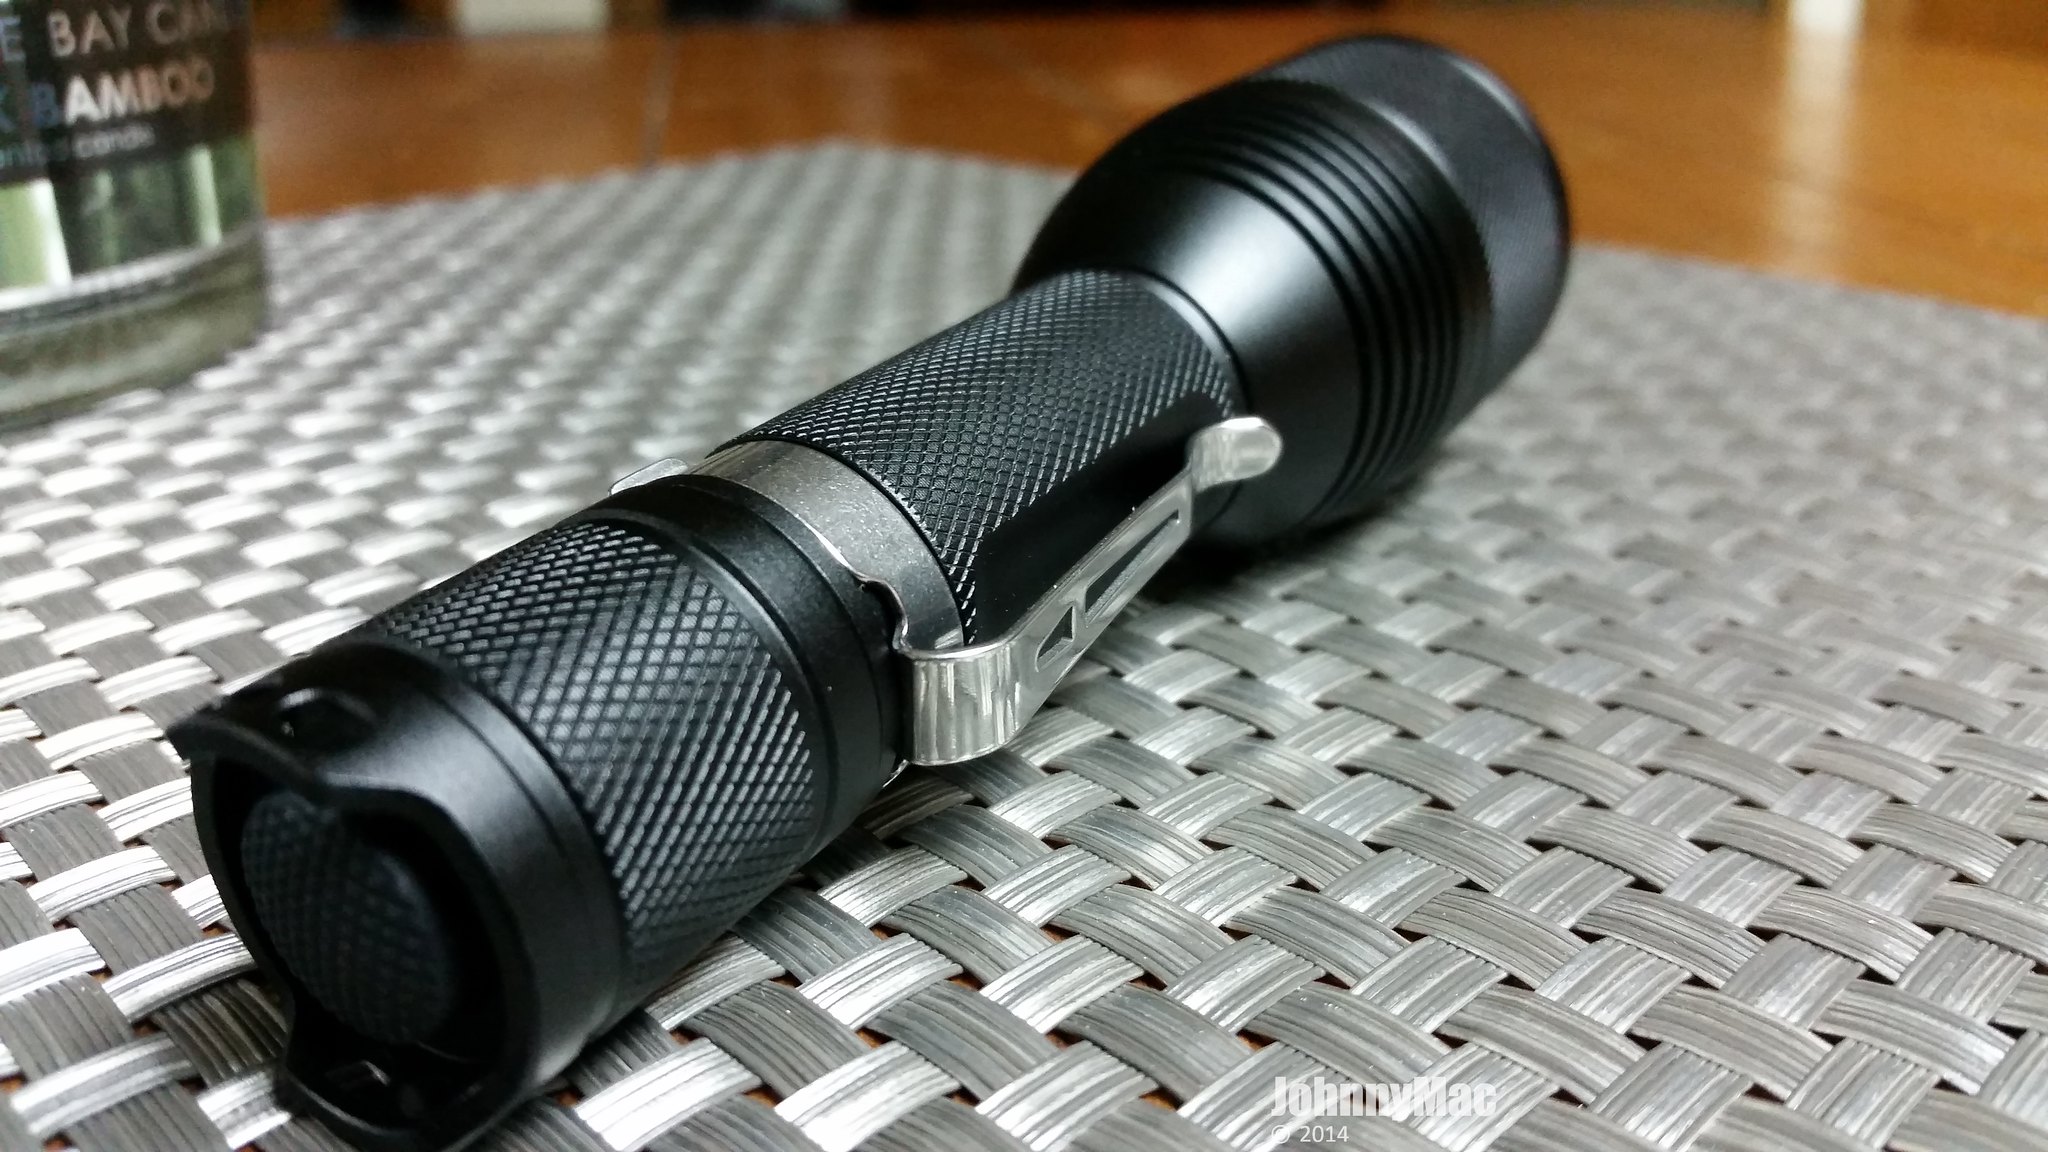
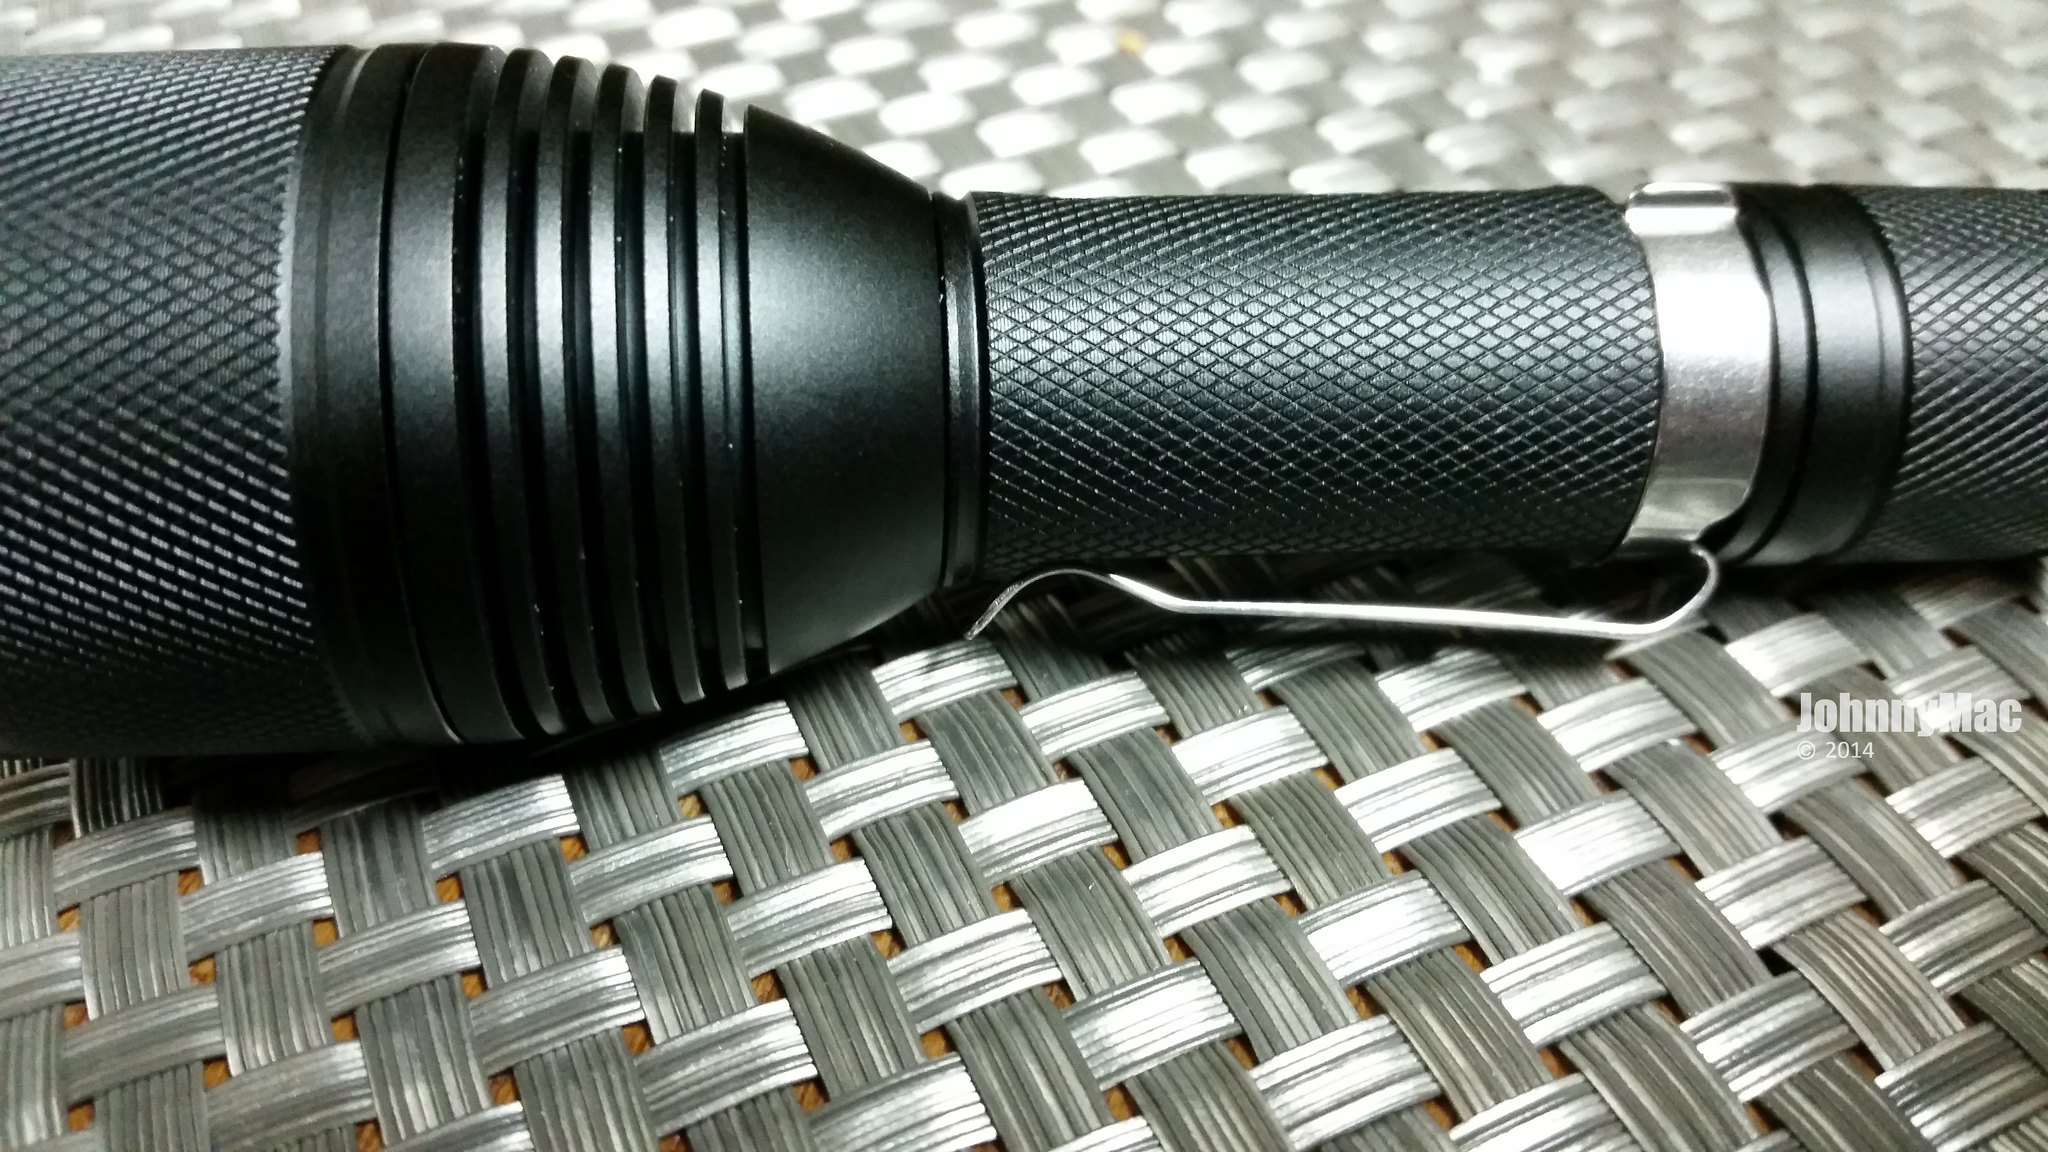
The large head has two distinct features that catch your eye immediately. First is the thin, deep fins cut into the head at the pill area to shed massive amounts of heat. Second is the wide band of superb knurling on the deep bezel. It’s not aggressive knurling in the least but it still provides tons of grip compared to similar looking knurling on other lights.
On the tail you see a very sturdy pocket clip that is removable should you prefer it without. It is a single position clip and nonreversible. The tail cap has the same fine yet grippy knurling as the head and body.
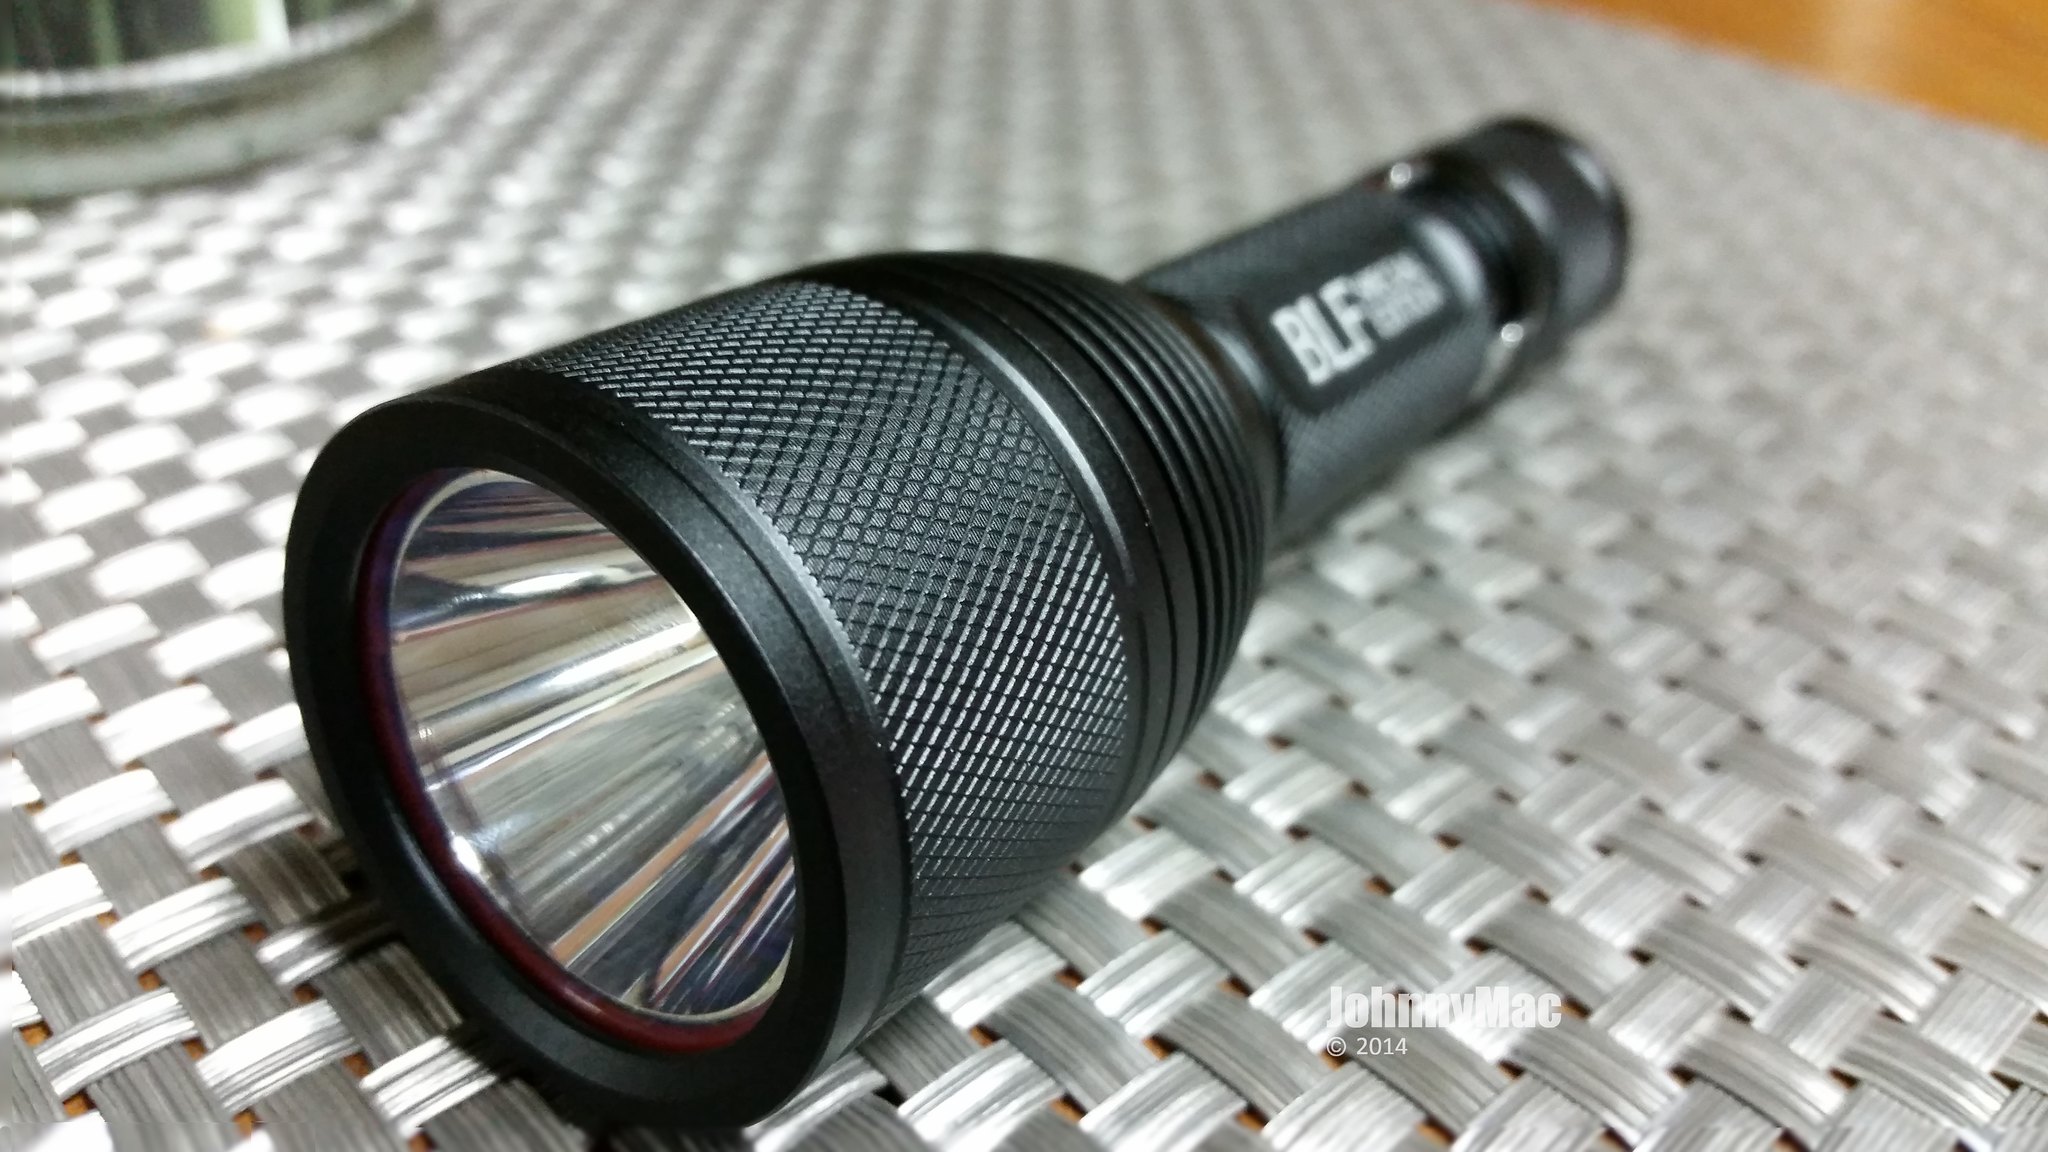
The X6 is a damned handsome light with, IMO, perfect proportions. This is what a flashlight is supposed to look like!
The lip of the tail cap is scalloped to allow easy tactical thumb access to the reverse clicky switch. Two large lanyard holes on either side of the tailcap lip will accommodate 550 Paracord for a strong lanyard connection.
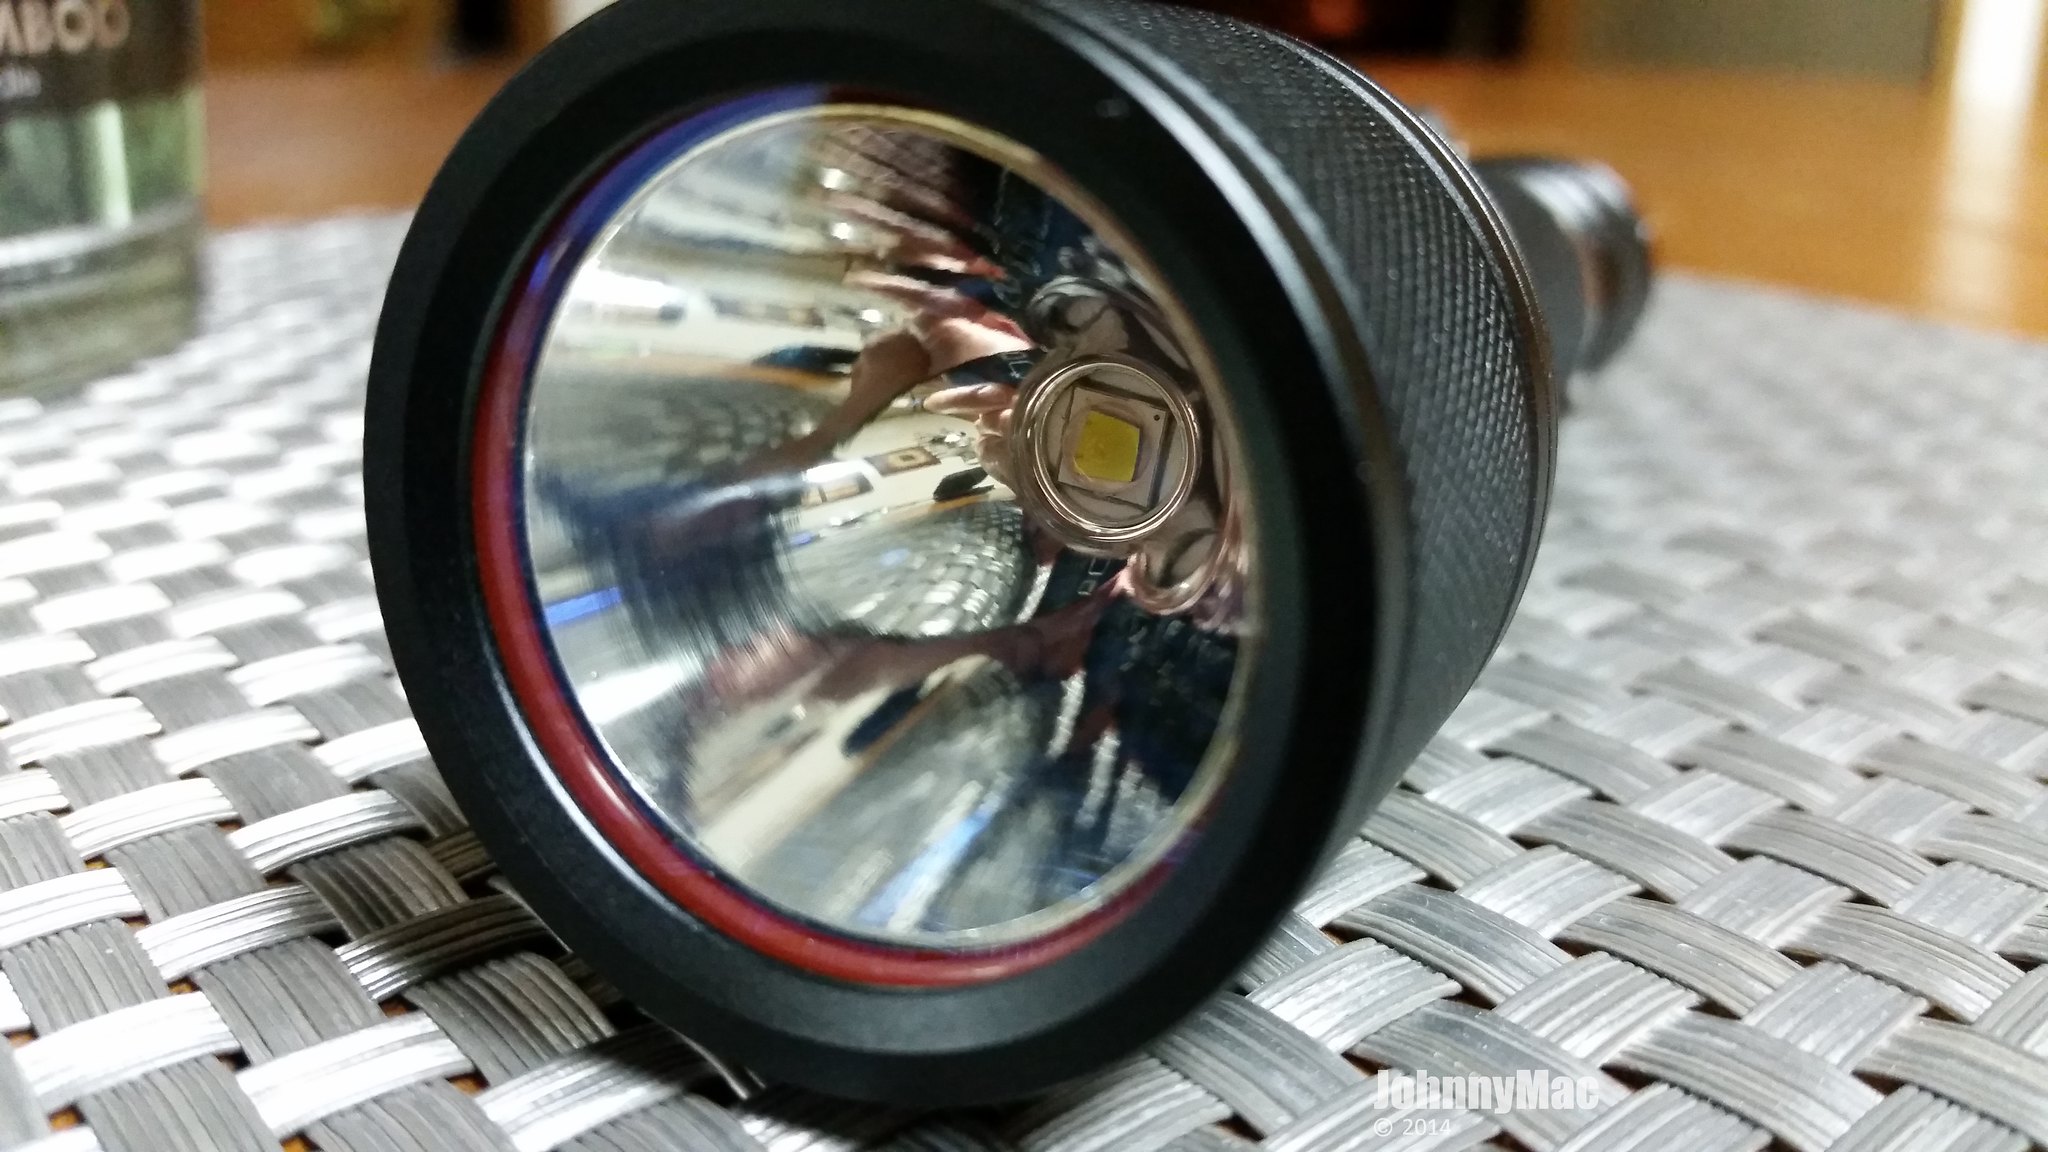
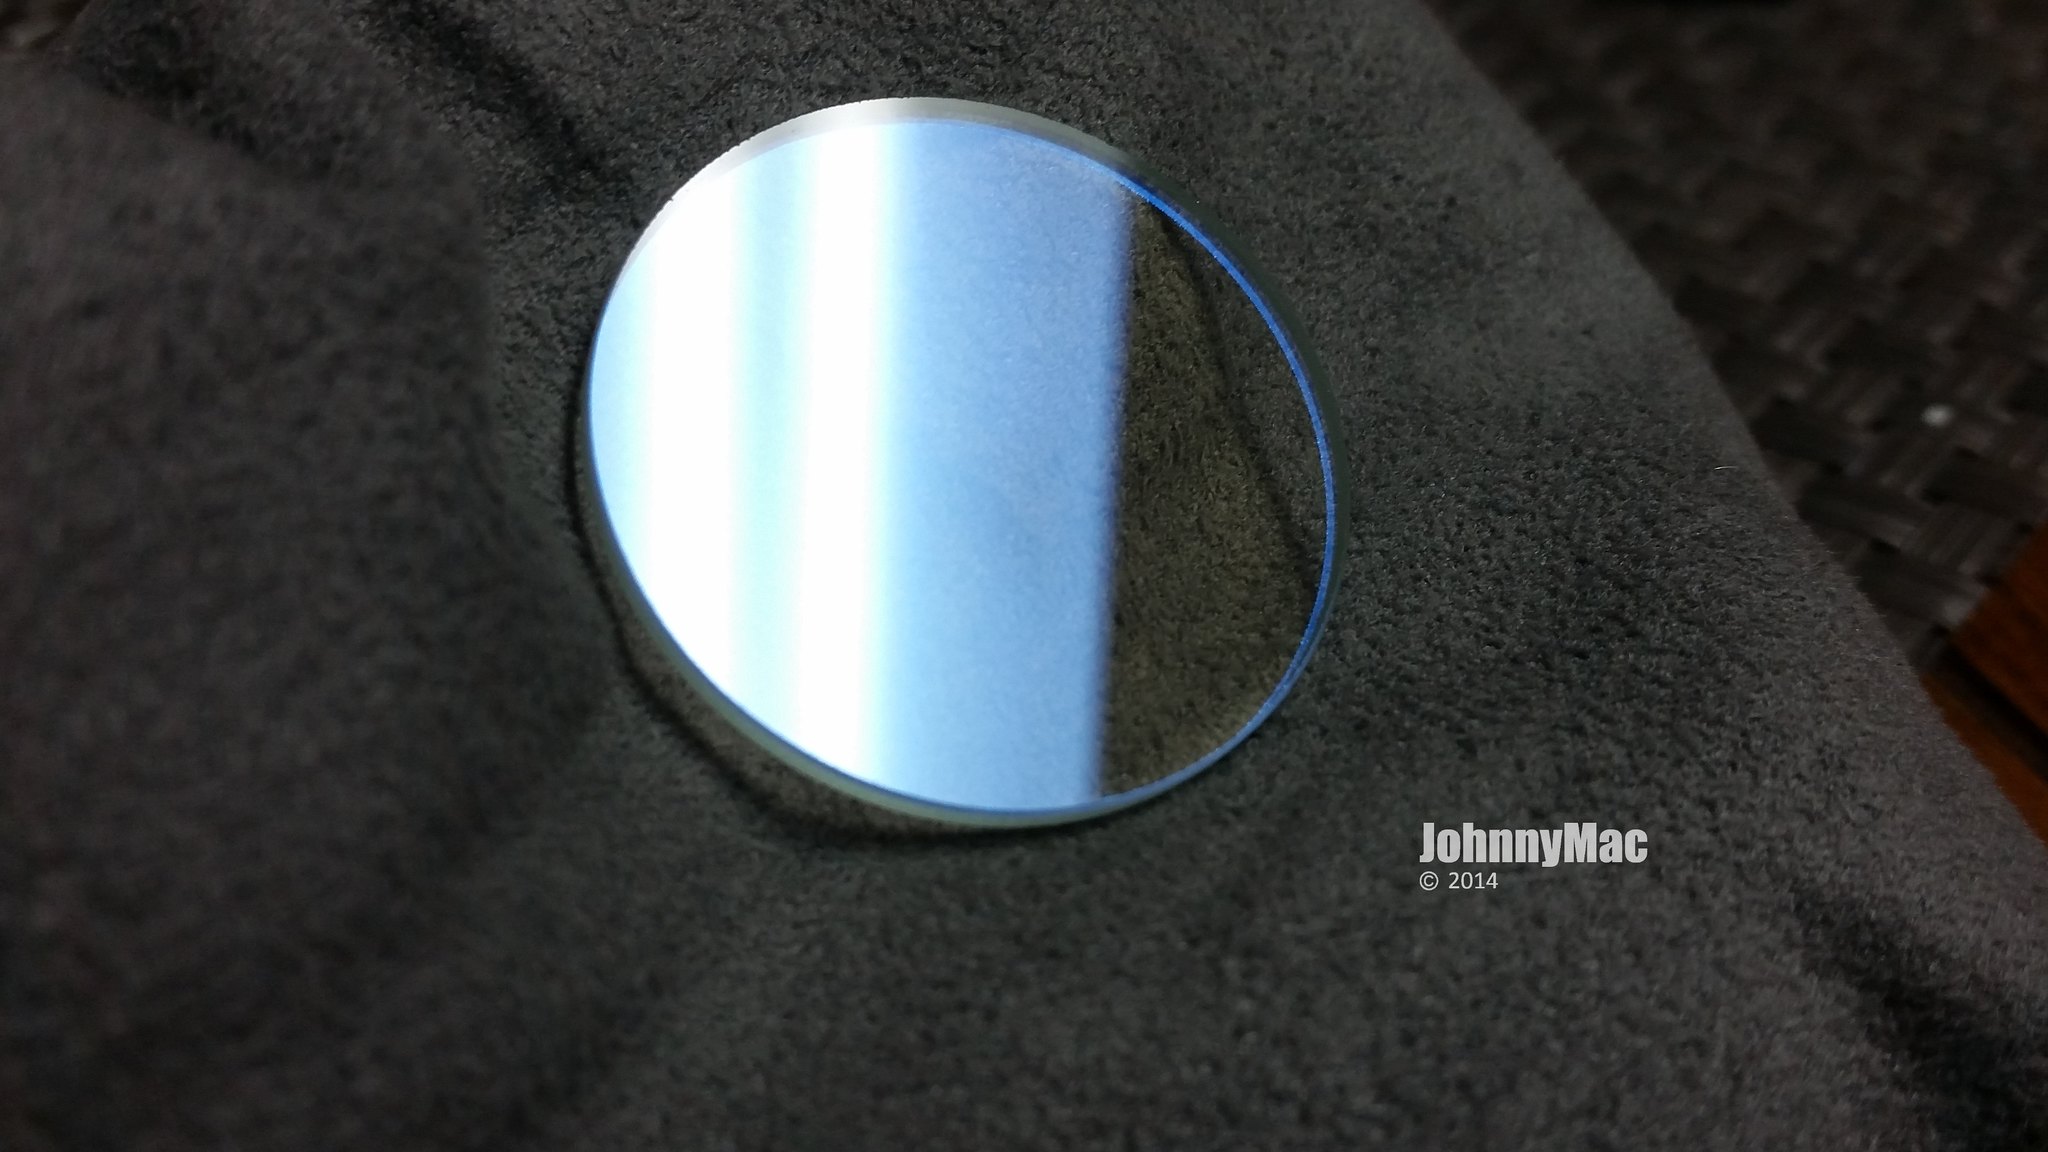
The lens is AR coated and the reflector is a clean SMO design that gives a nice hotspot that is neither too tight or too large. It’s just right. A fat red O-ring sits between the lens and reflector.
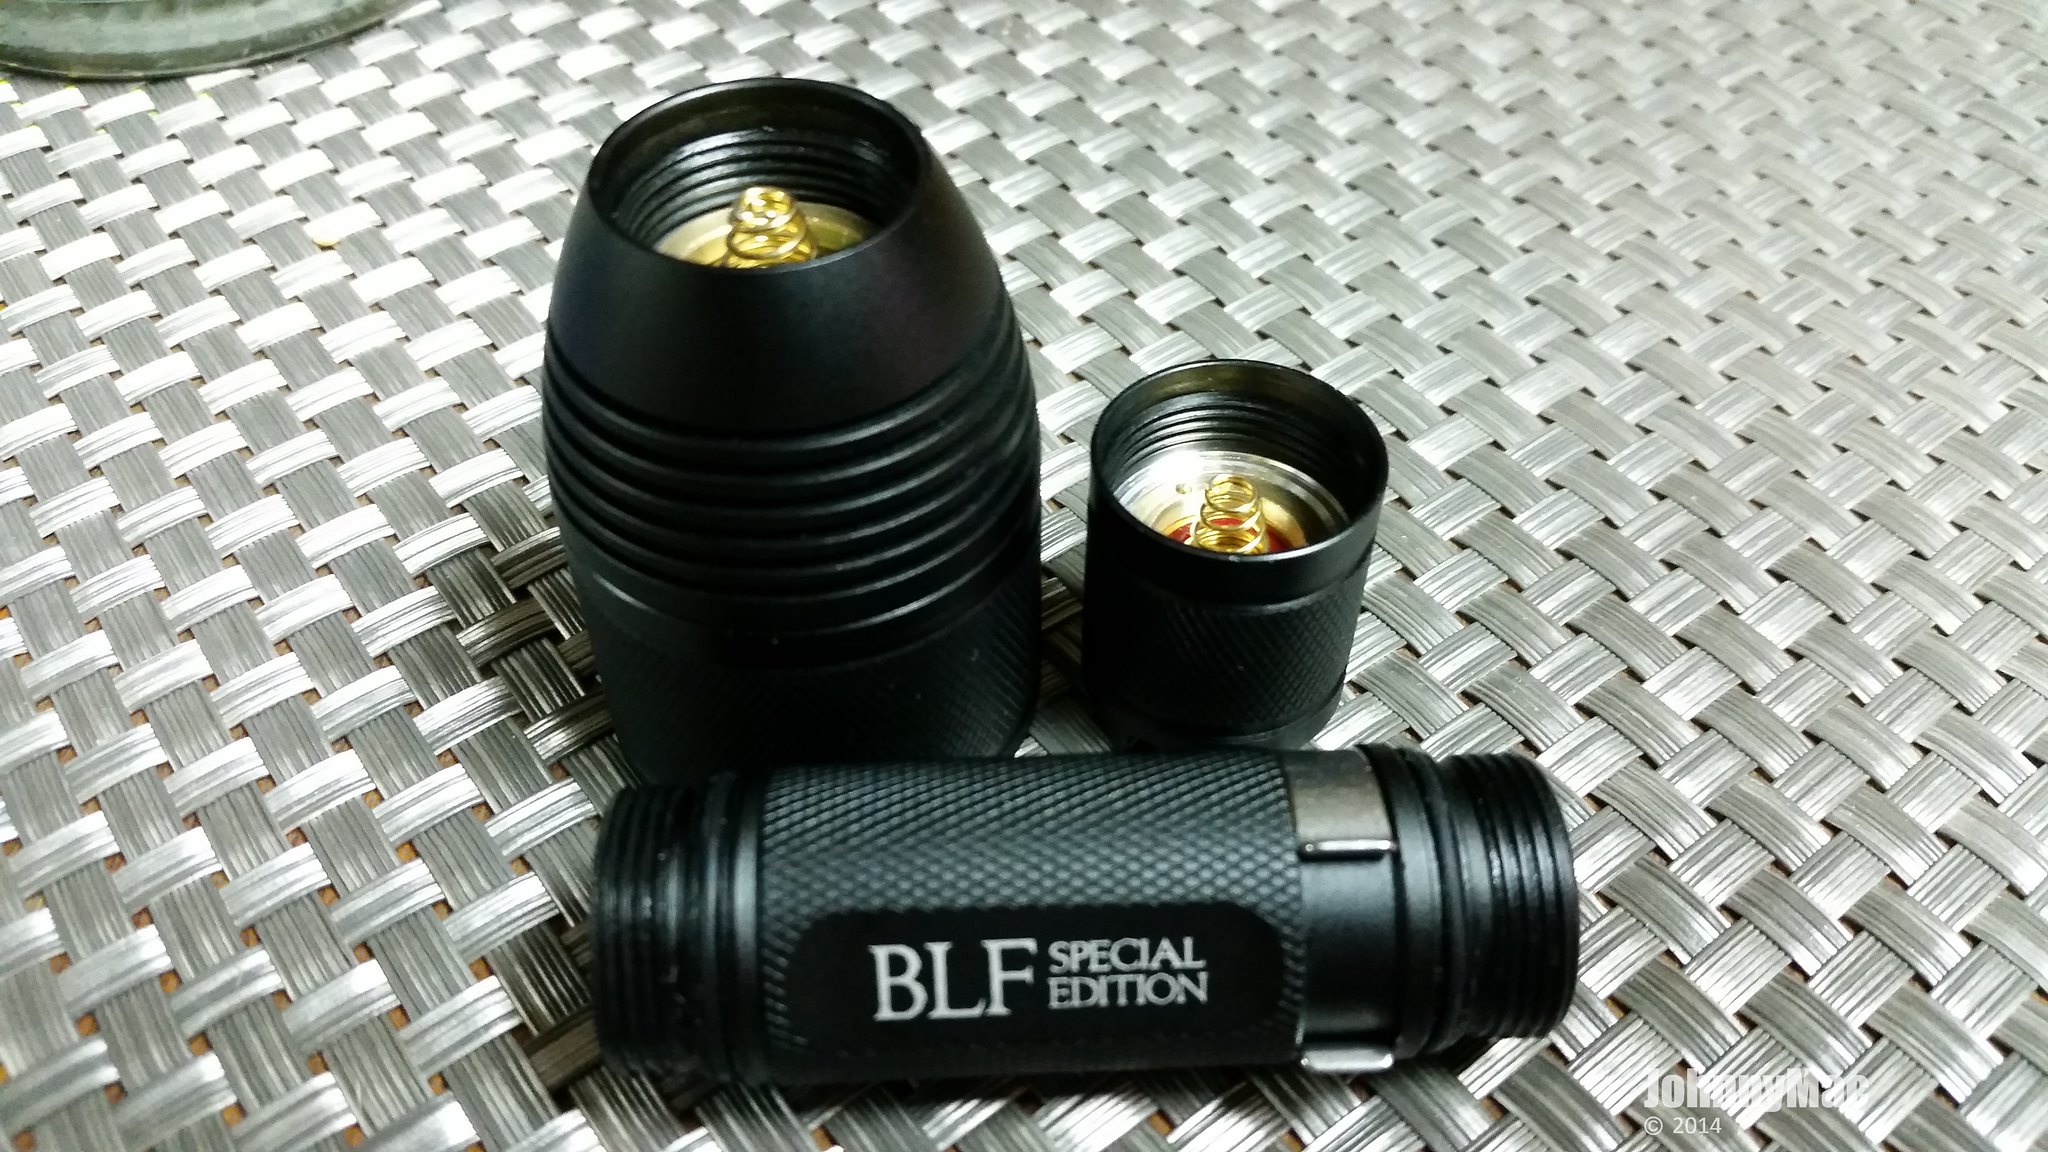
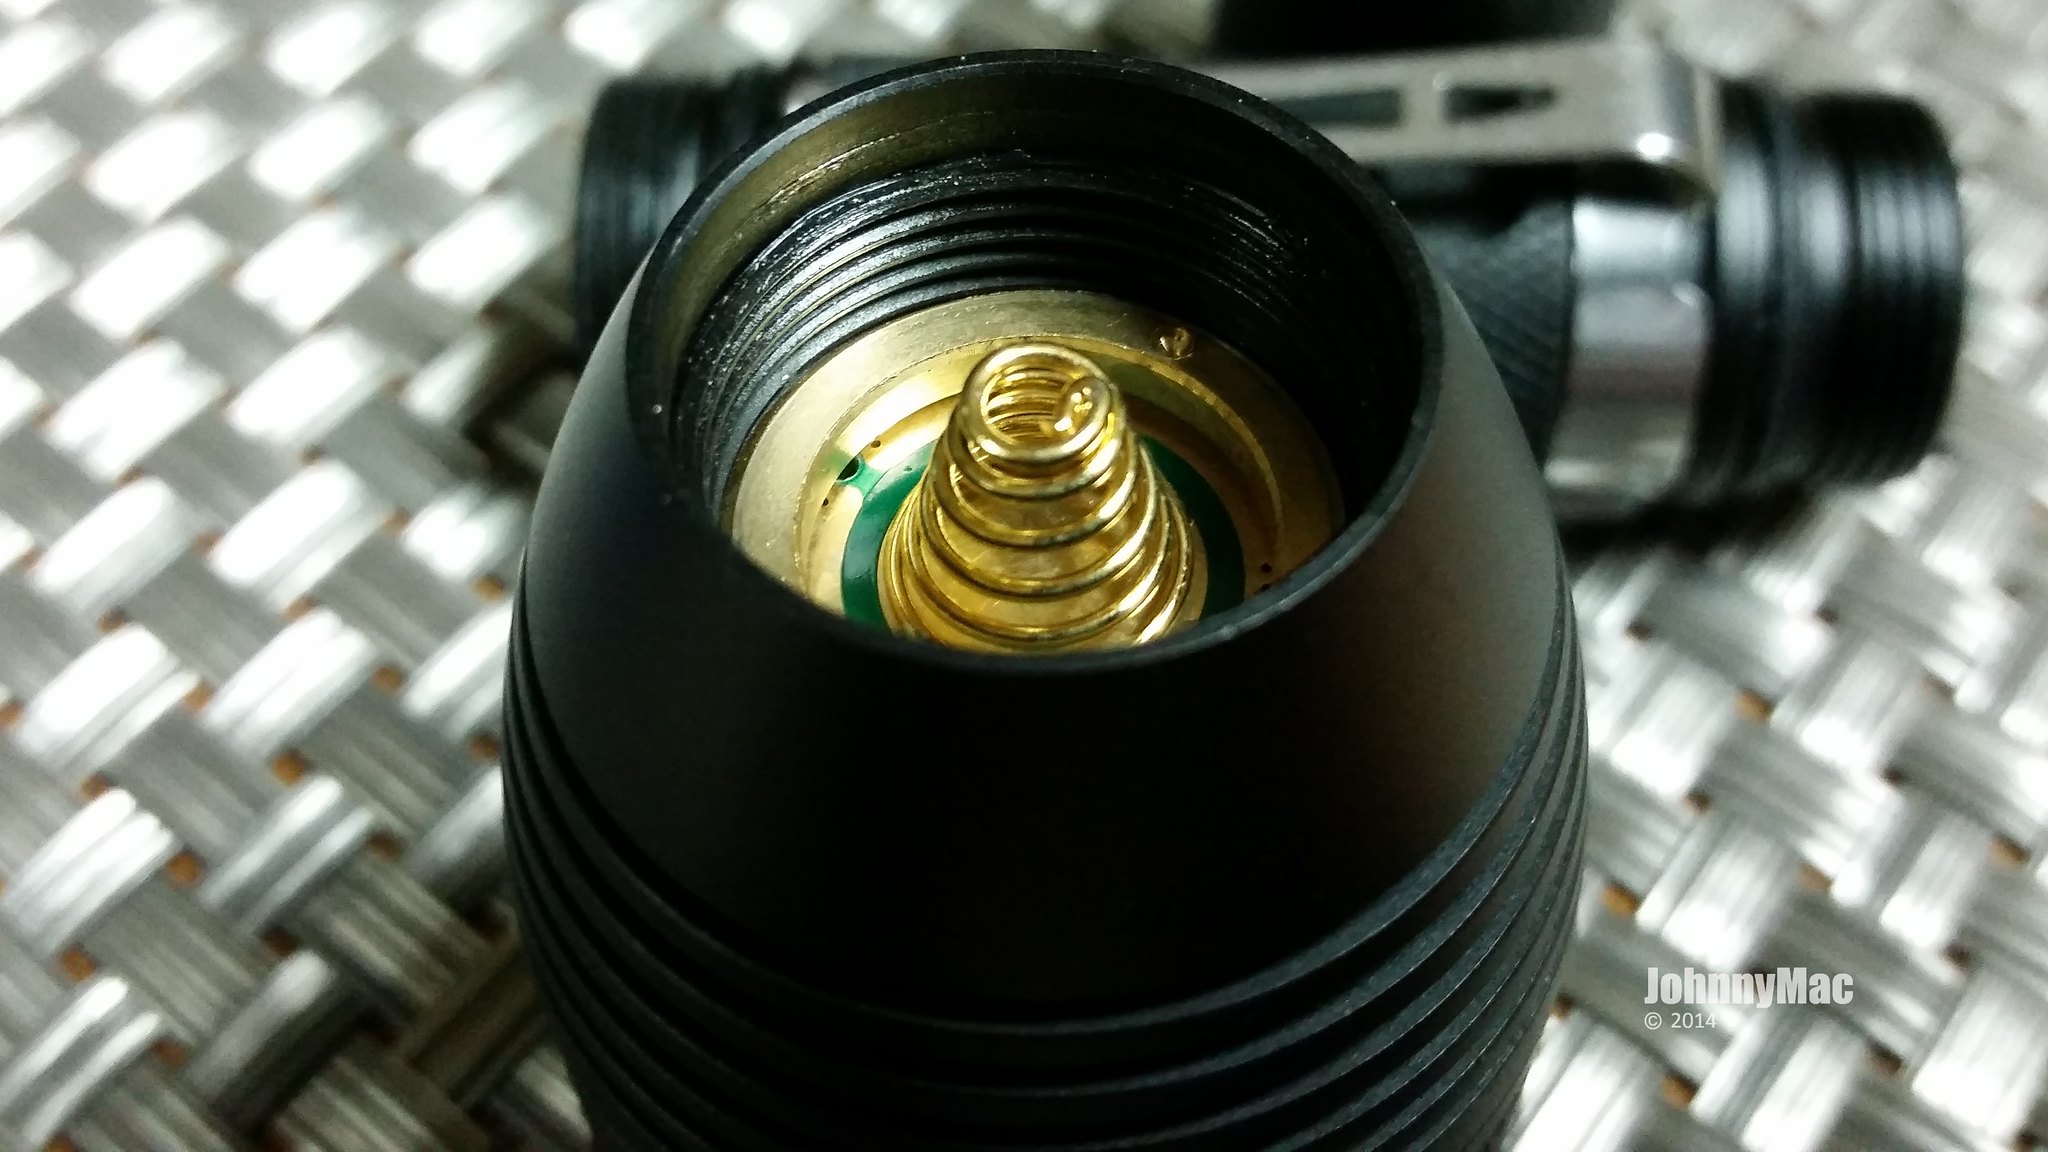
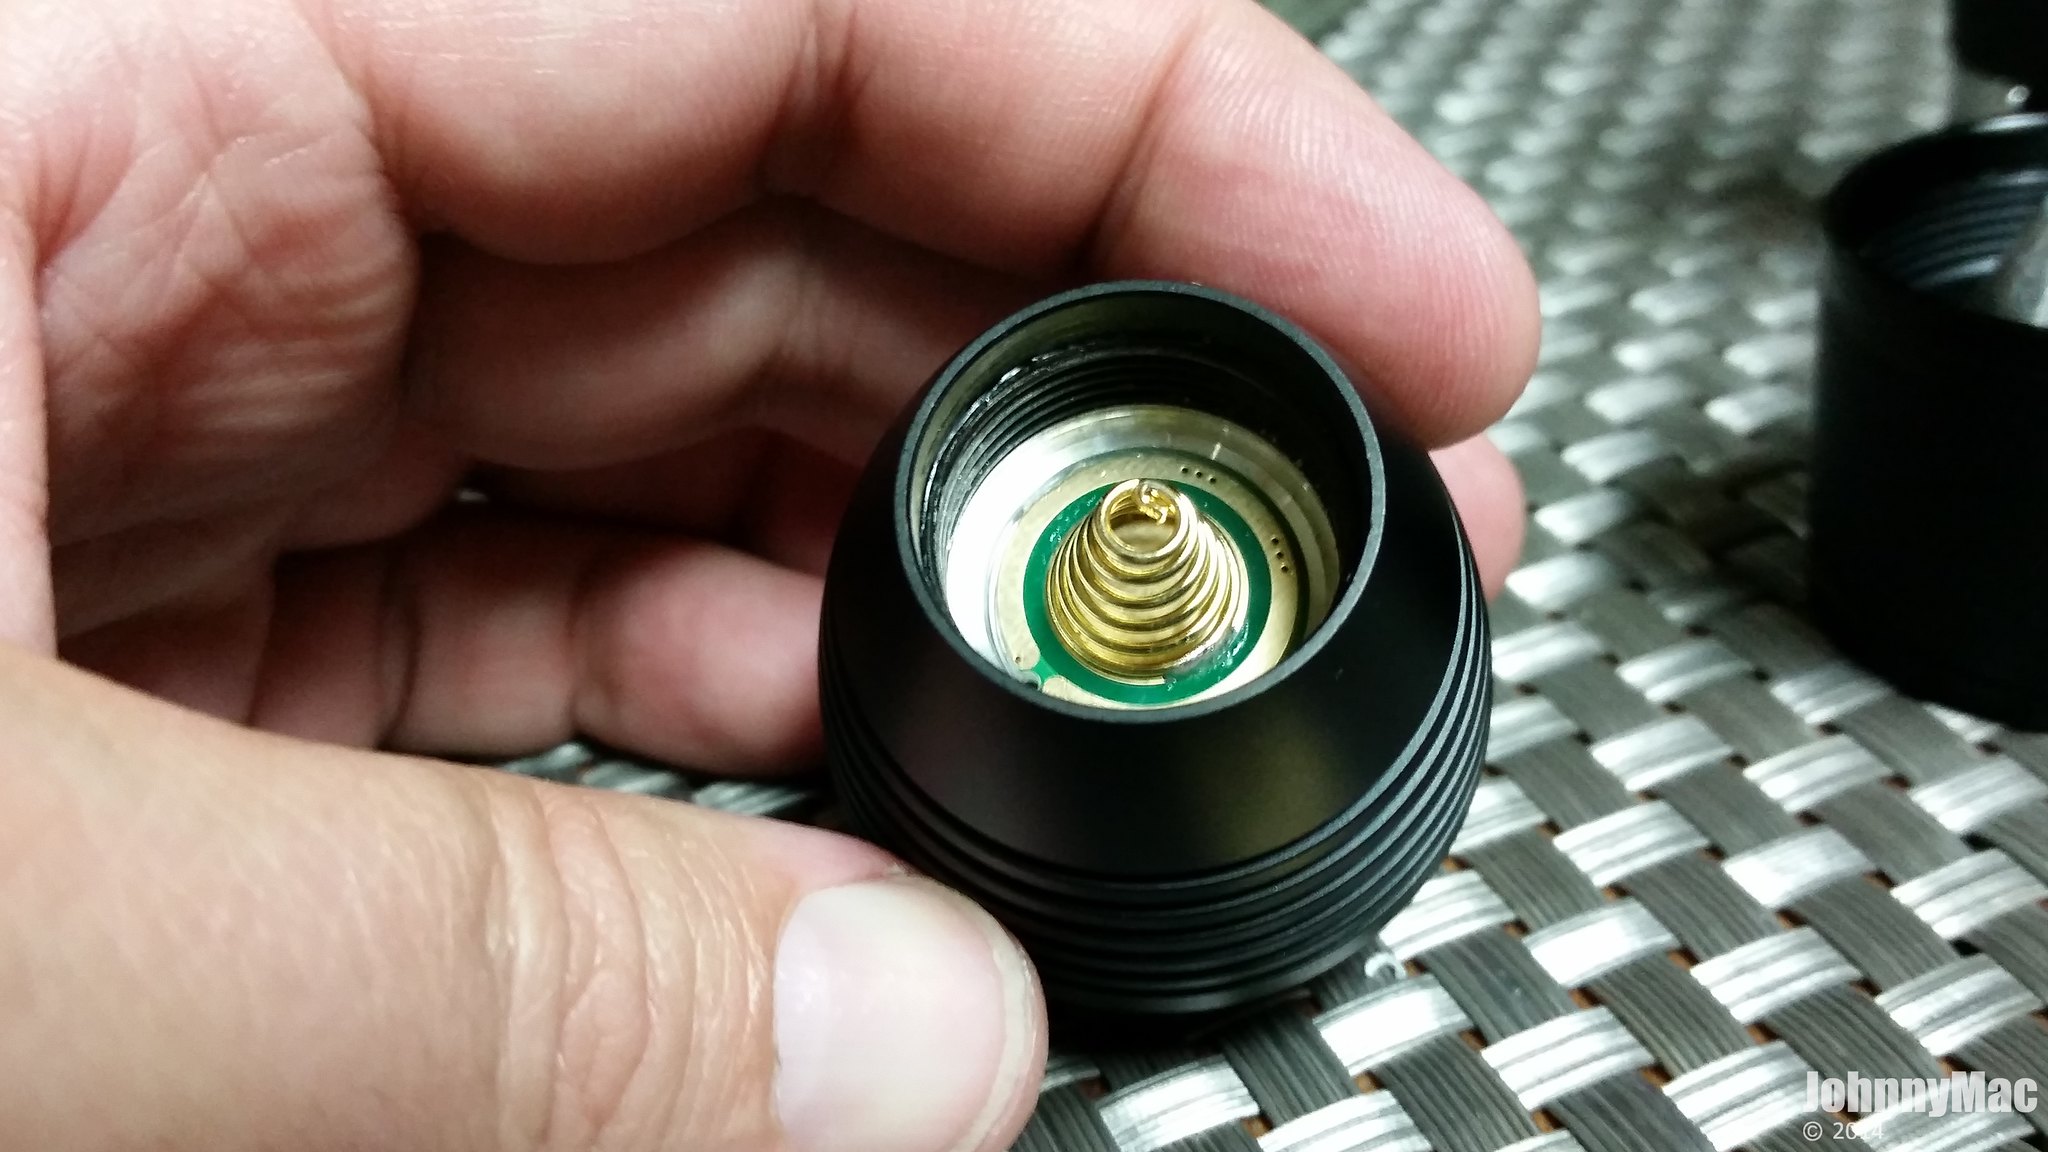
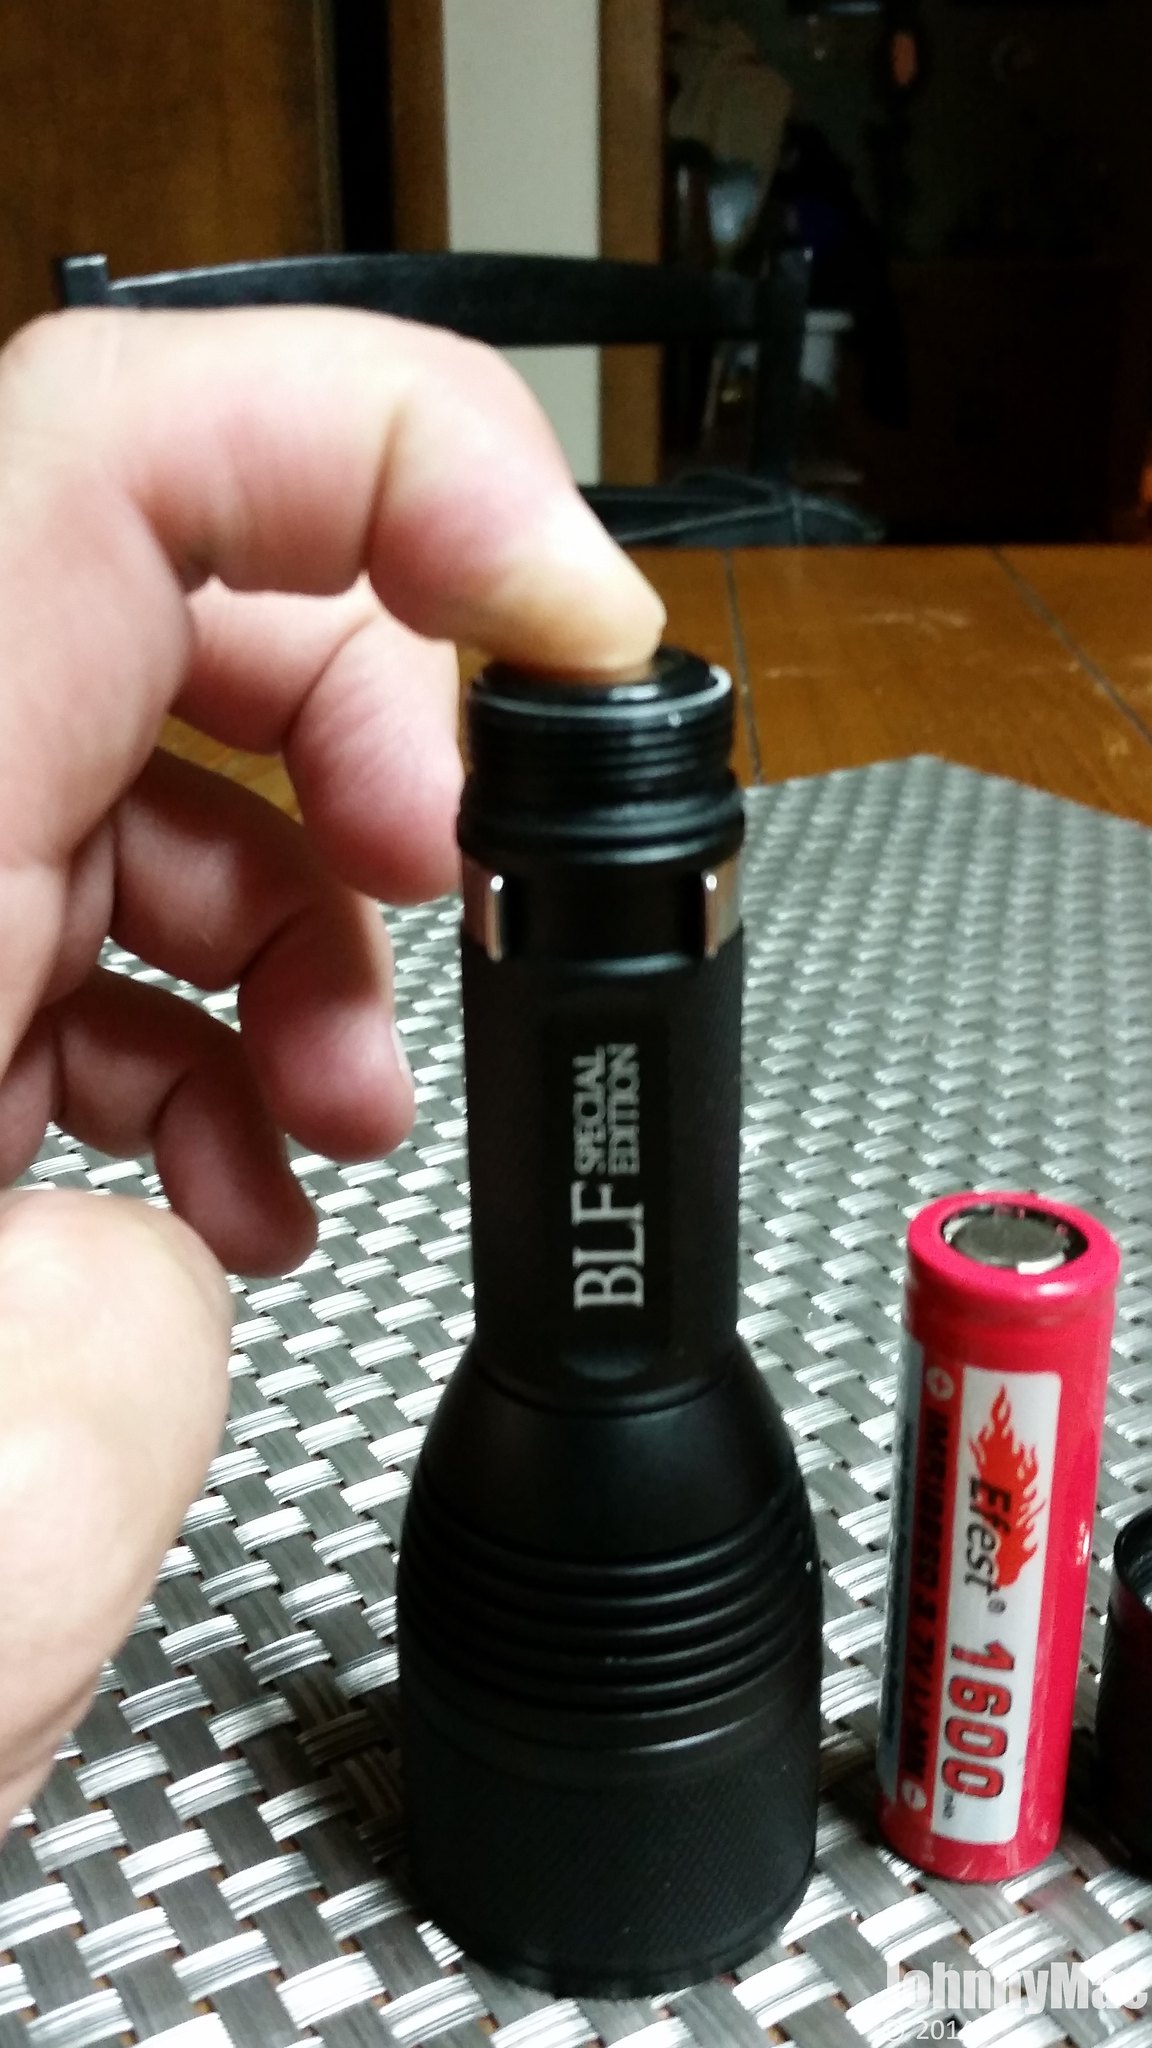
Very heavy and stiff springs grace both anode and cathode connections in the head and tail. They appear to be gold-plated, not merely gold toned. The front spring is extremely stiff and the one in the tail is just a bit less stiff to allow for longer cells to be used. Personally I’d like to see the tail spring as stiff as the driver spring for less current resistance.

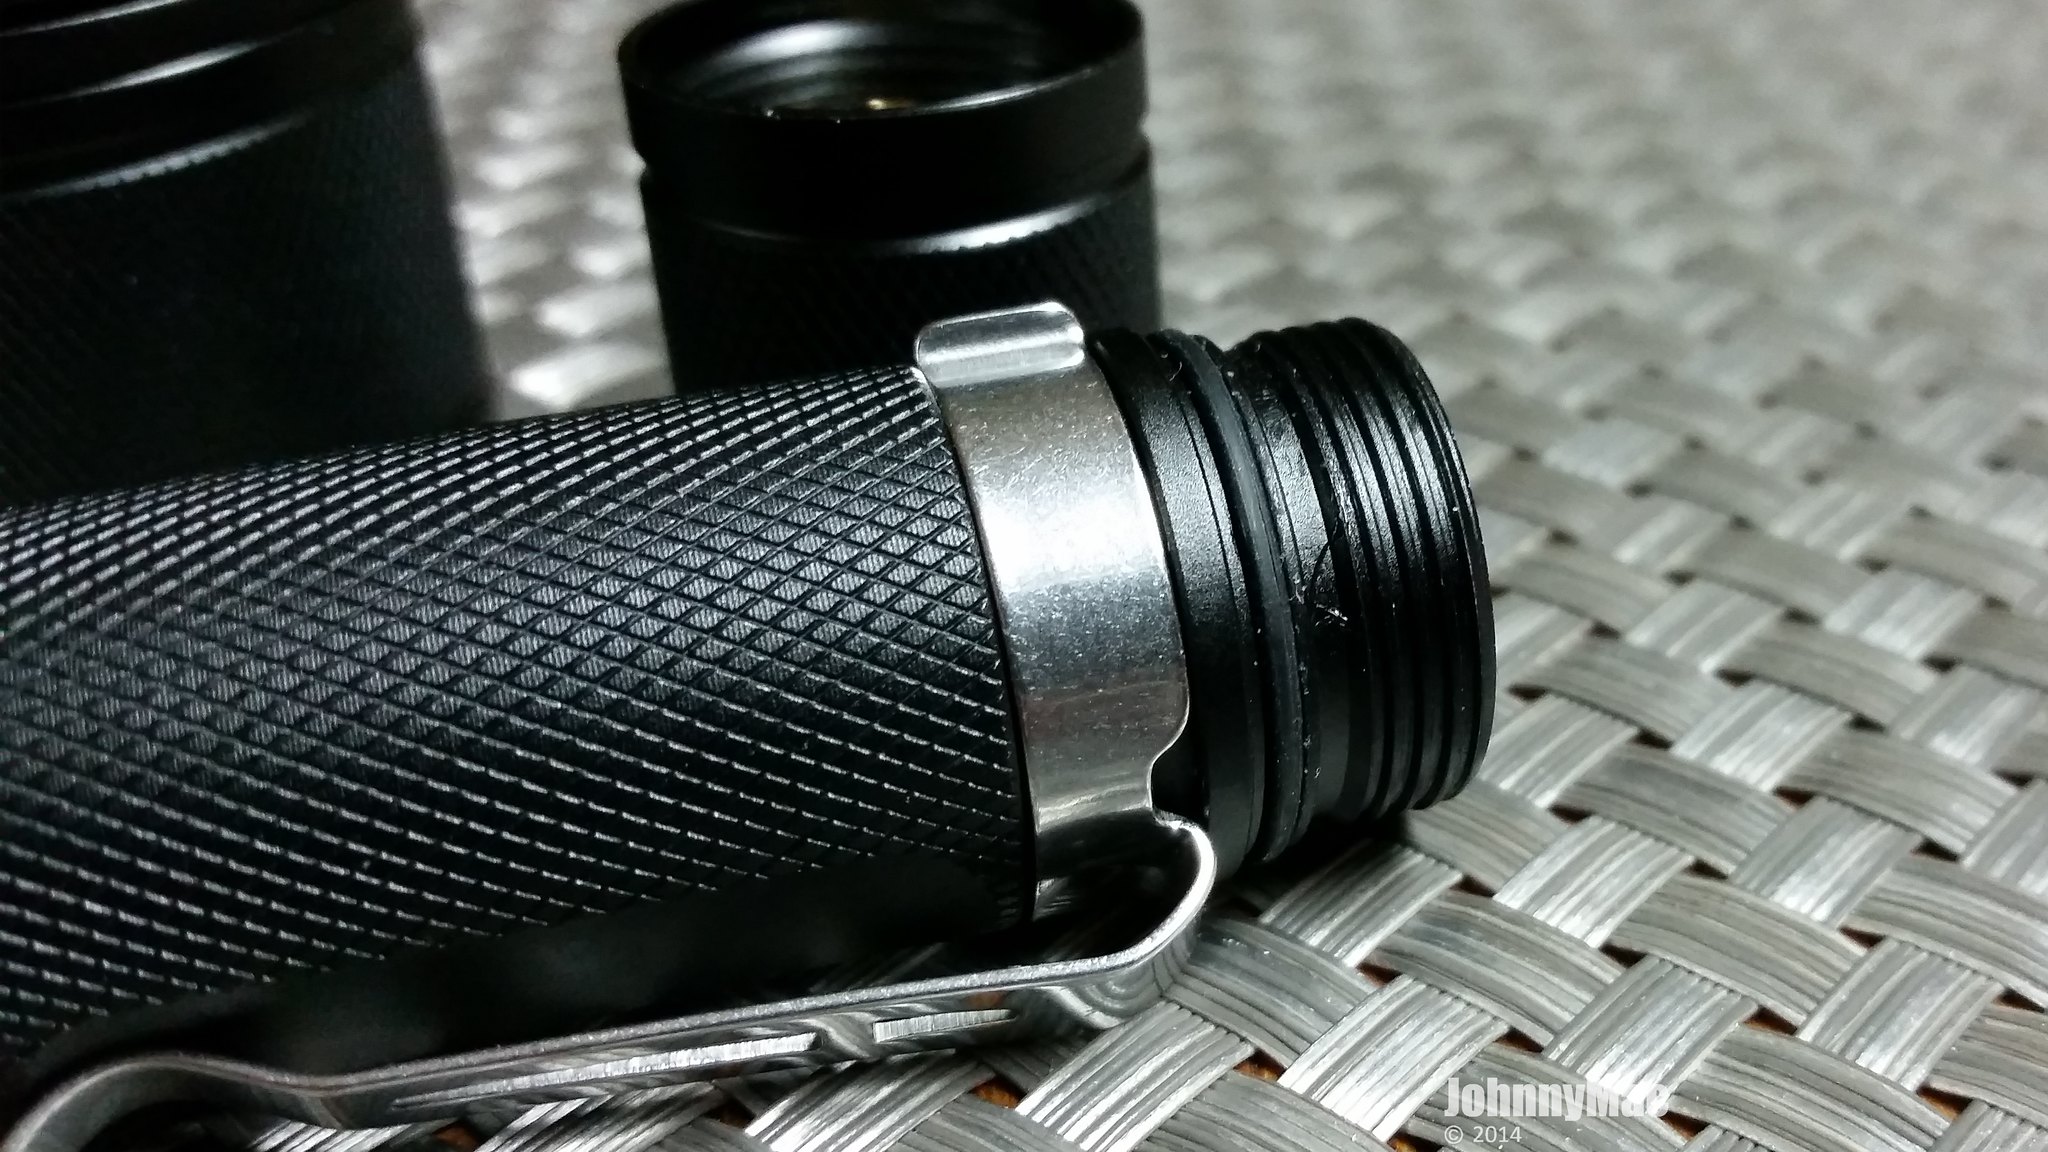
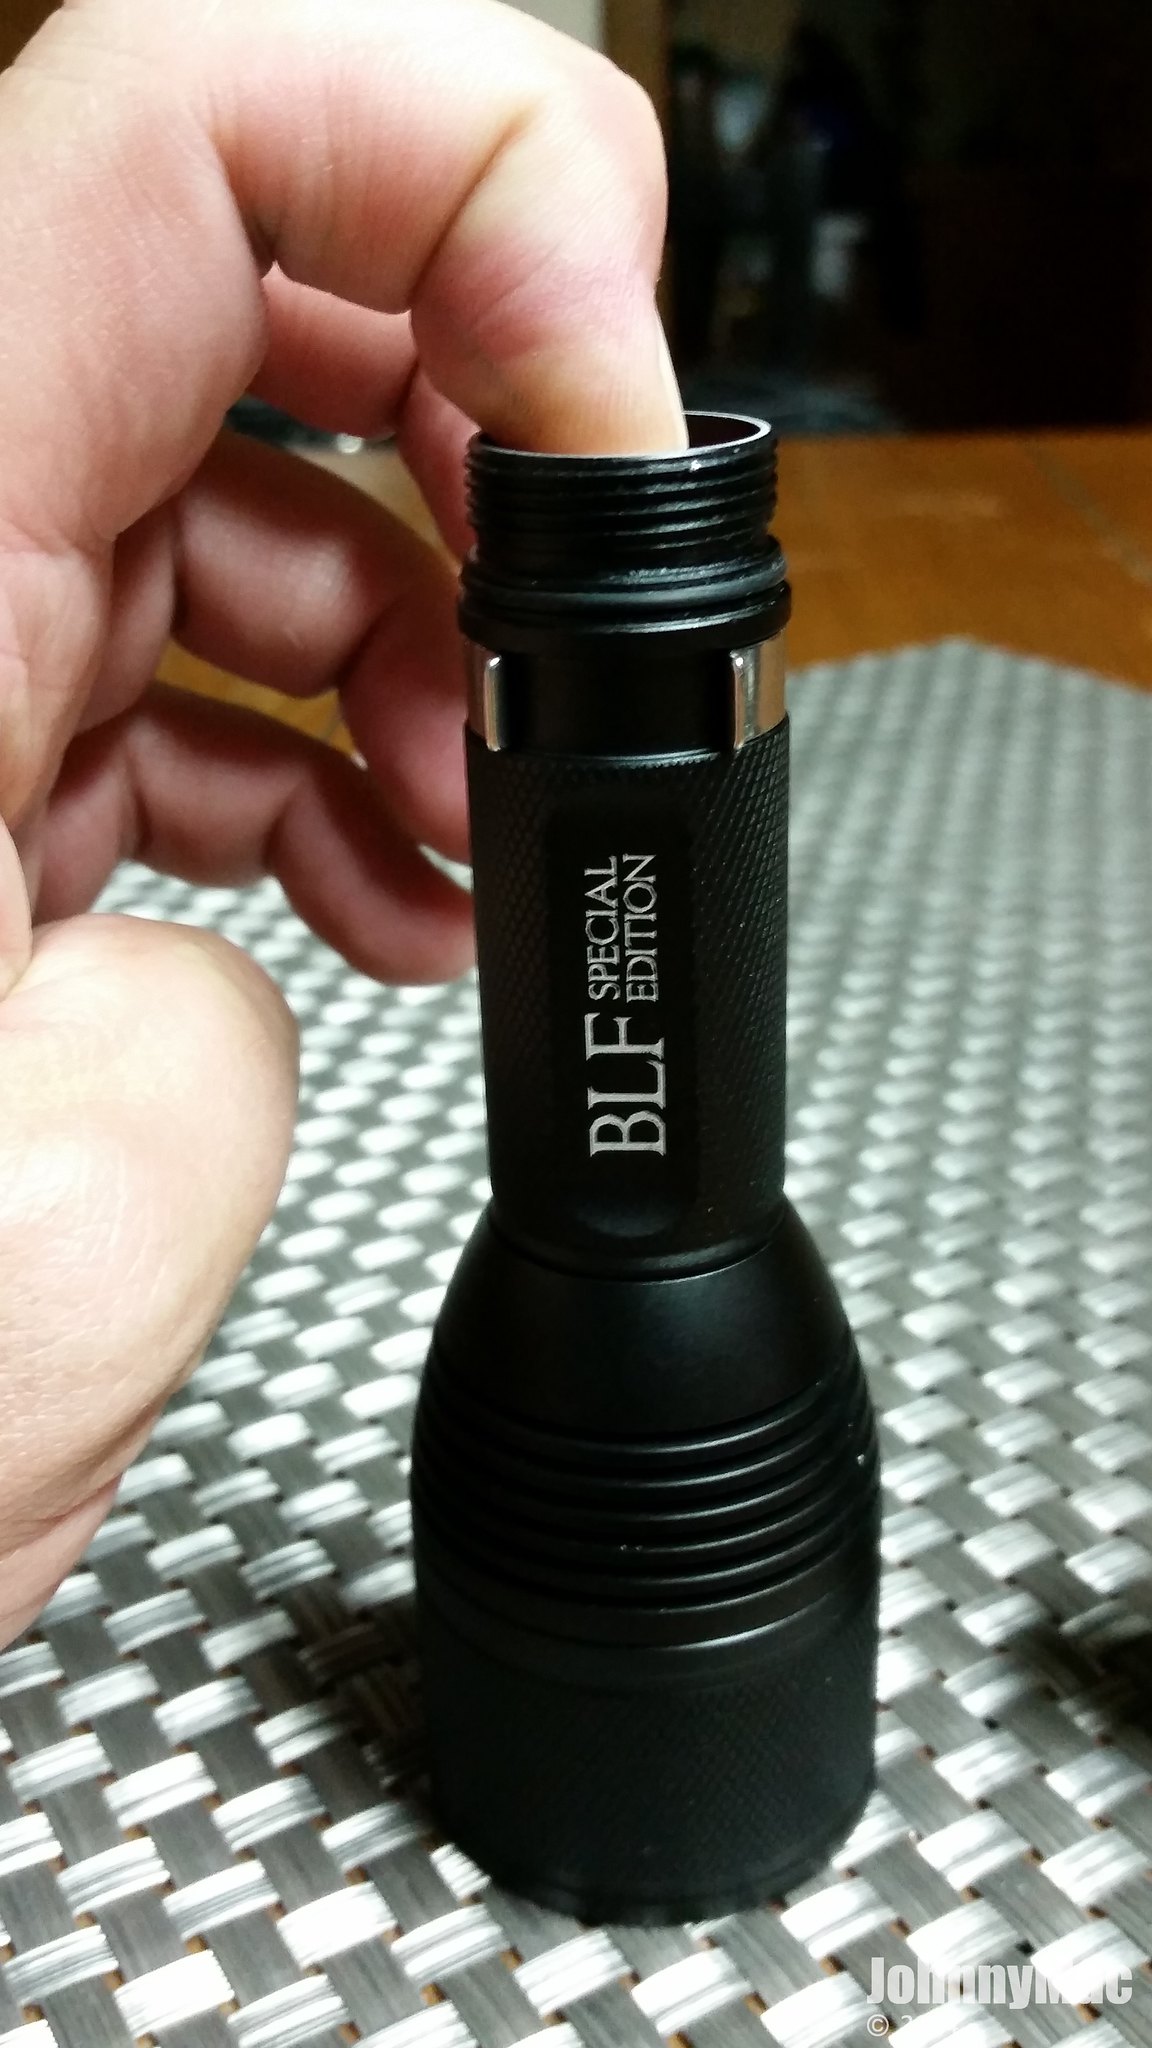
Both ends of the battery tube have wonderfully machined, anodized square threading. There is also a thick O-ring on either end that seals very snugly when threaded into the head and tail cap/ The front threads on my sample were pre-lubed but the tail threads were dry. At this price it doesn’t matter and is easily resolved by the user.
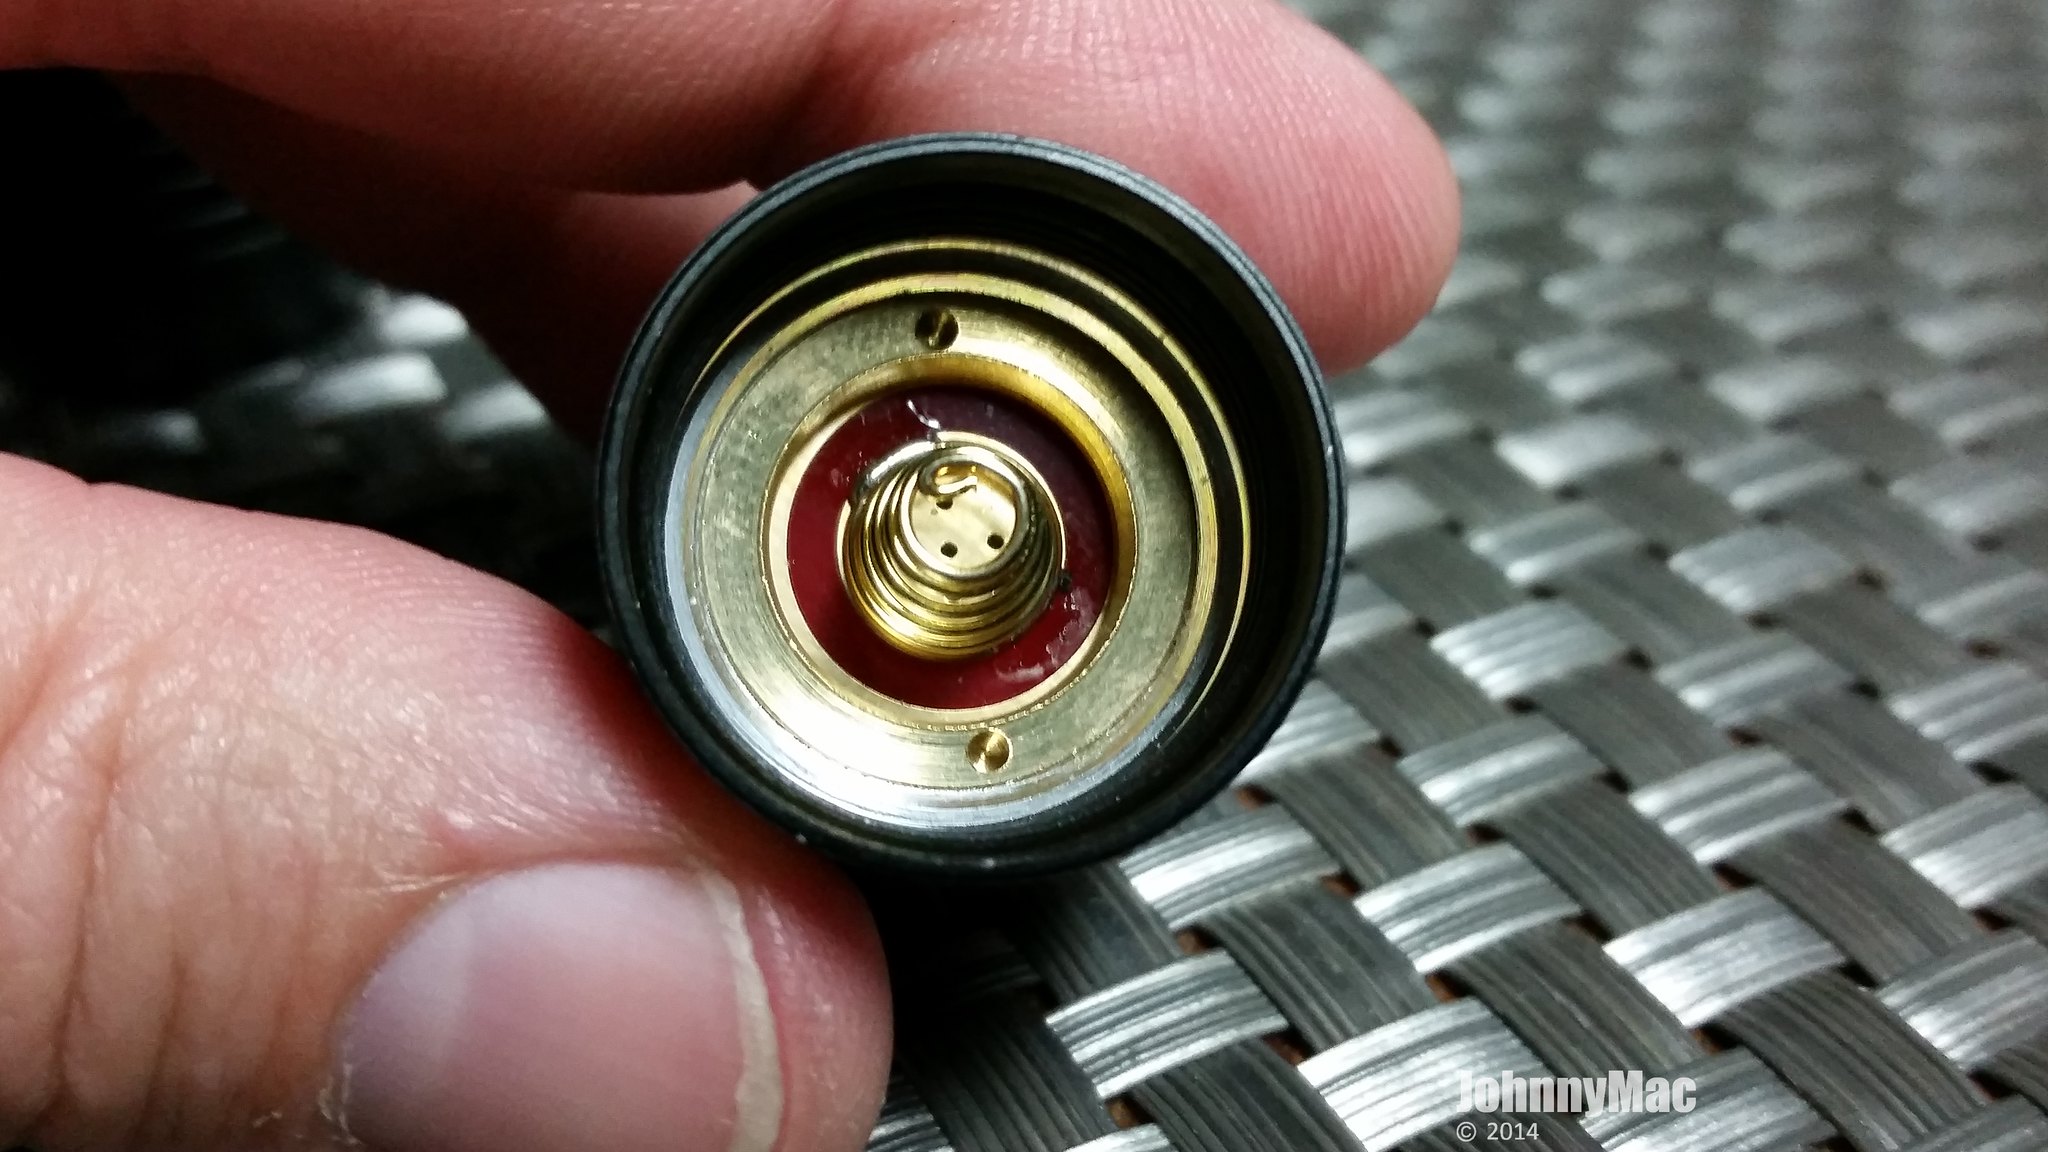
A thick brass threaded ring secures the switch innards. Nice little touches like the red PCBs make the X6 just a bit more special. Fully anodized threads everywhere mean you can lock out the light mechanically by loosing the tail cap. This will prevent the light from turning on if accidentally pressed while packed or carried.
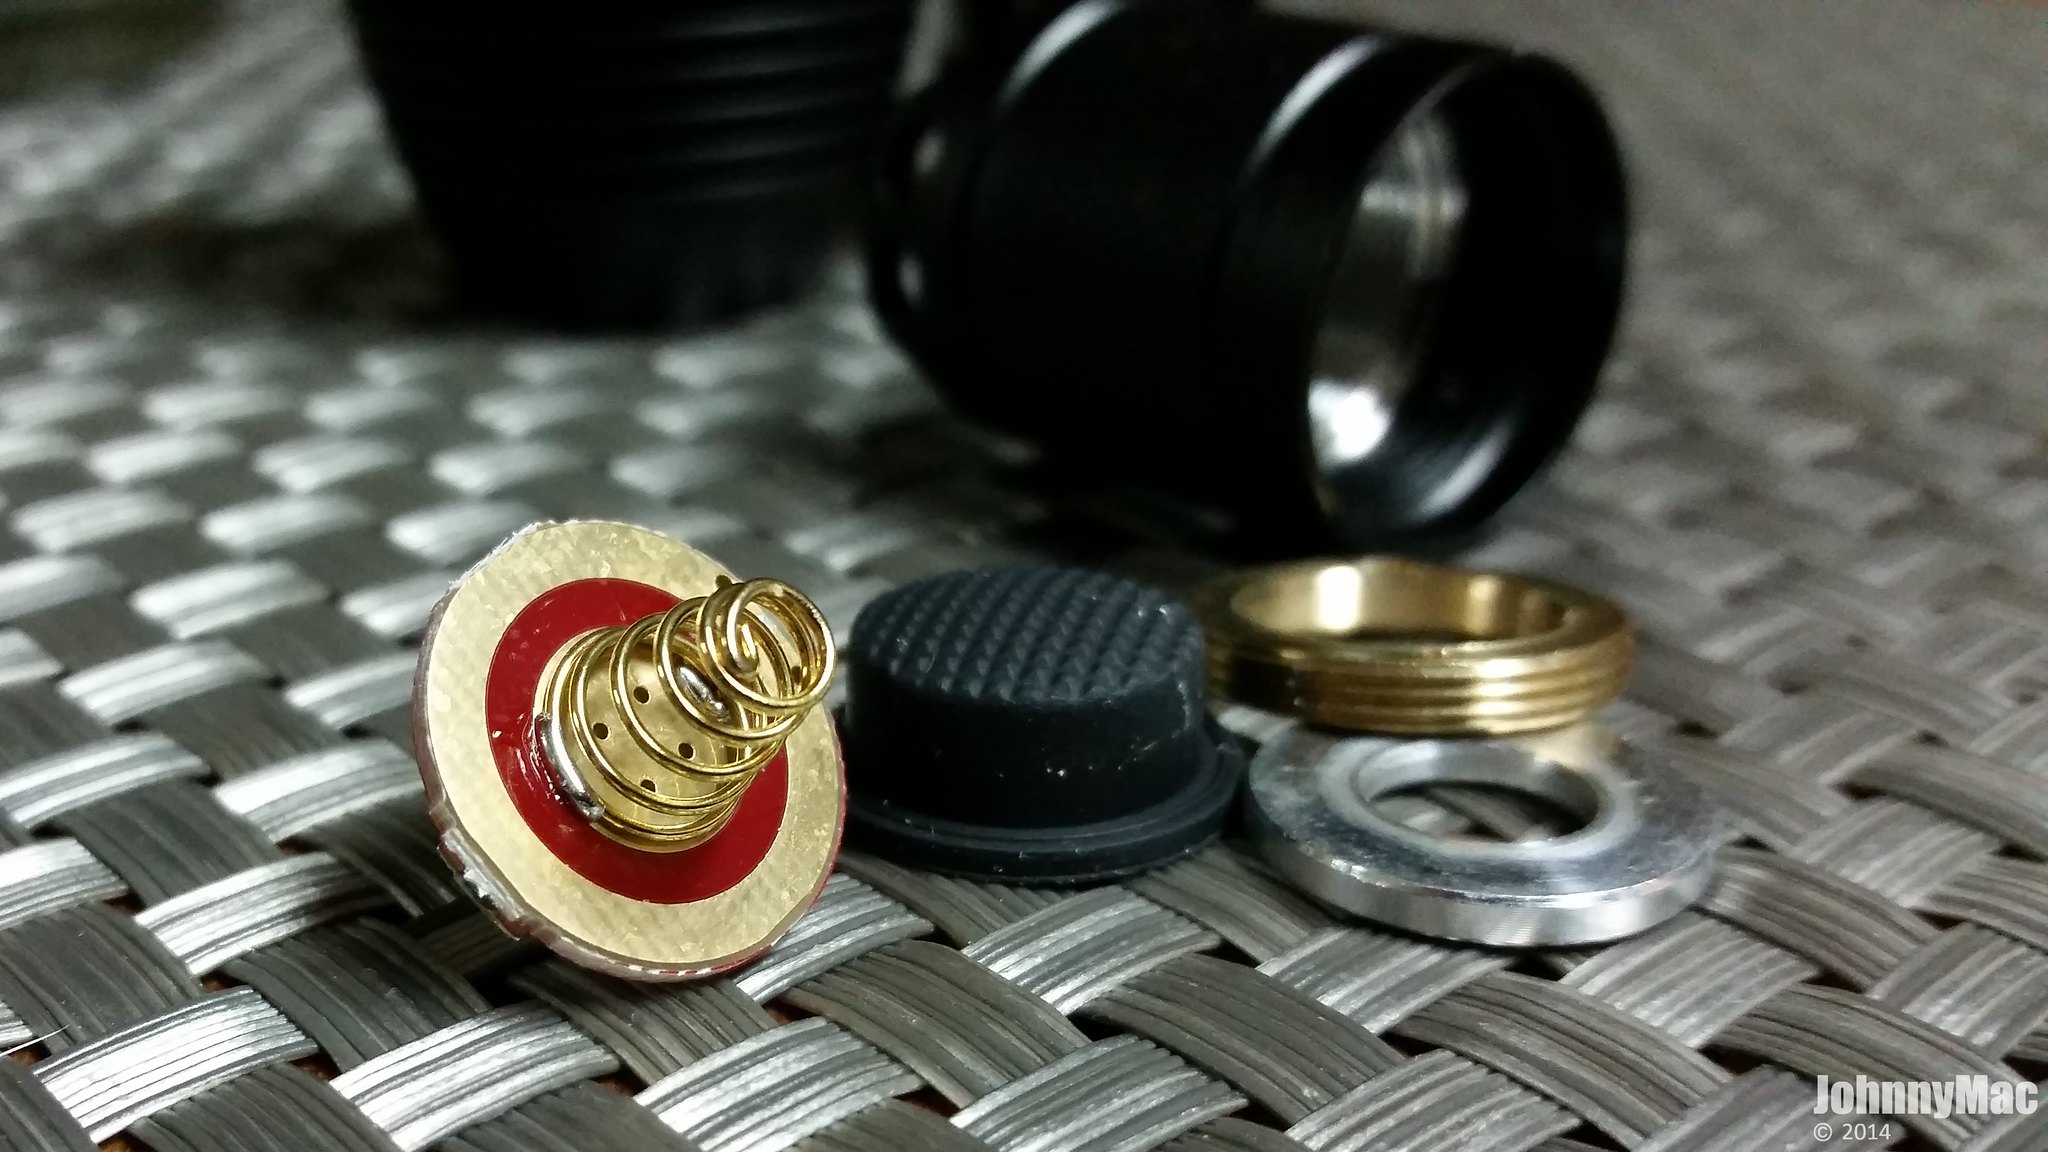
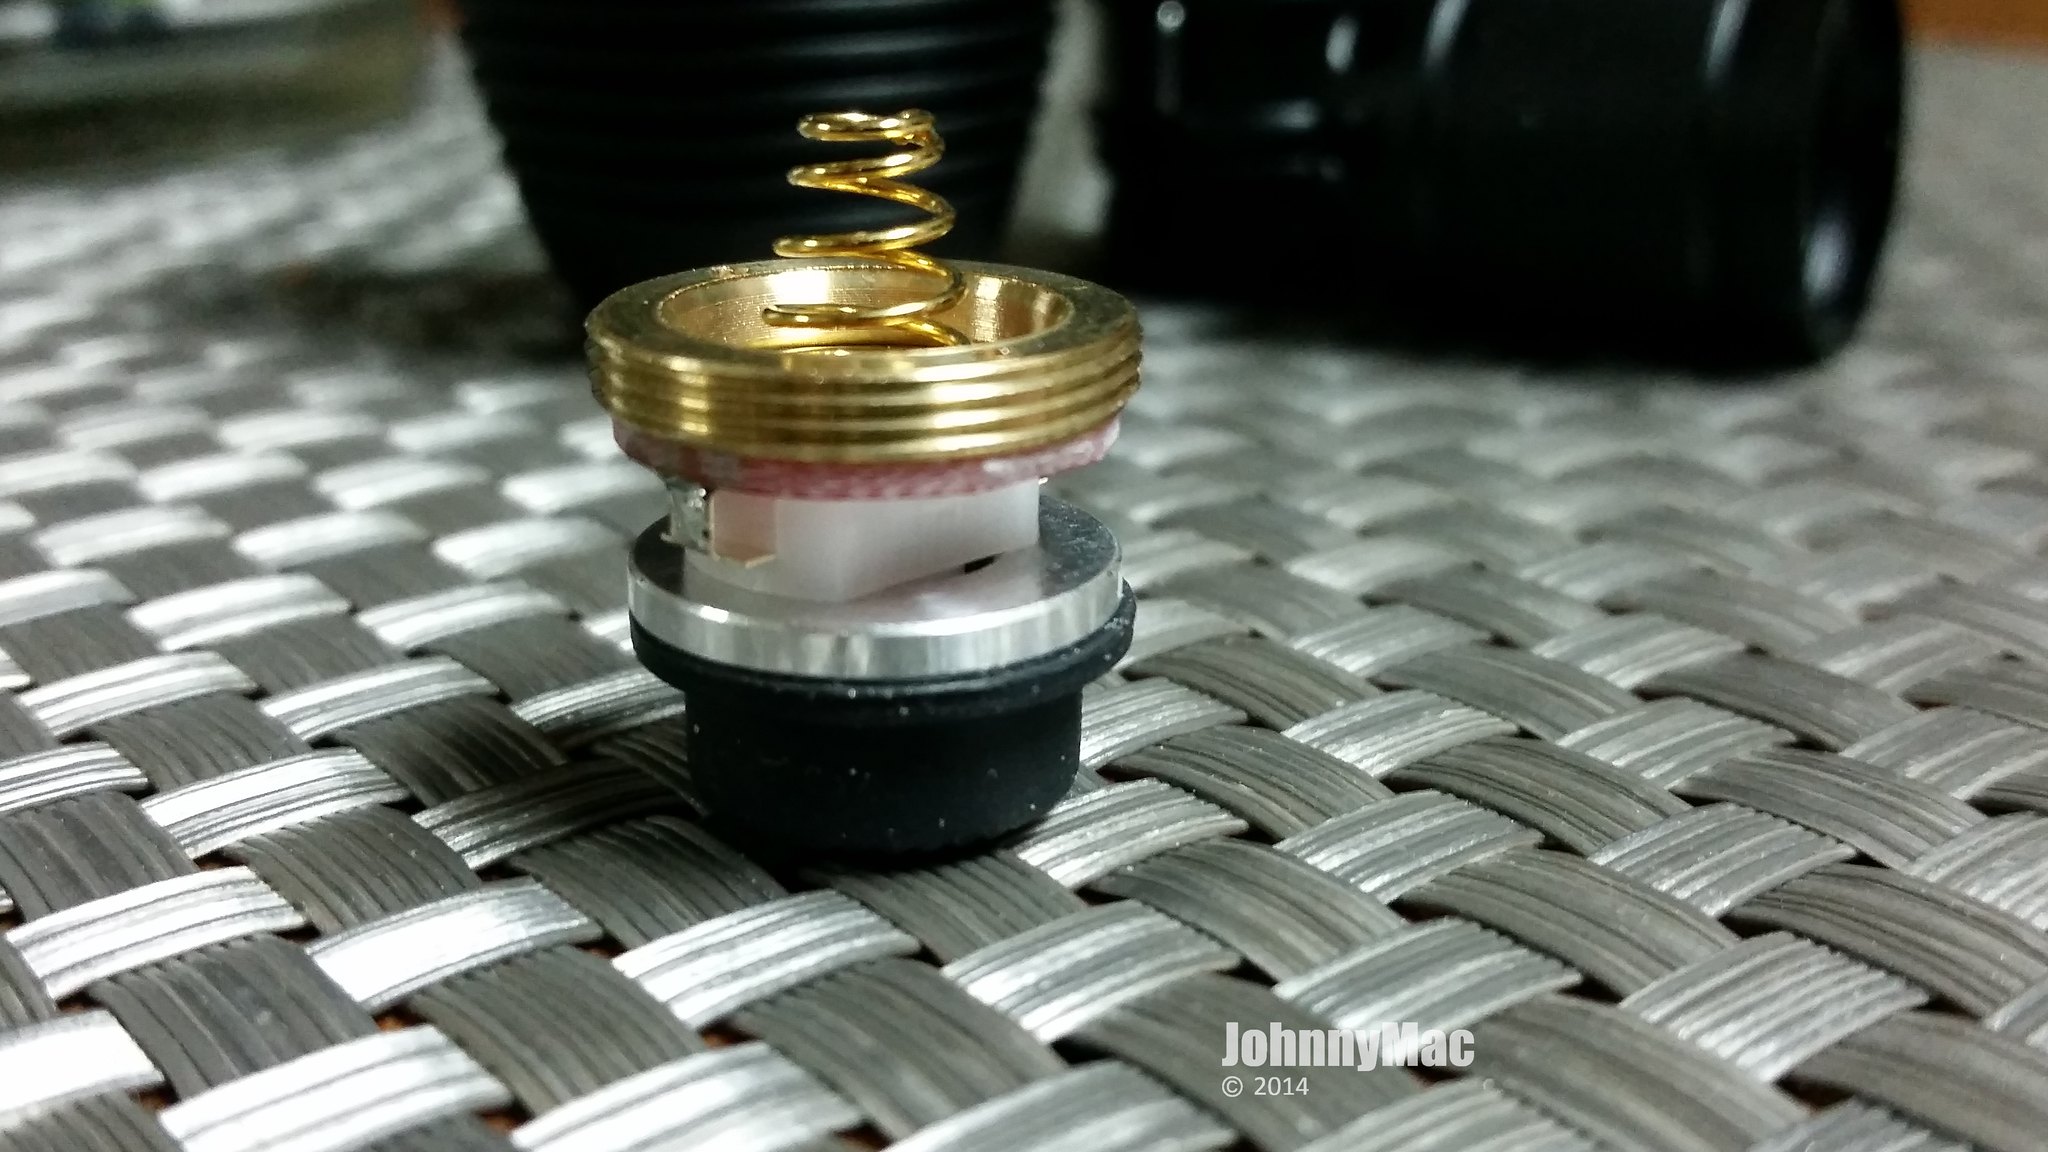
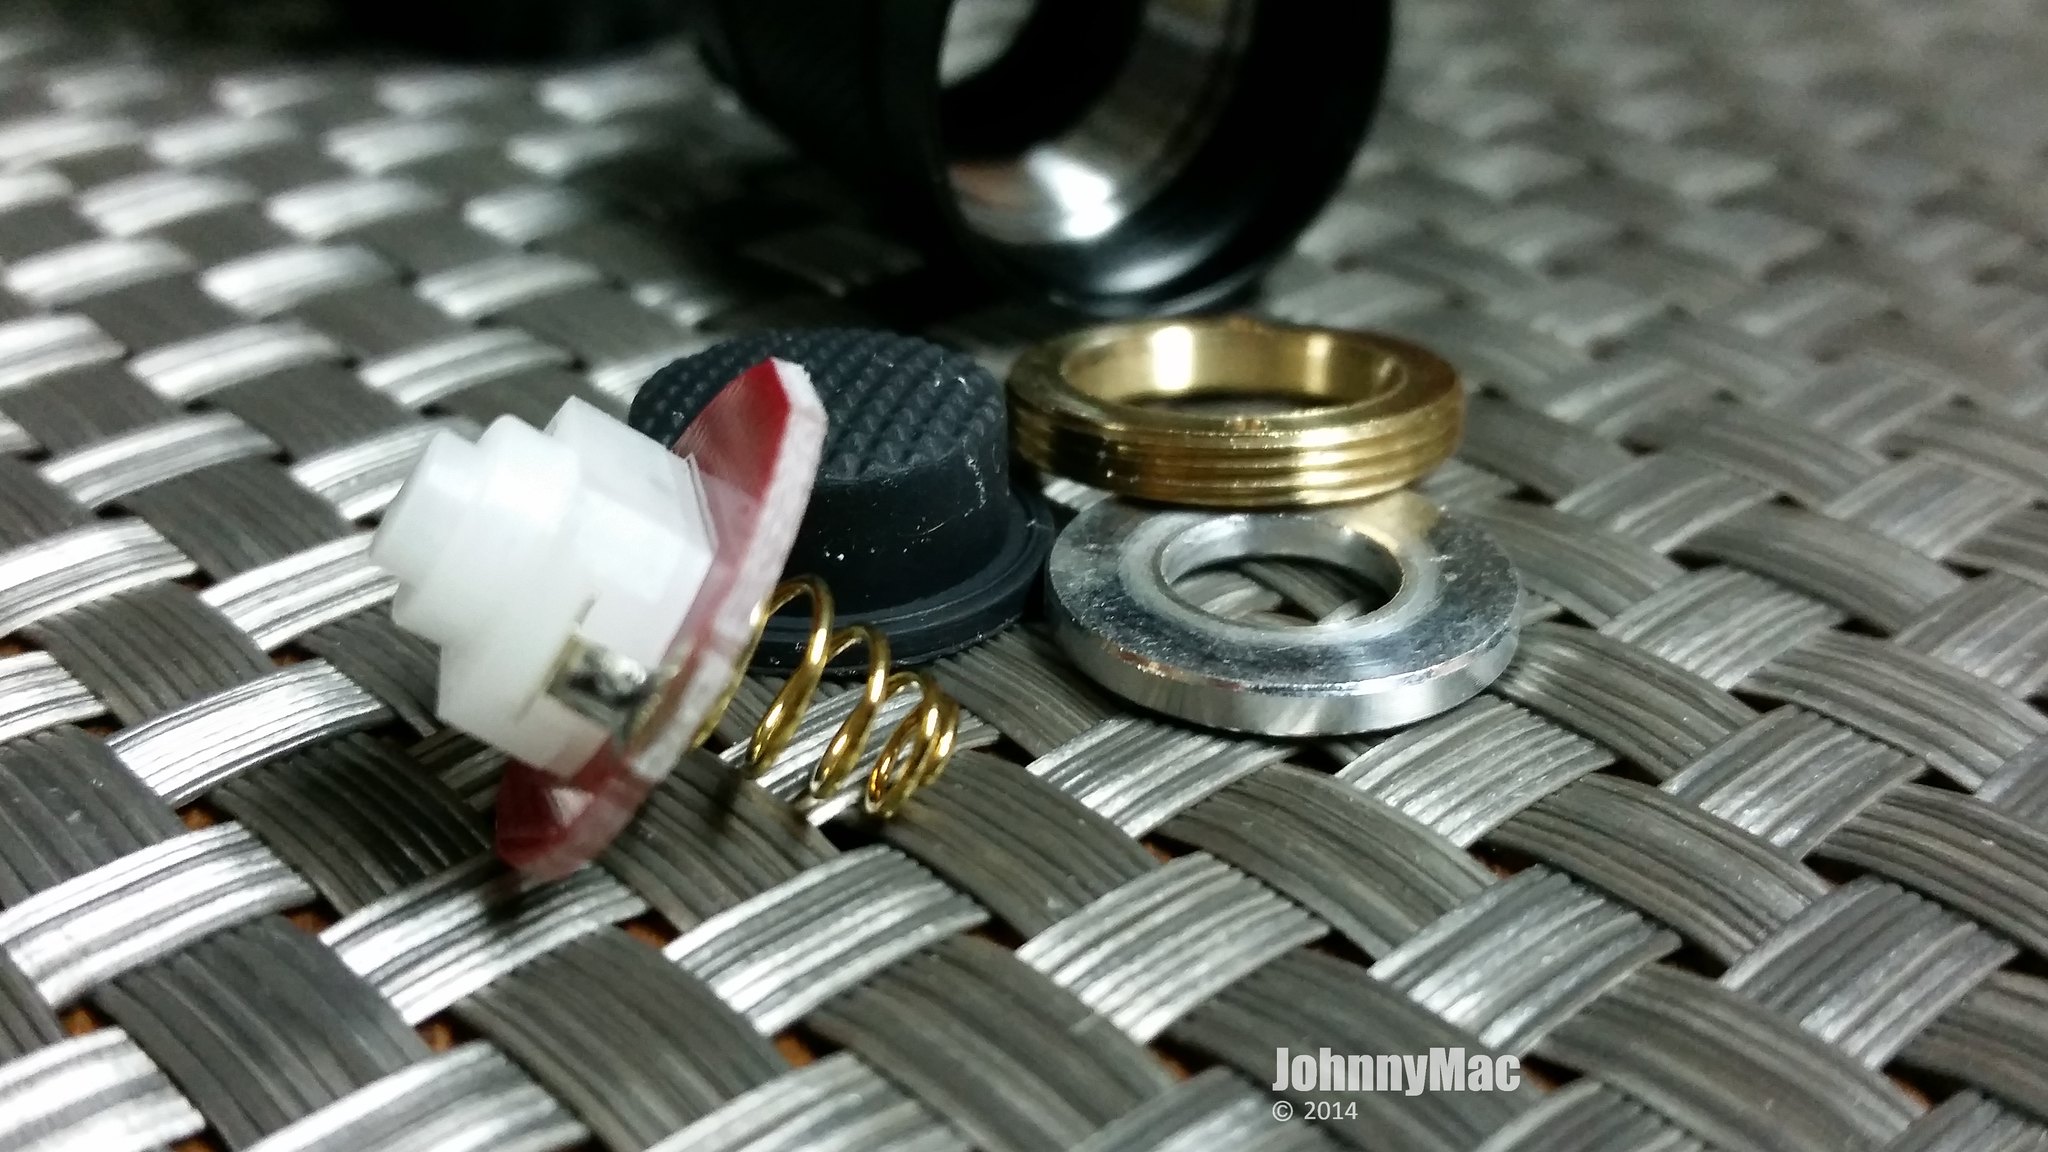
The switch boot can be swapped out for the included GITD boot should you prefer that over black. Here you can see how the parts thread into the beefy tailcap.
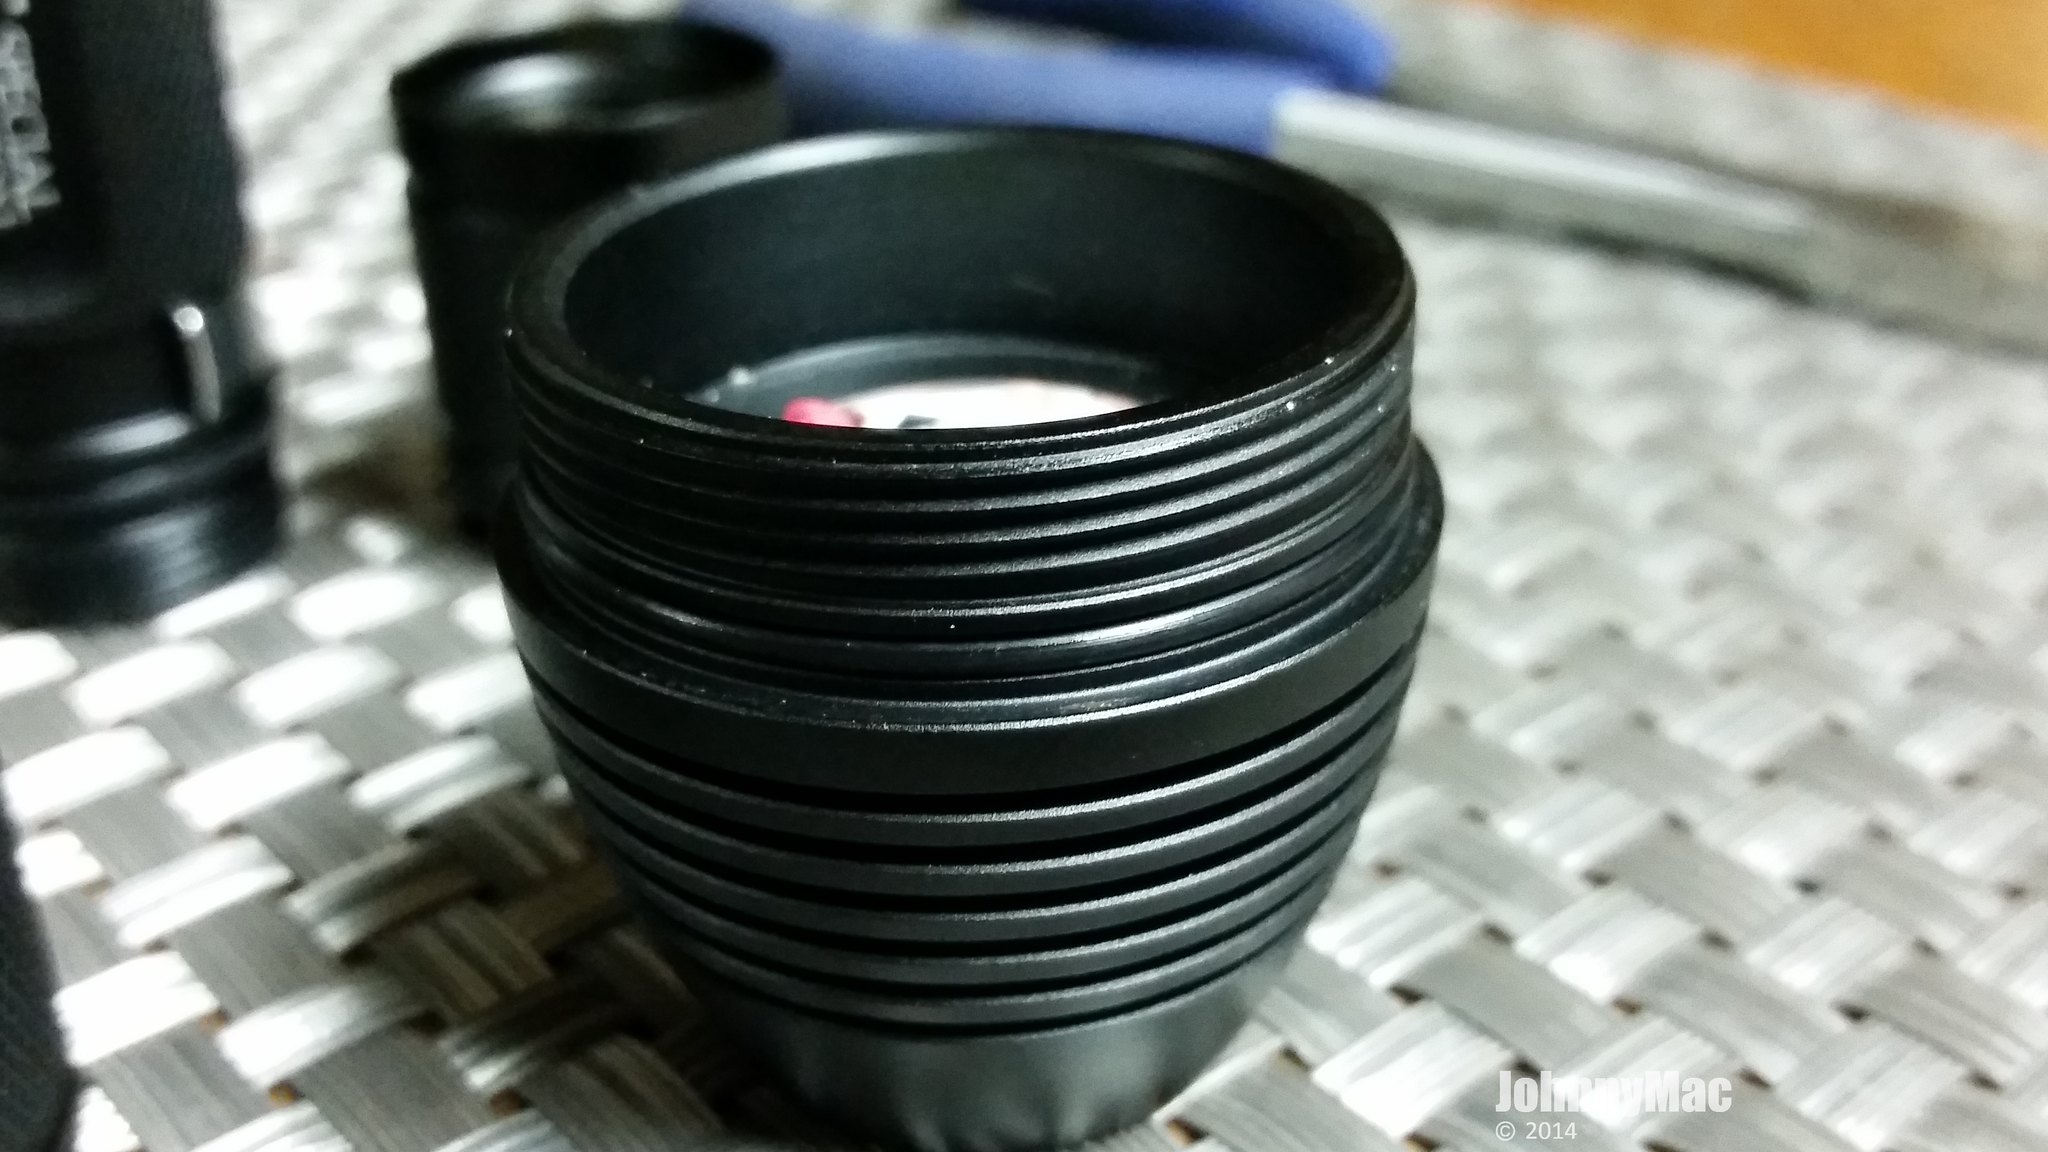
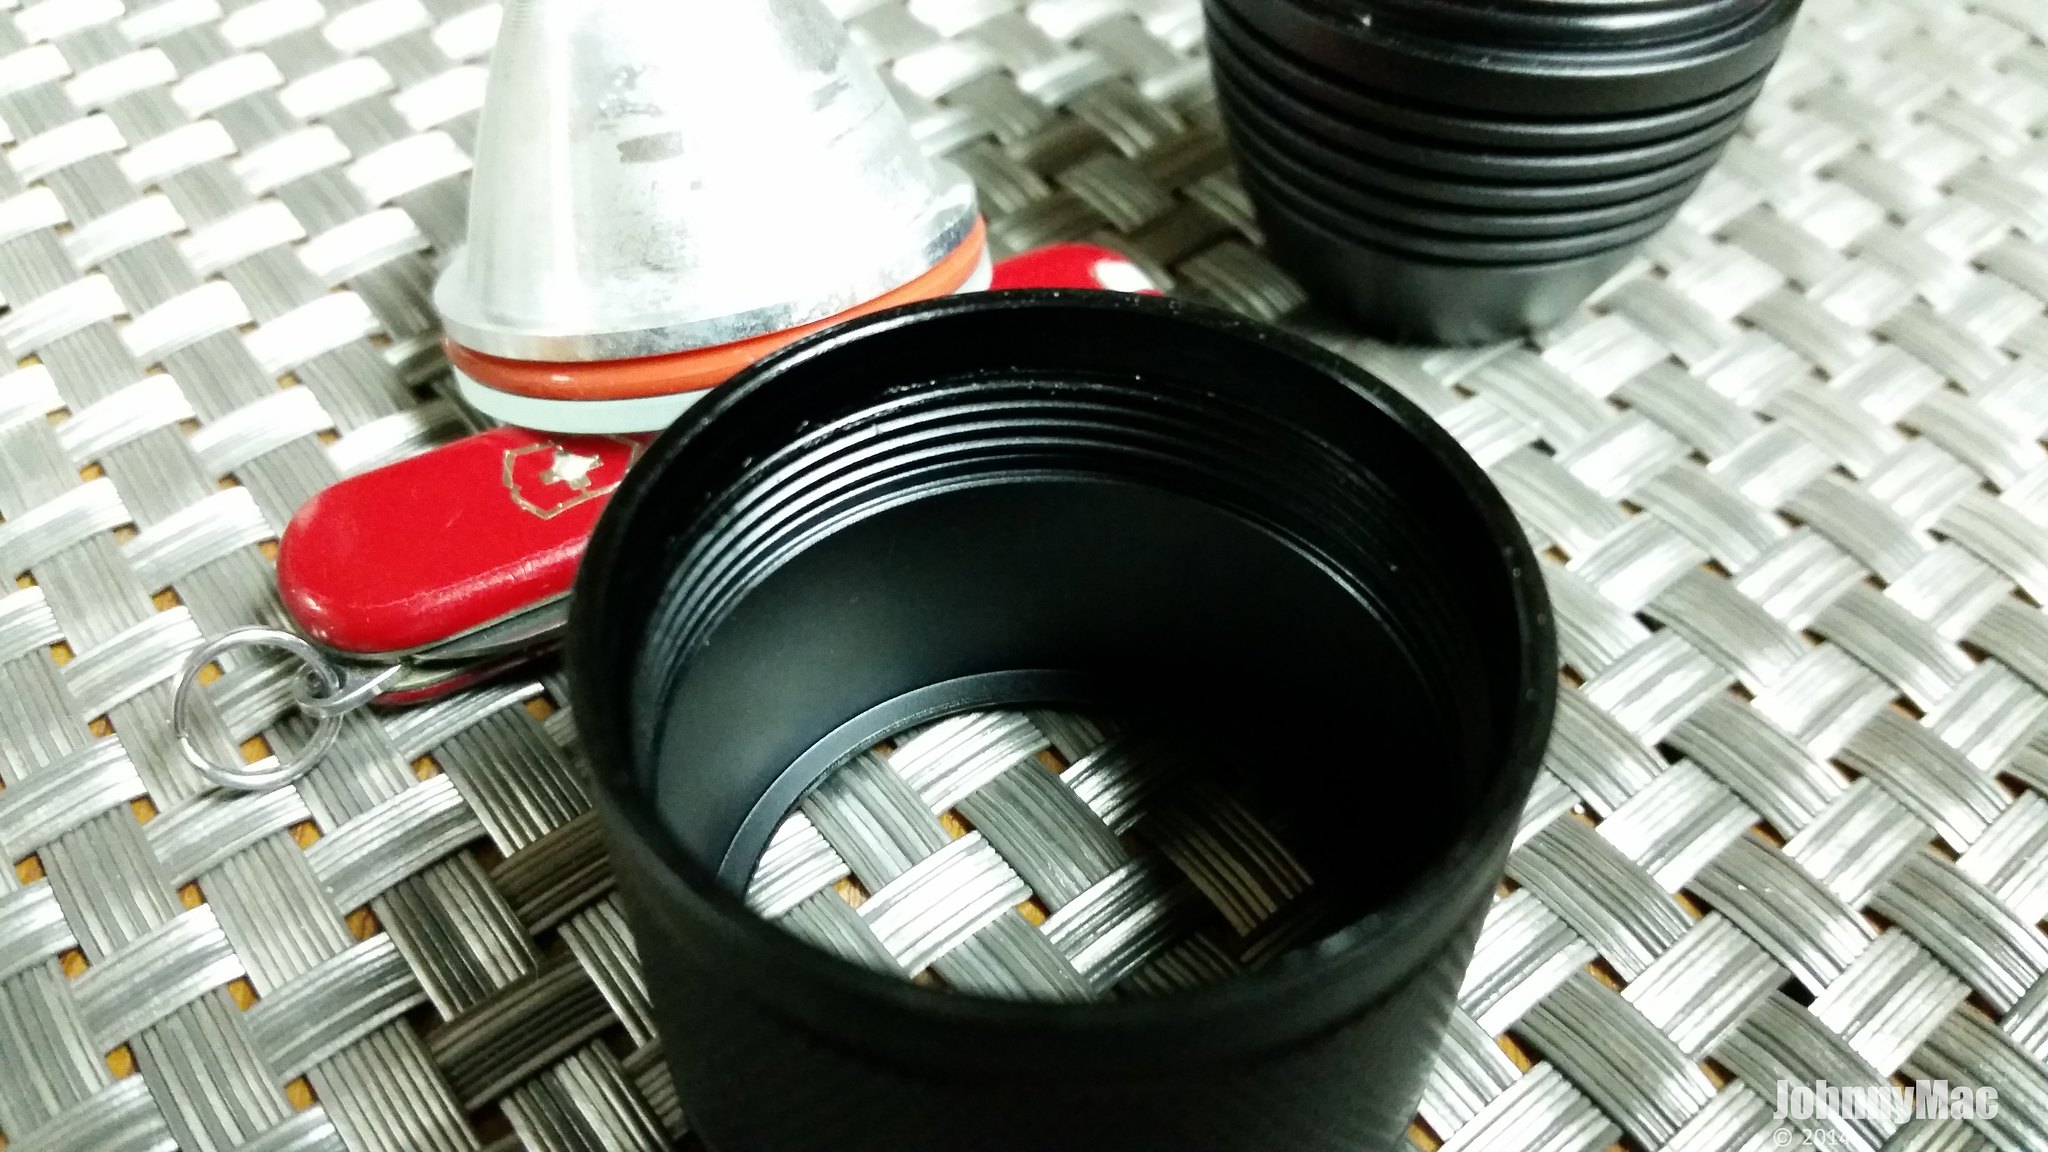
Here you can see just how deep the bezel is on the X6. It is fully anodized inside and out. All threads here are just as well machined as the rest of the light. Everything seals tightly with perfectly sized O-rings. No play in the reflector means it is centered perfectly every time.
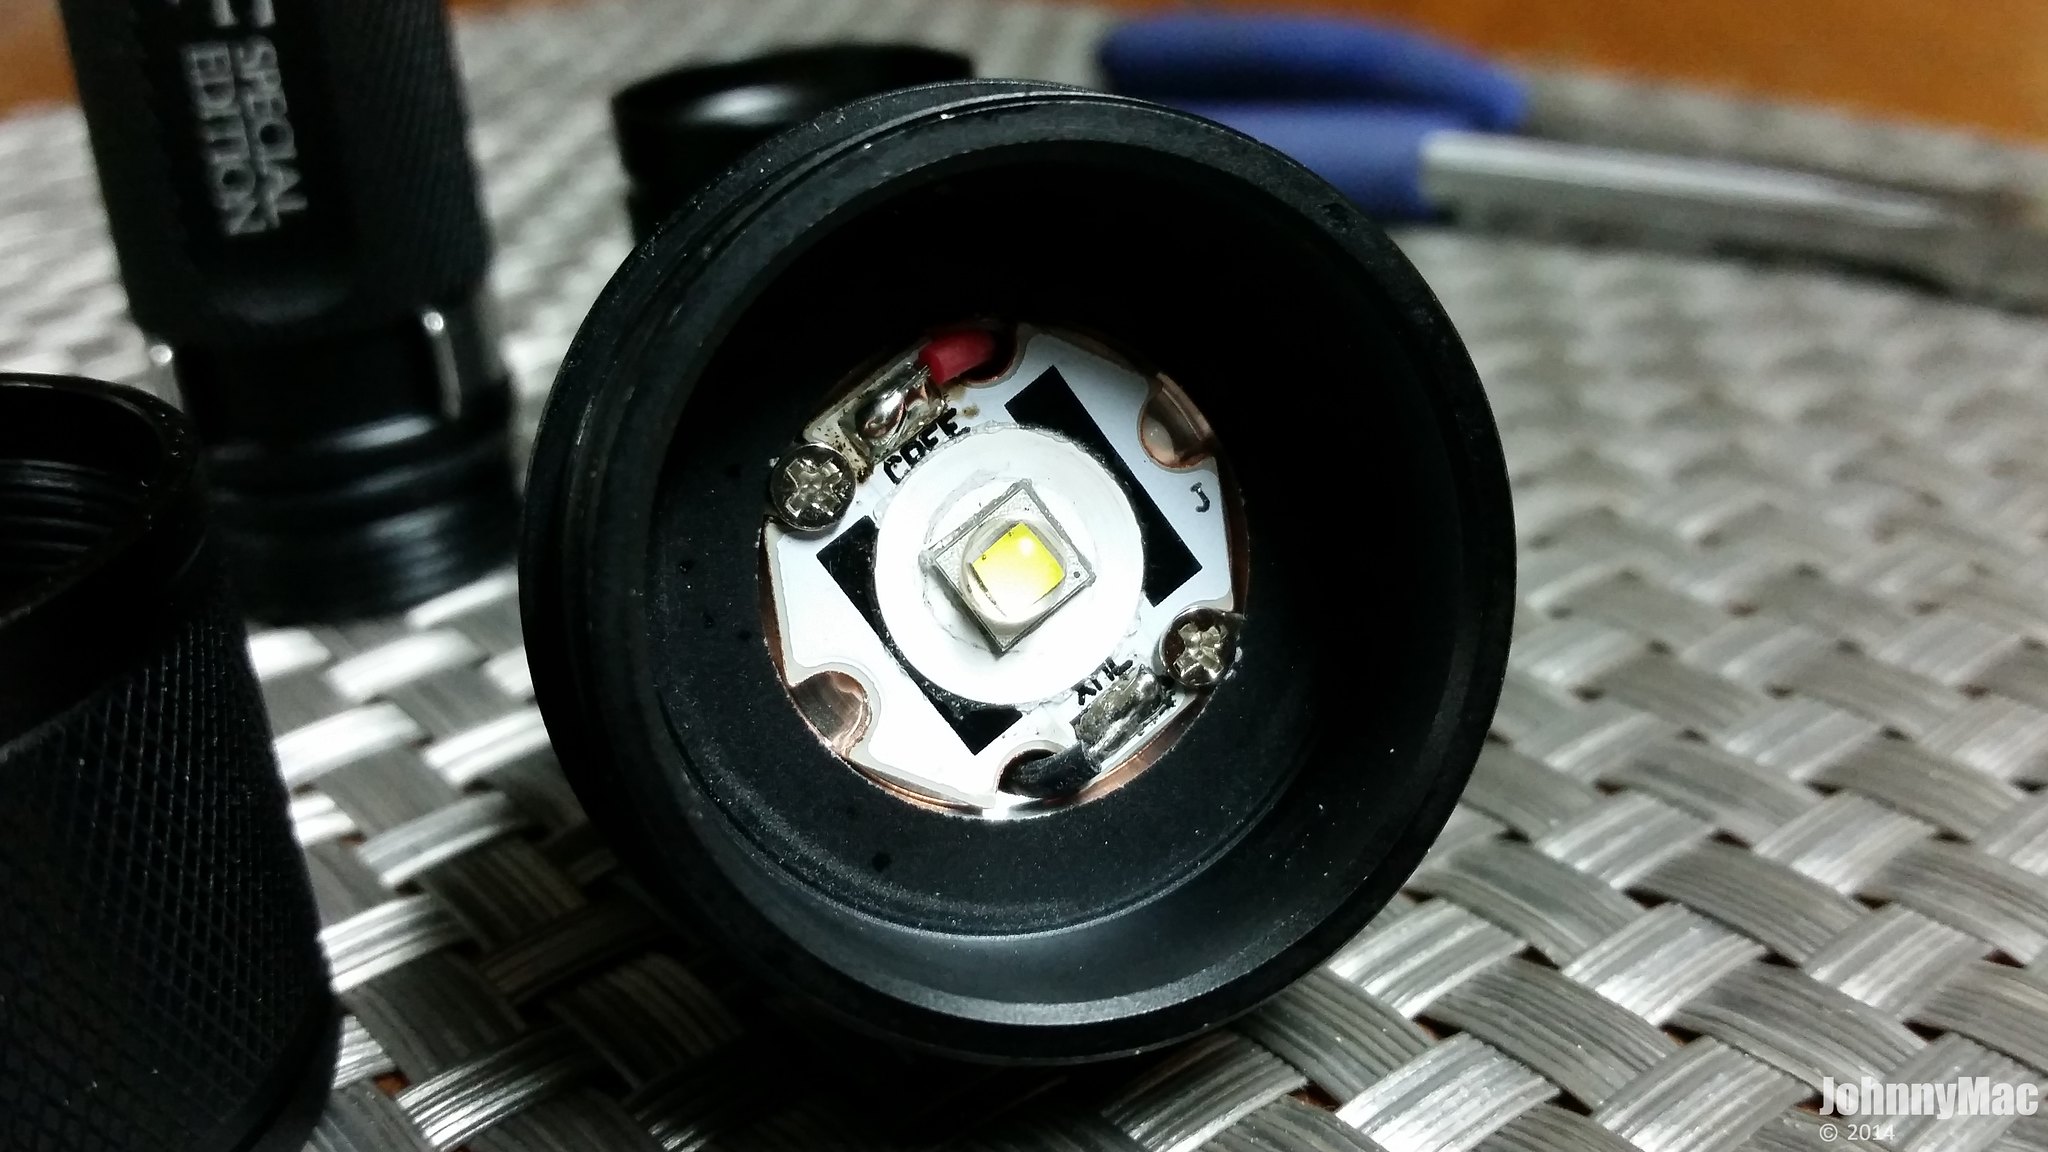
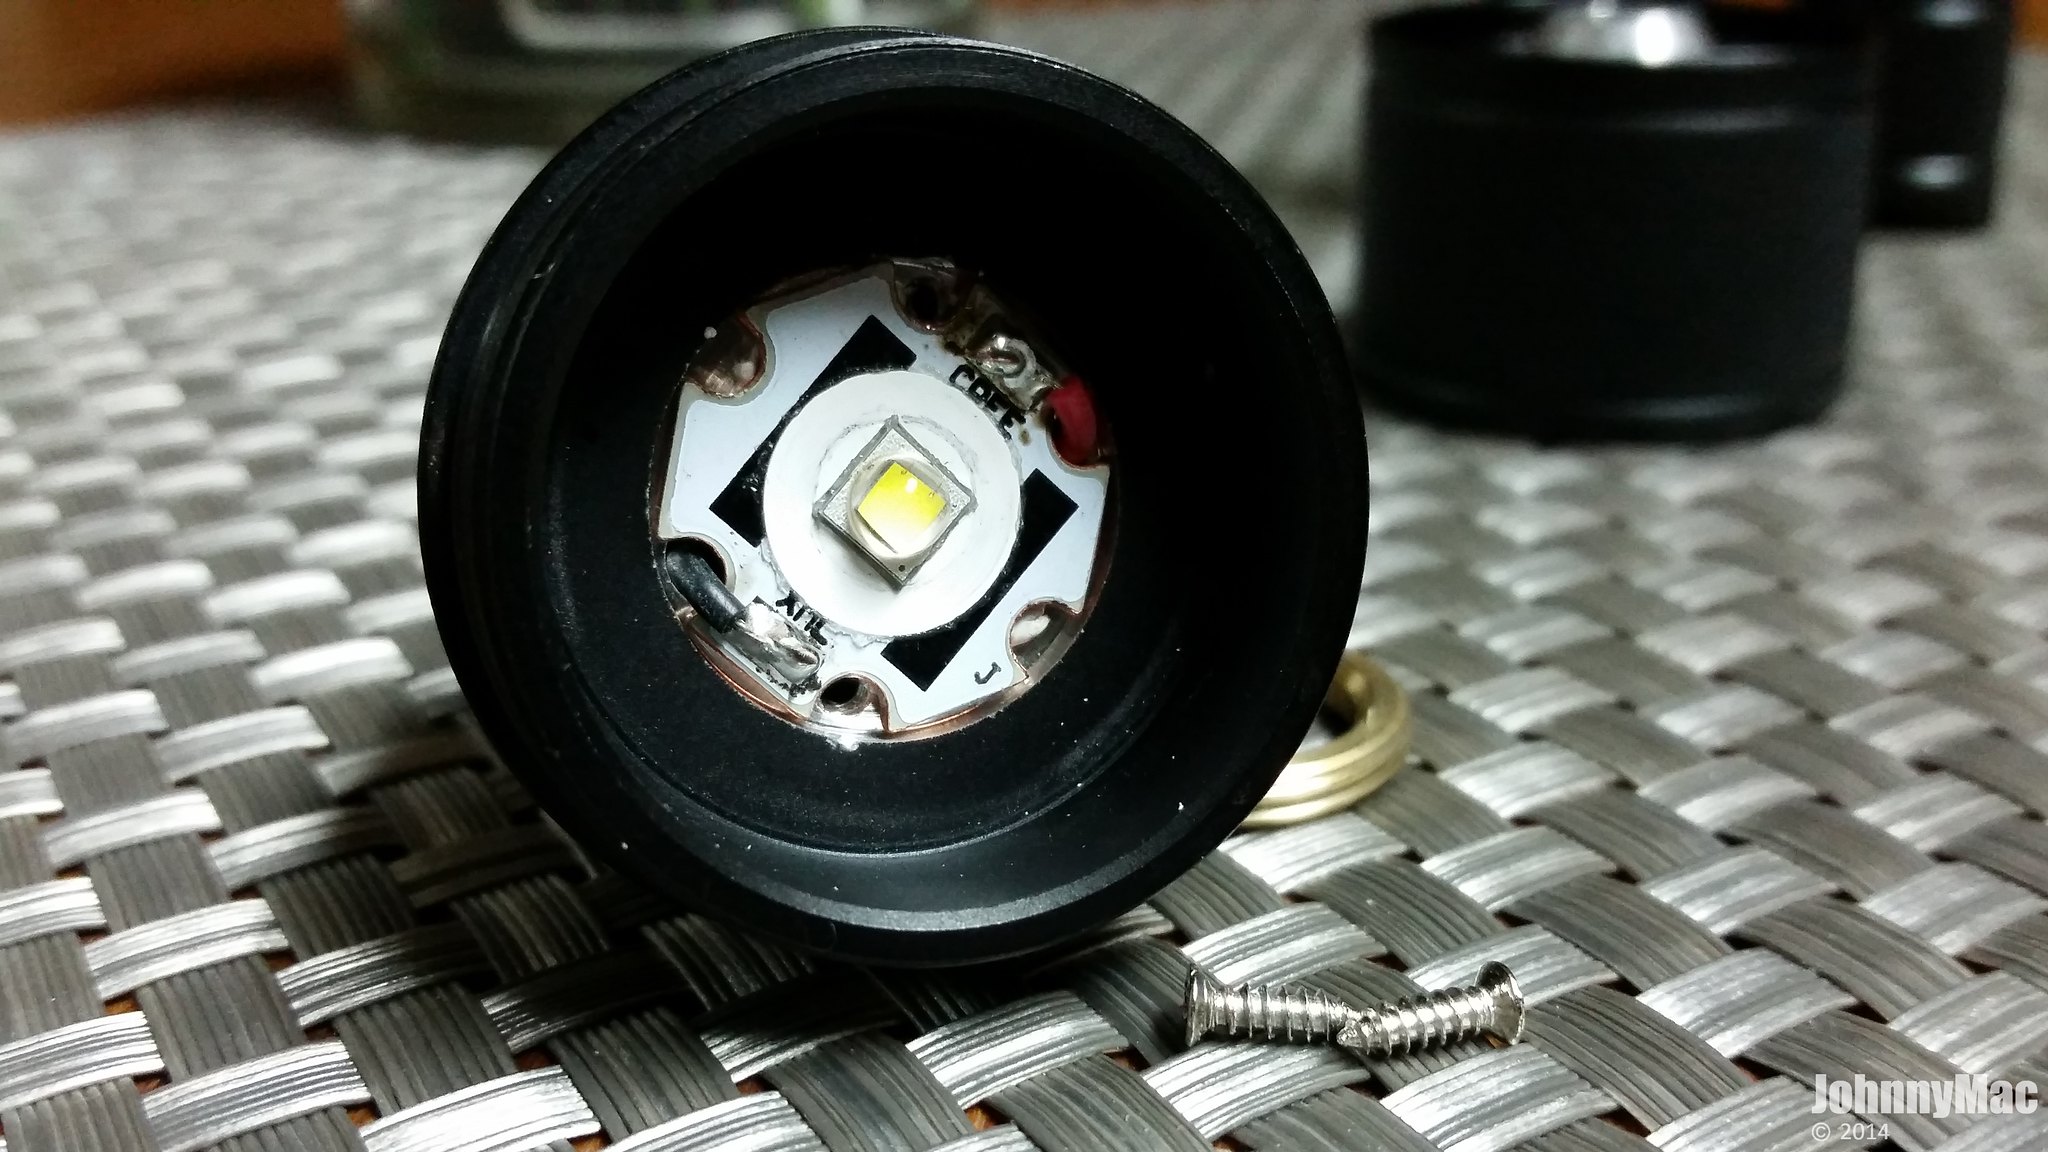
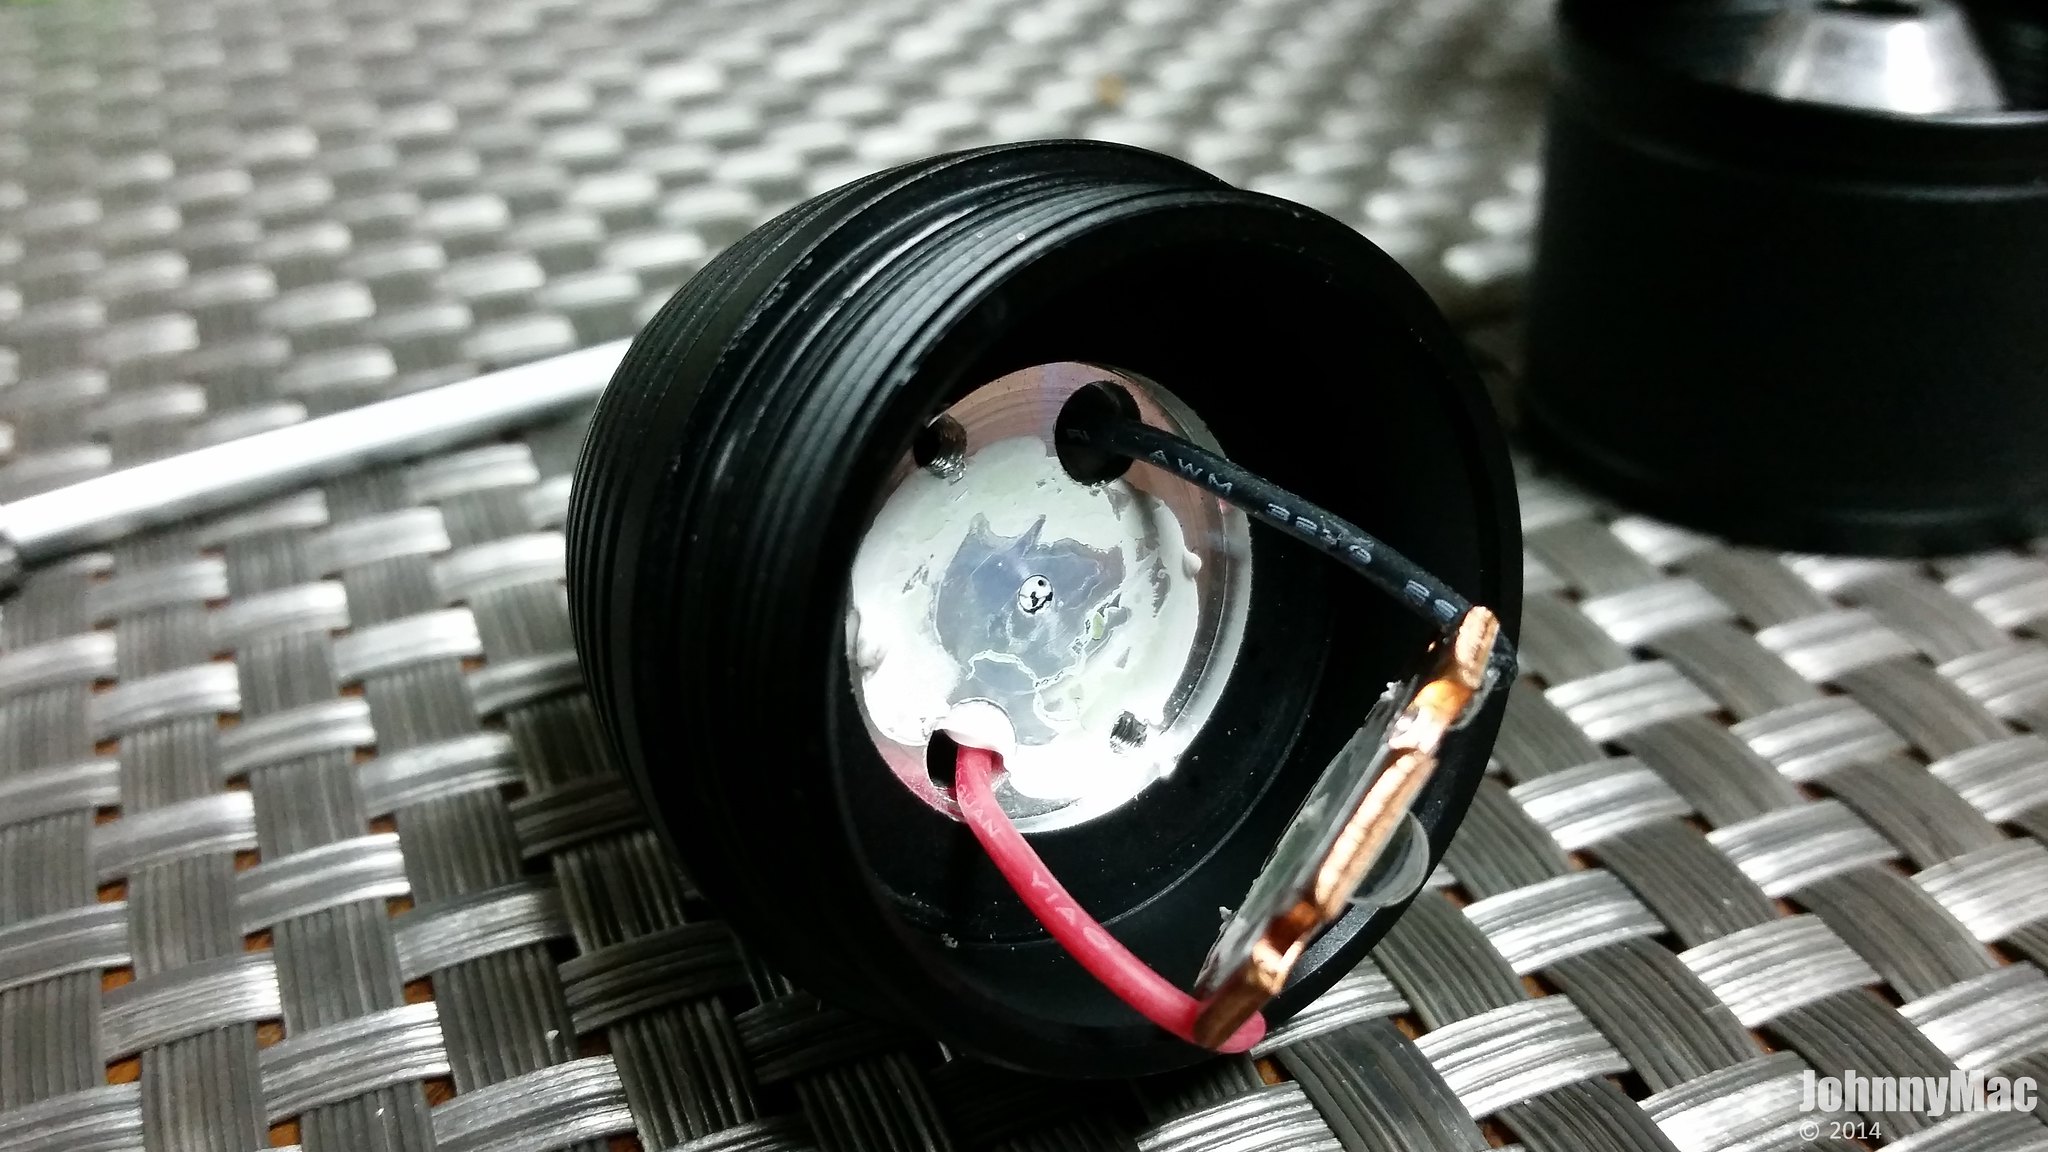
With the reflector removed you can see the 20mm copper MCPCB with the XM-L2 emitter. While the MCPCB on this sample is 1.7mm thick copper, it is not a direct thermal transfer type. The official production version will be for even better heat management. You can see the screws that clamp the MCPCB tighlty to the emitter shelf in the head.
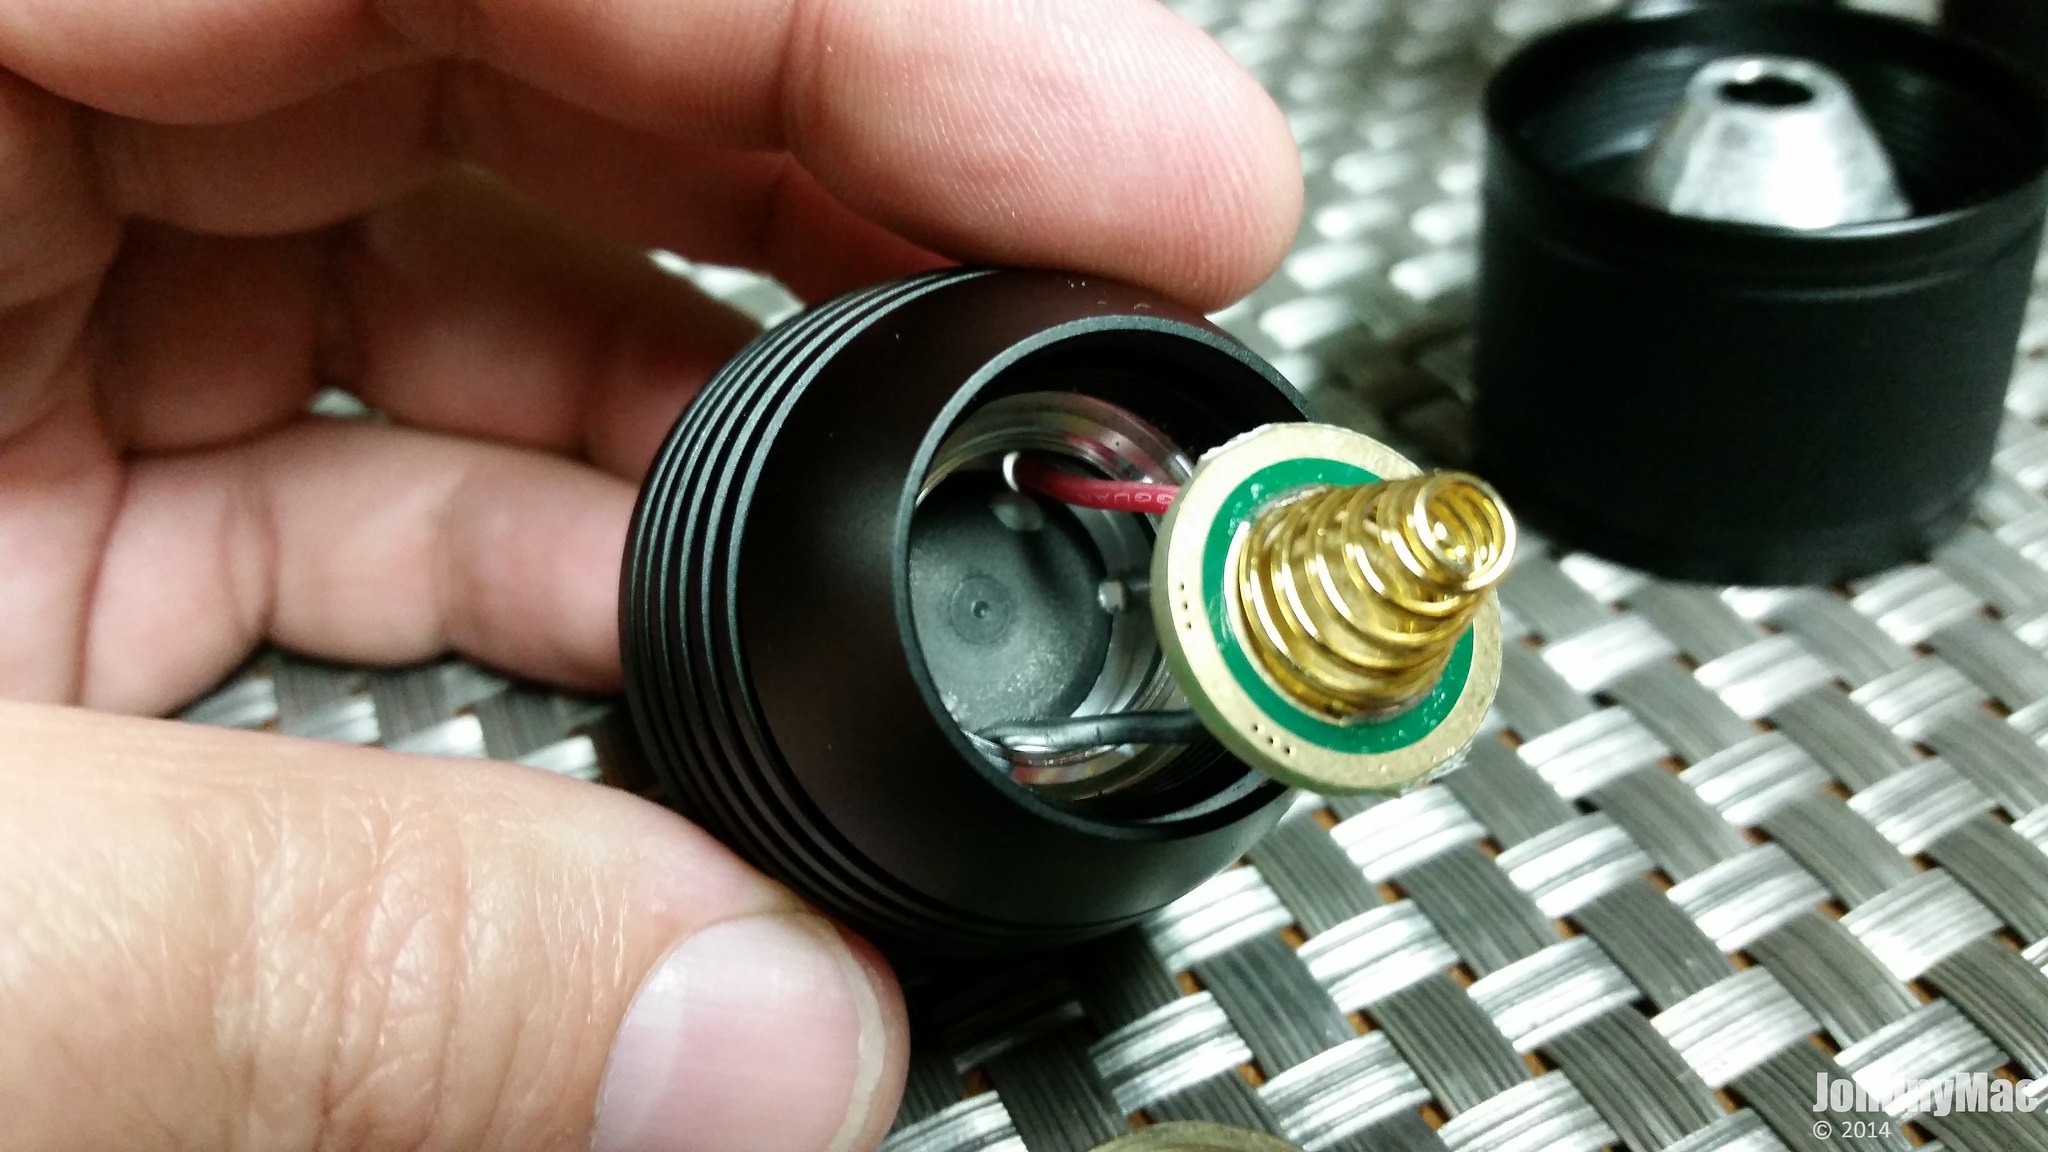
The single-sided driver is held in place with a thick threaded brass retaining ring.
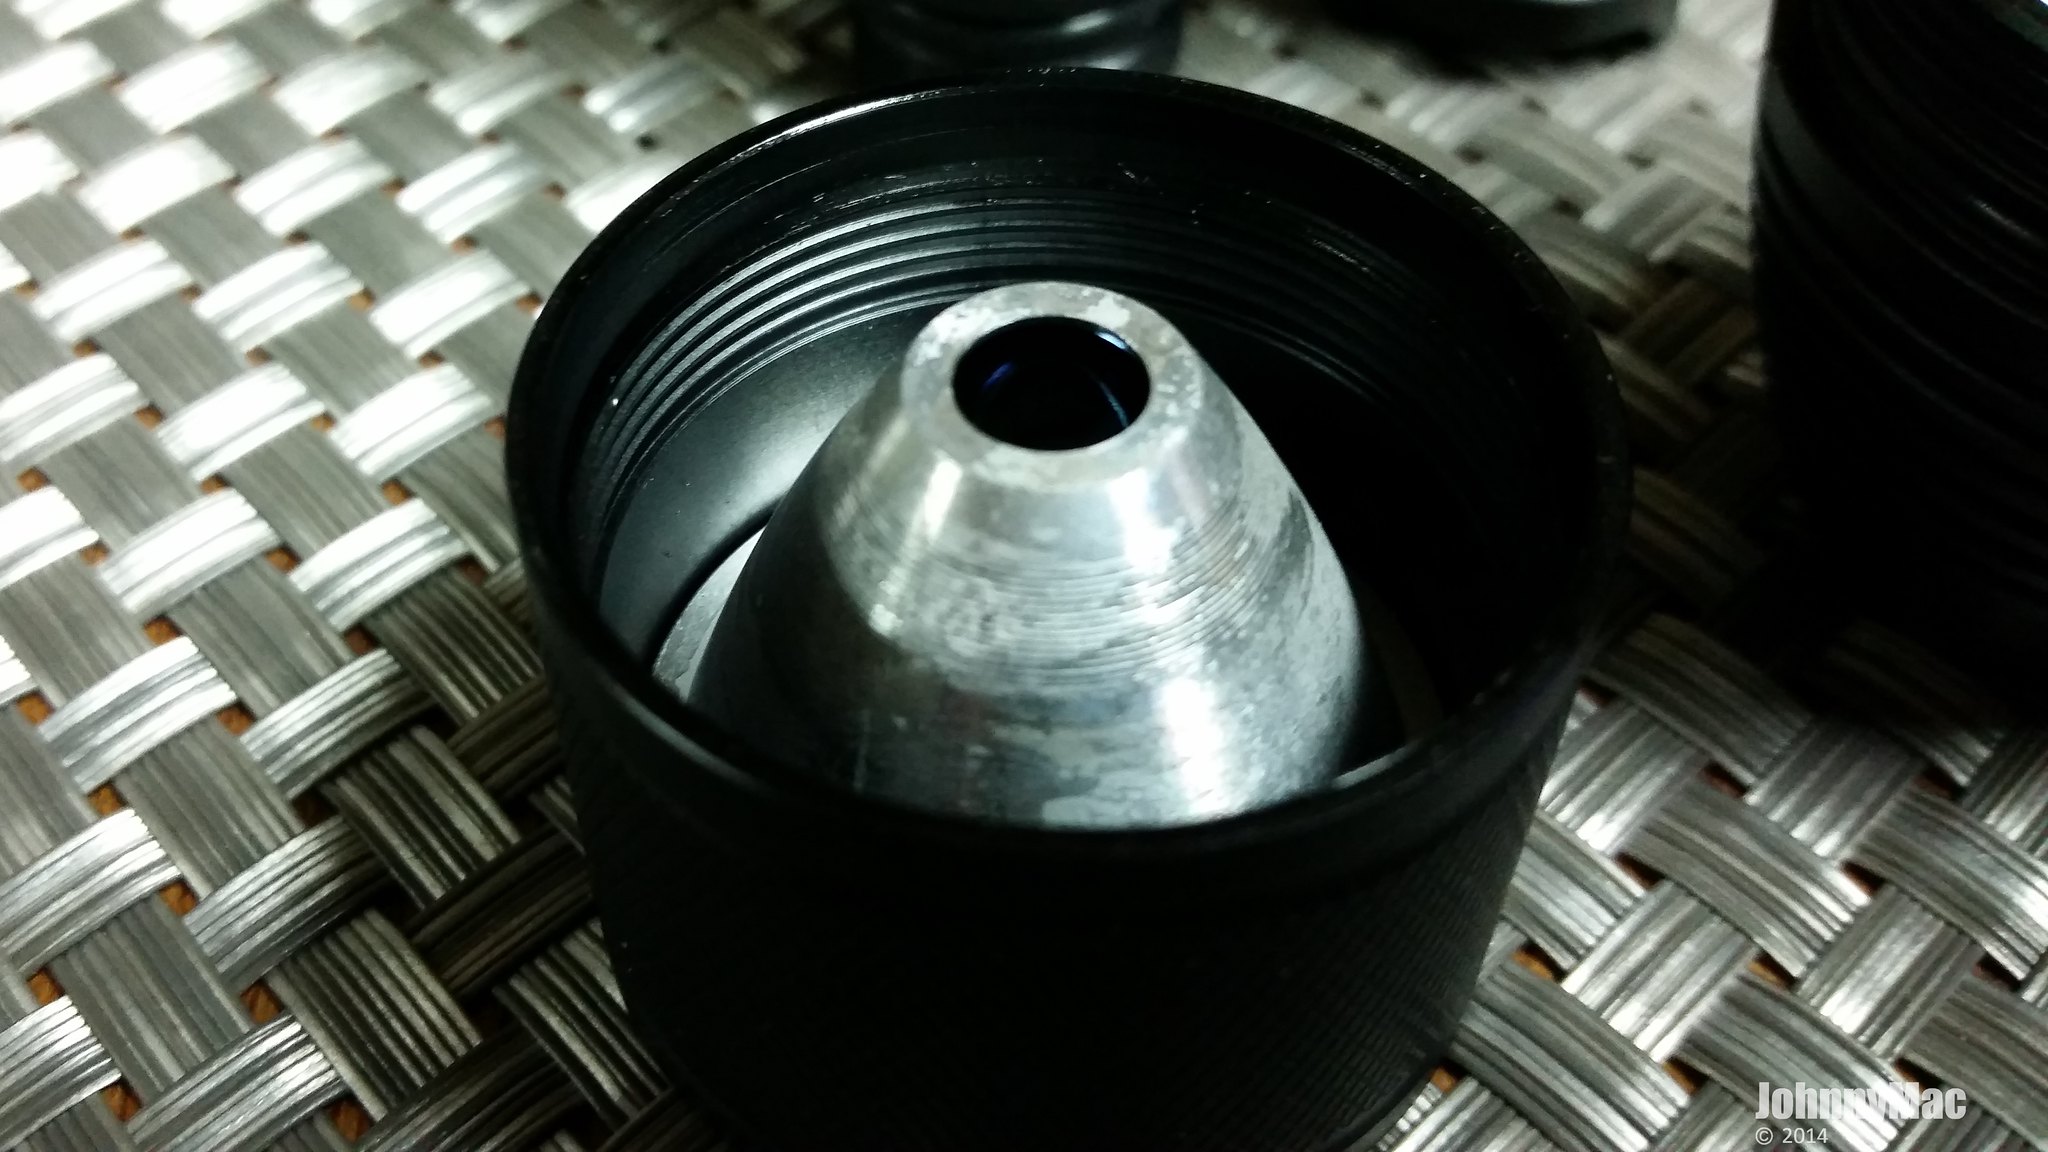
The wires appear to be roughly 22ga and are long enough to pull the driver out and see inside the pill area. Inside here we see a very deep, roomy pill and a built in emitter shelf making the entire head the actual pill. This offers fantastic thermal management and maximum cooling. All lights should be made this way.
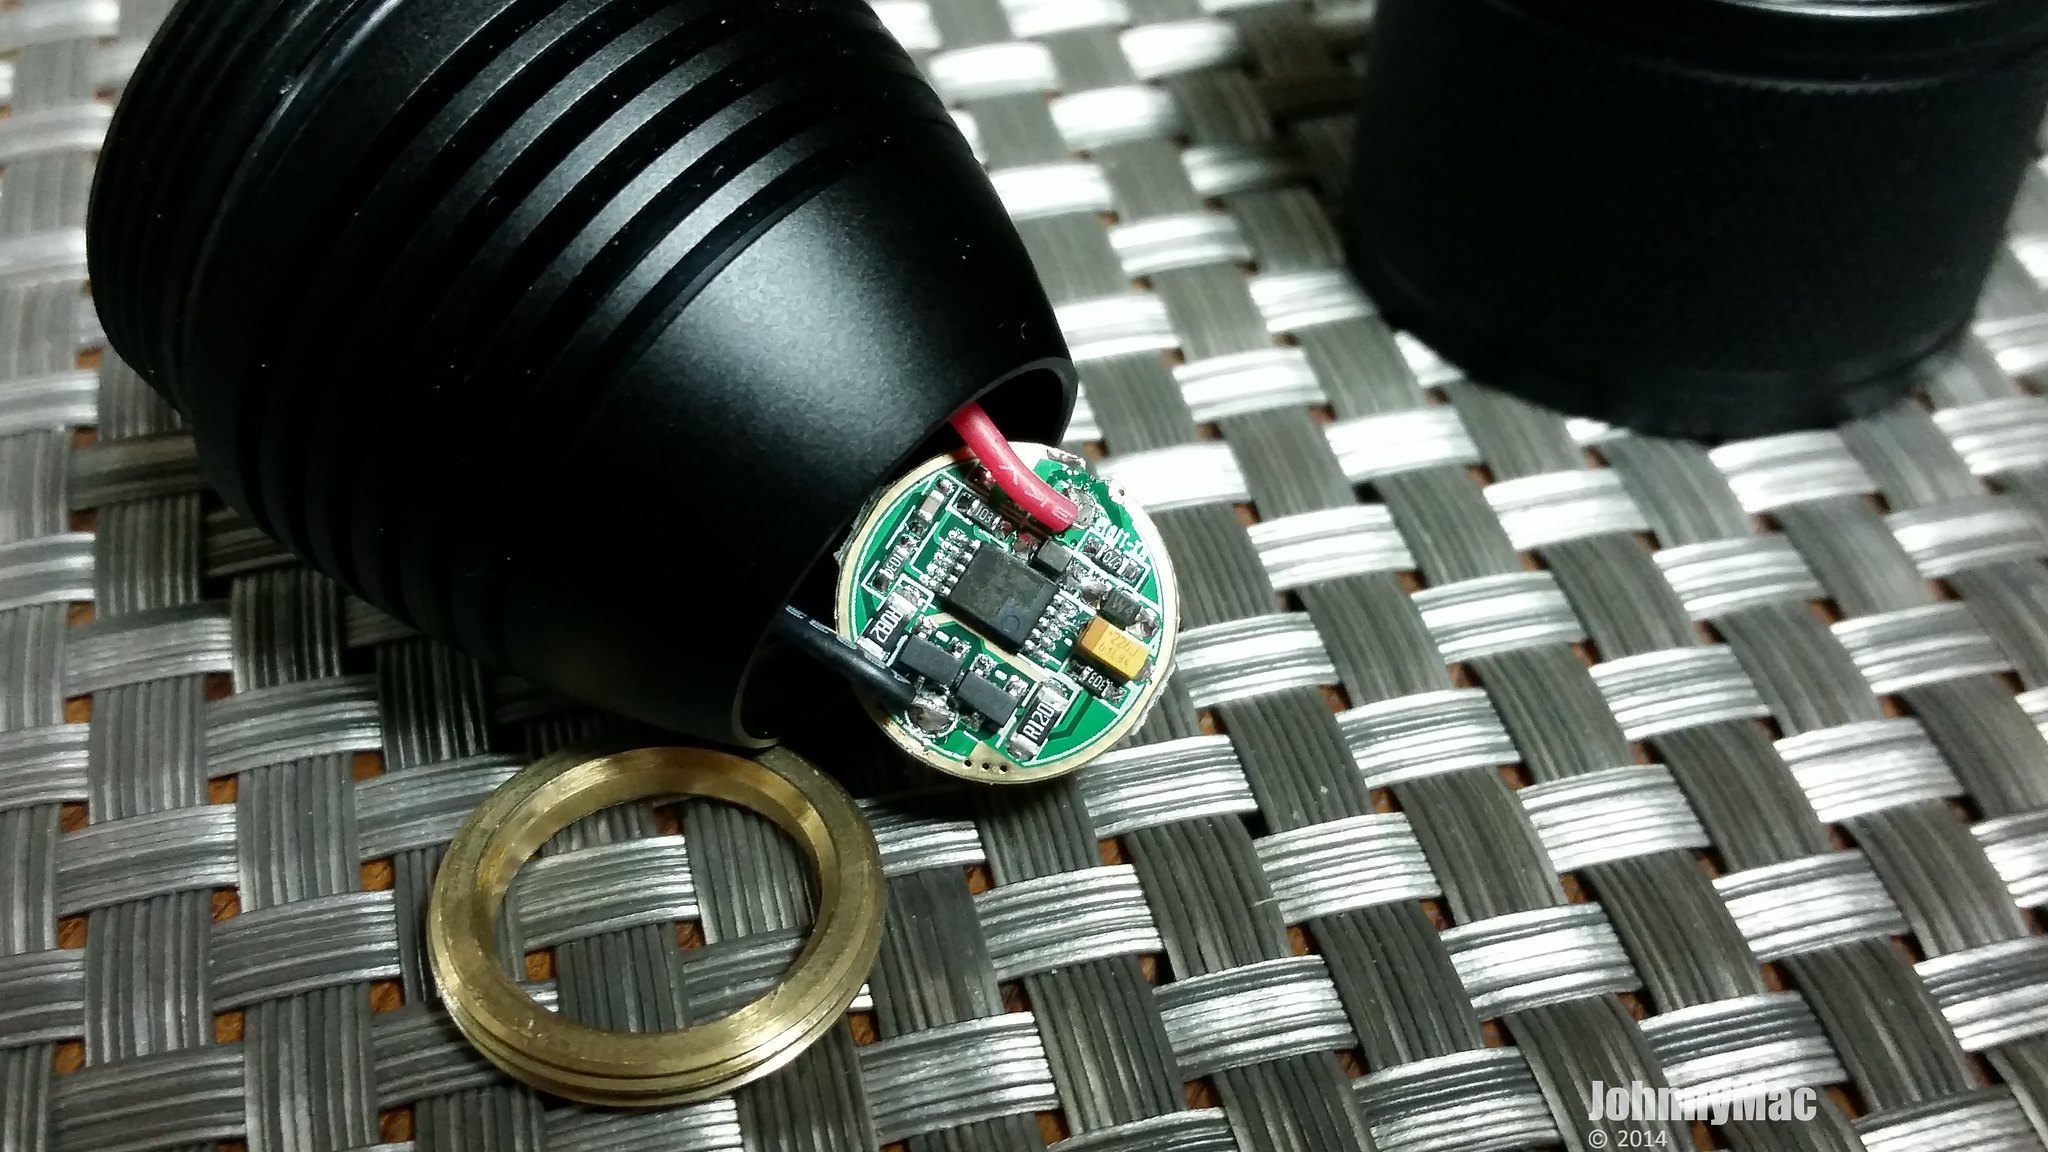
Here you can see the components ont the board. If the output isn’t enough for you modding is a definite possibility.
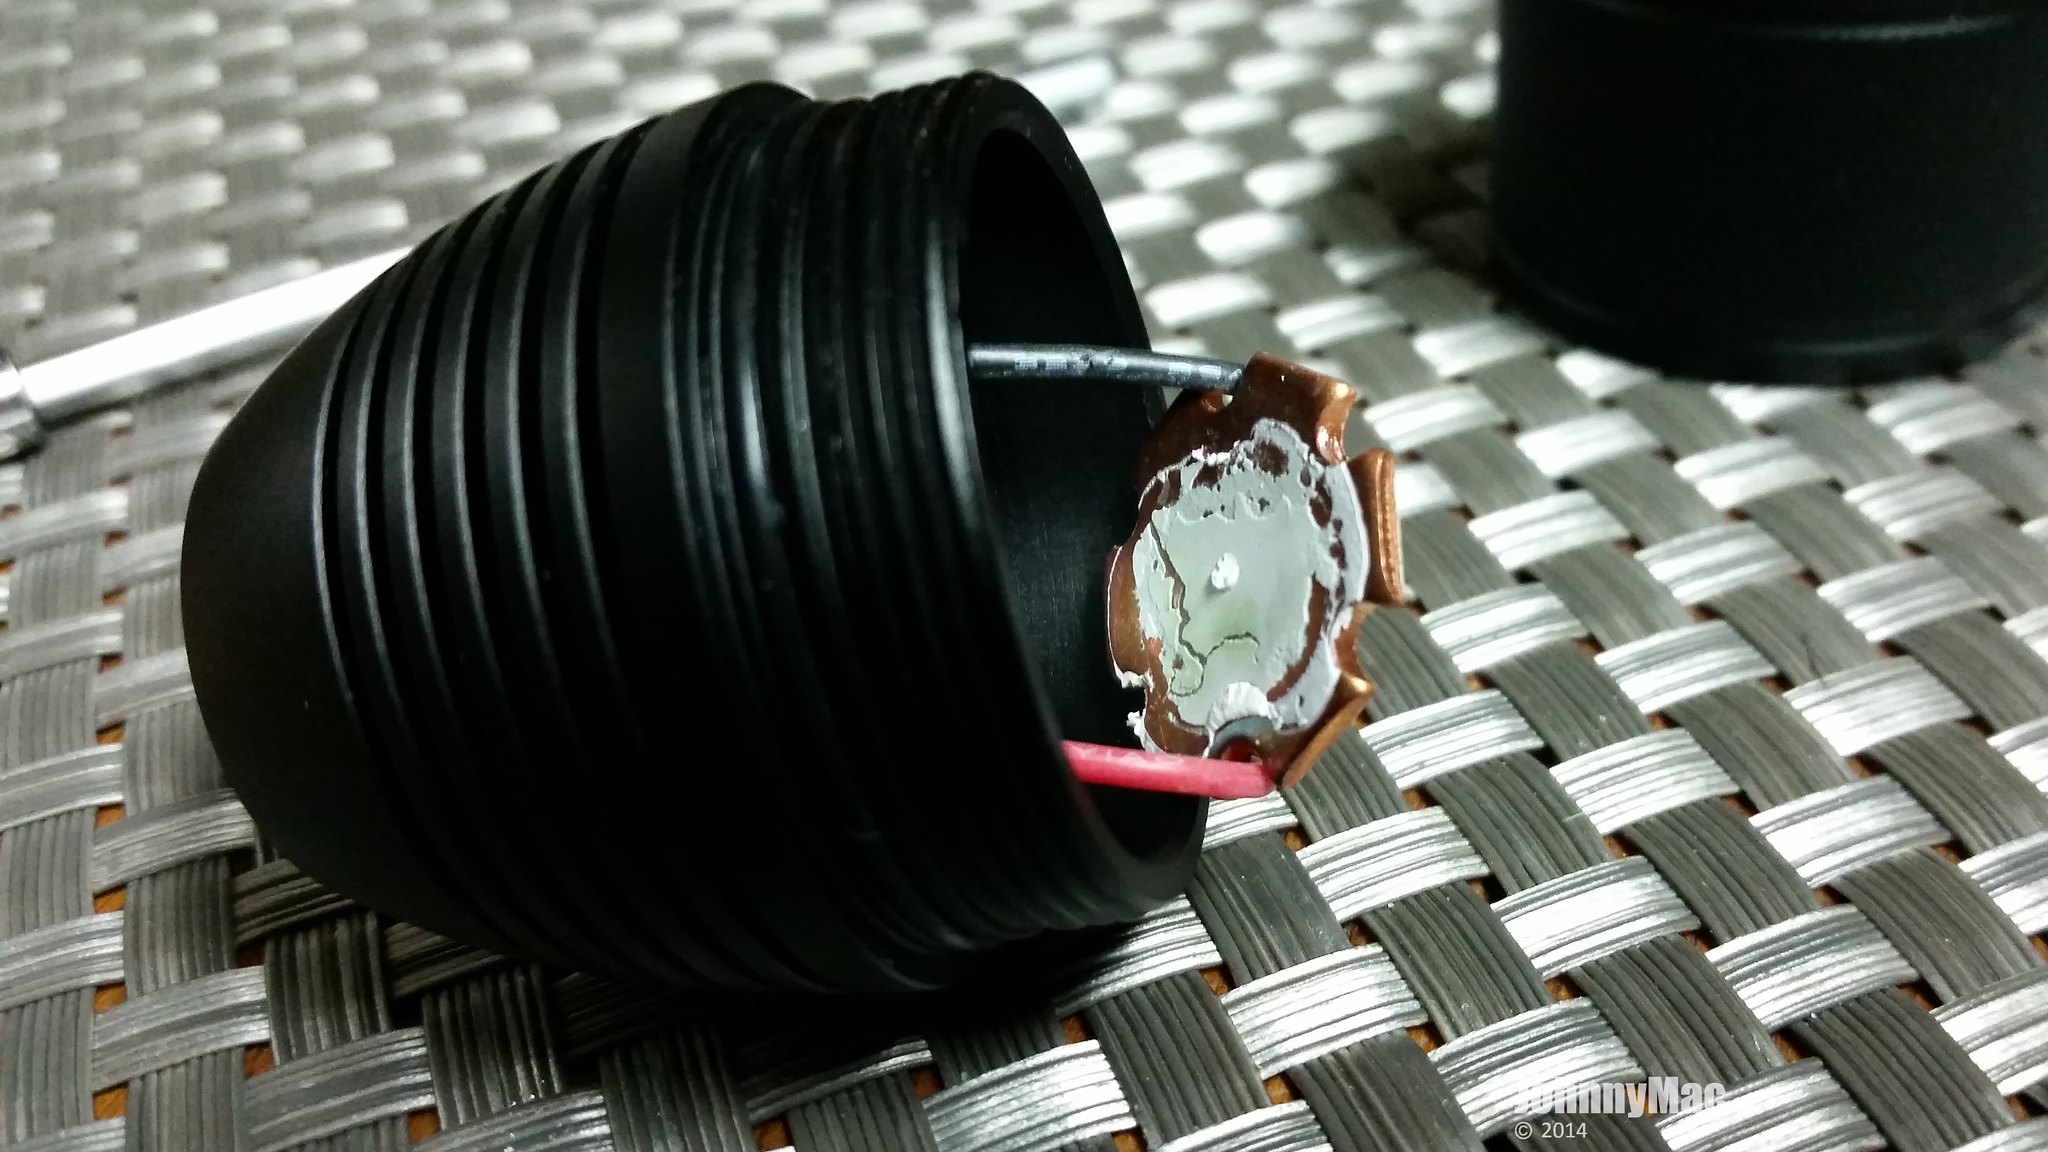
The MCPCP is held in place with screws as well as with a Fujik thermal paste. This type of paste really doesn’t help much but is definitely better than nothing. In the case of my sample nothing may have been better as the Fujik was applied very thick as you can see in these photos.
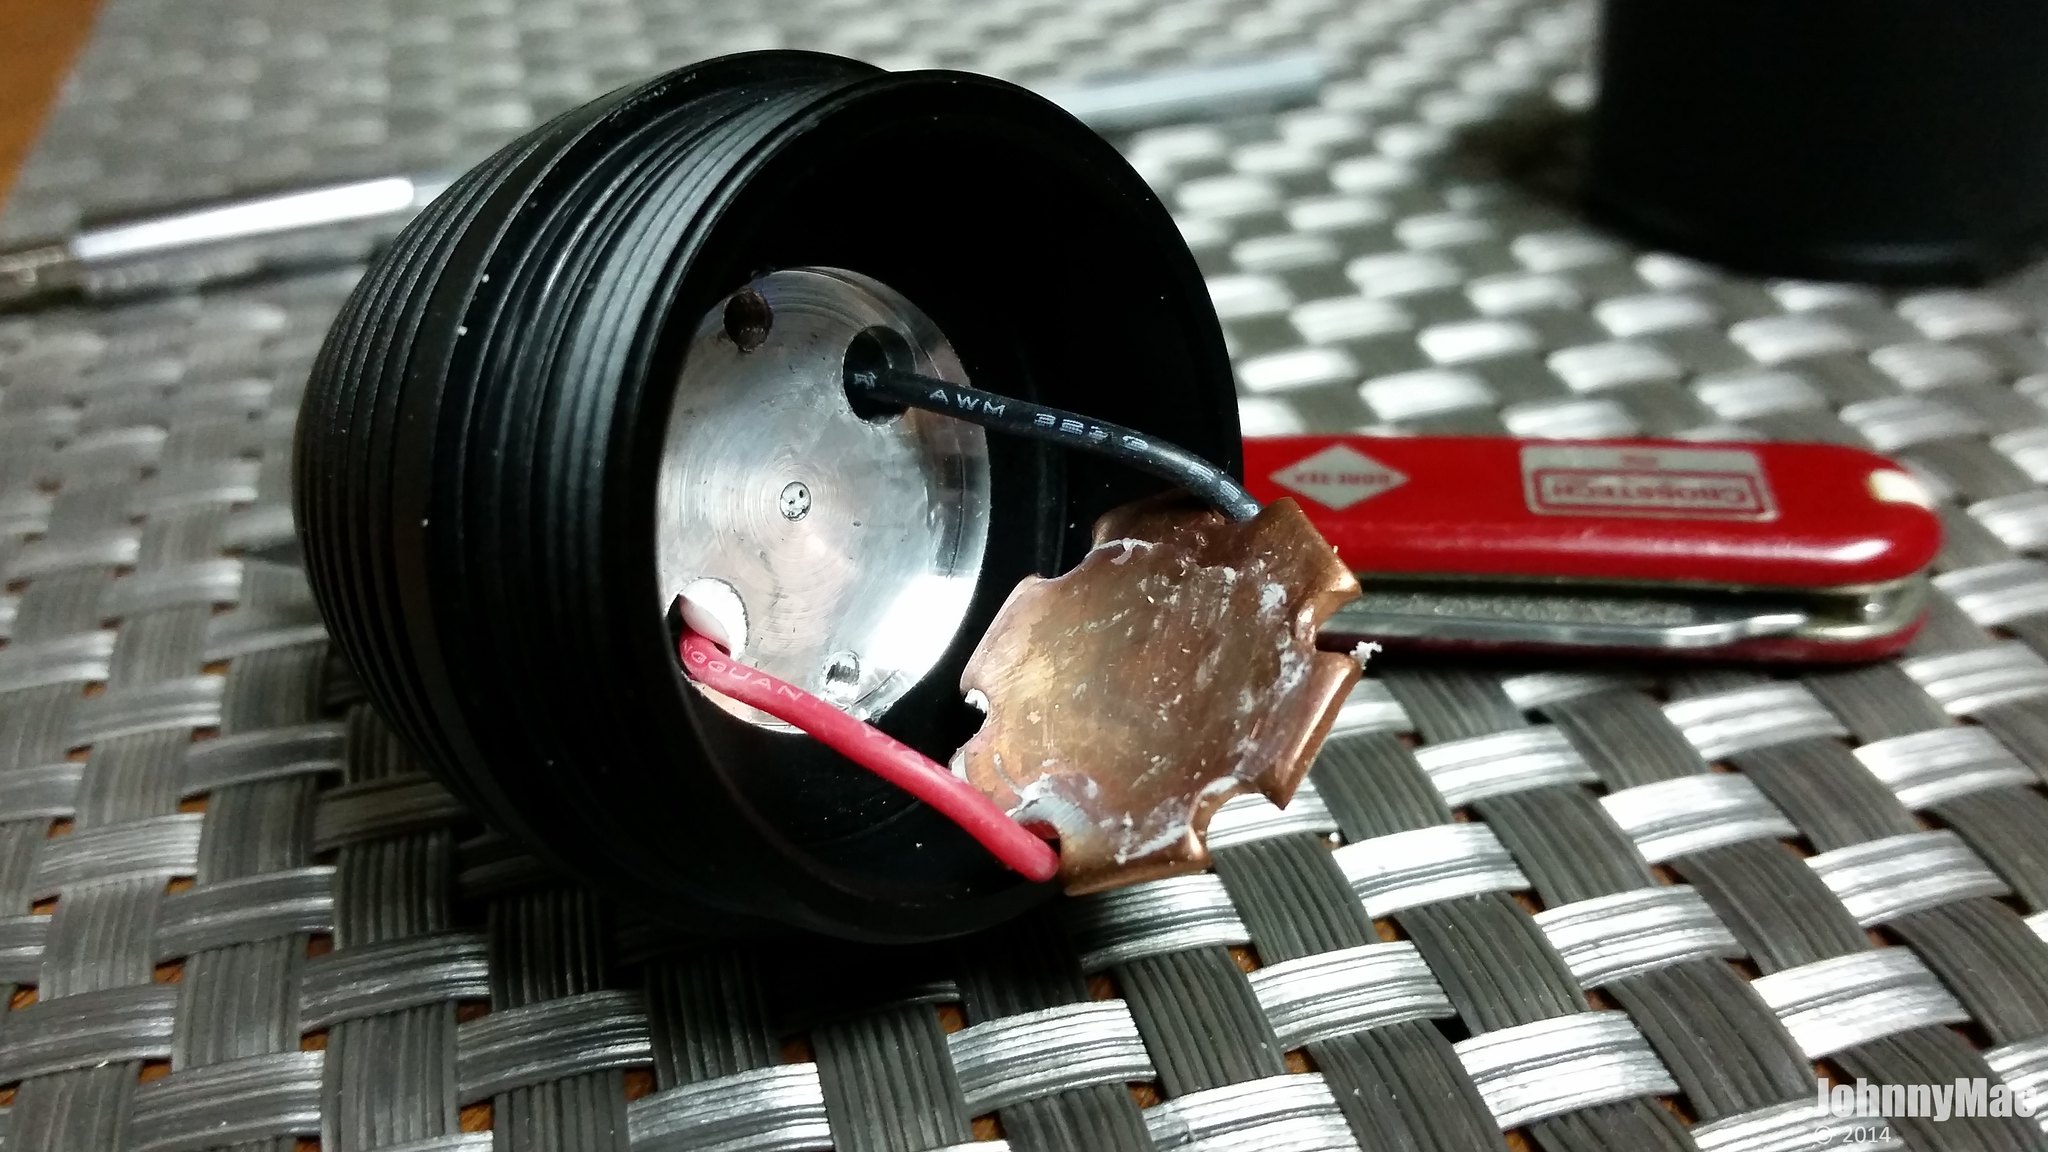
Some scraping with my finger nail easily removed the old thermal paste. You can see that there are very slight machining ridges in the face of the emitter shelf. What you may not be able to see is that it is completely flat and not cupped or bowed in any way. I applied a thin layer of arctic silver before mounting the MCPCB back into the head.
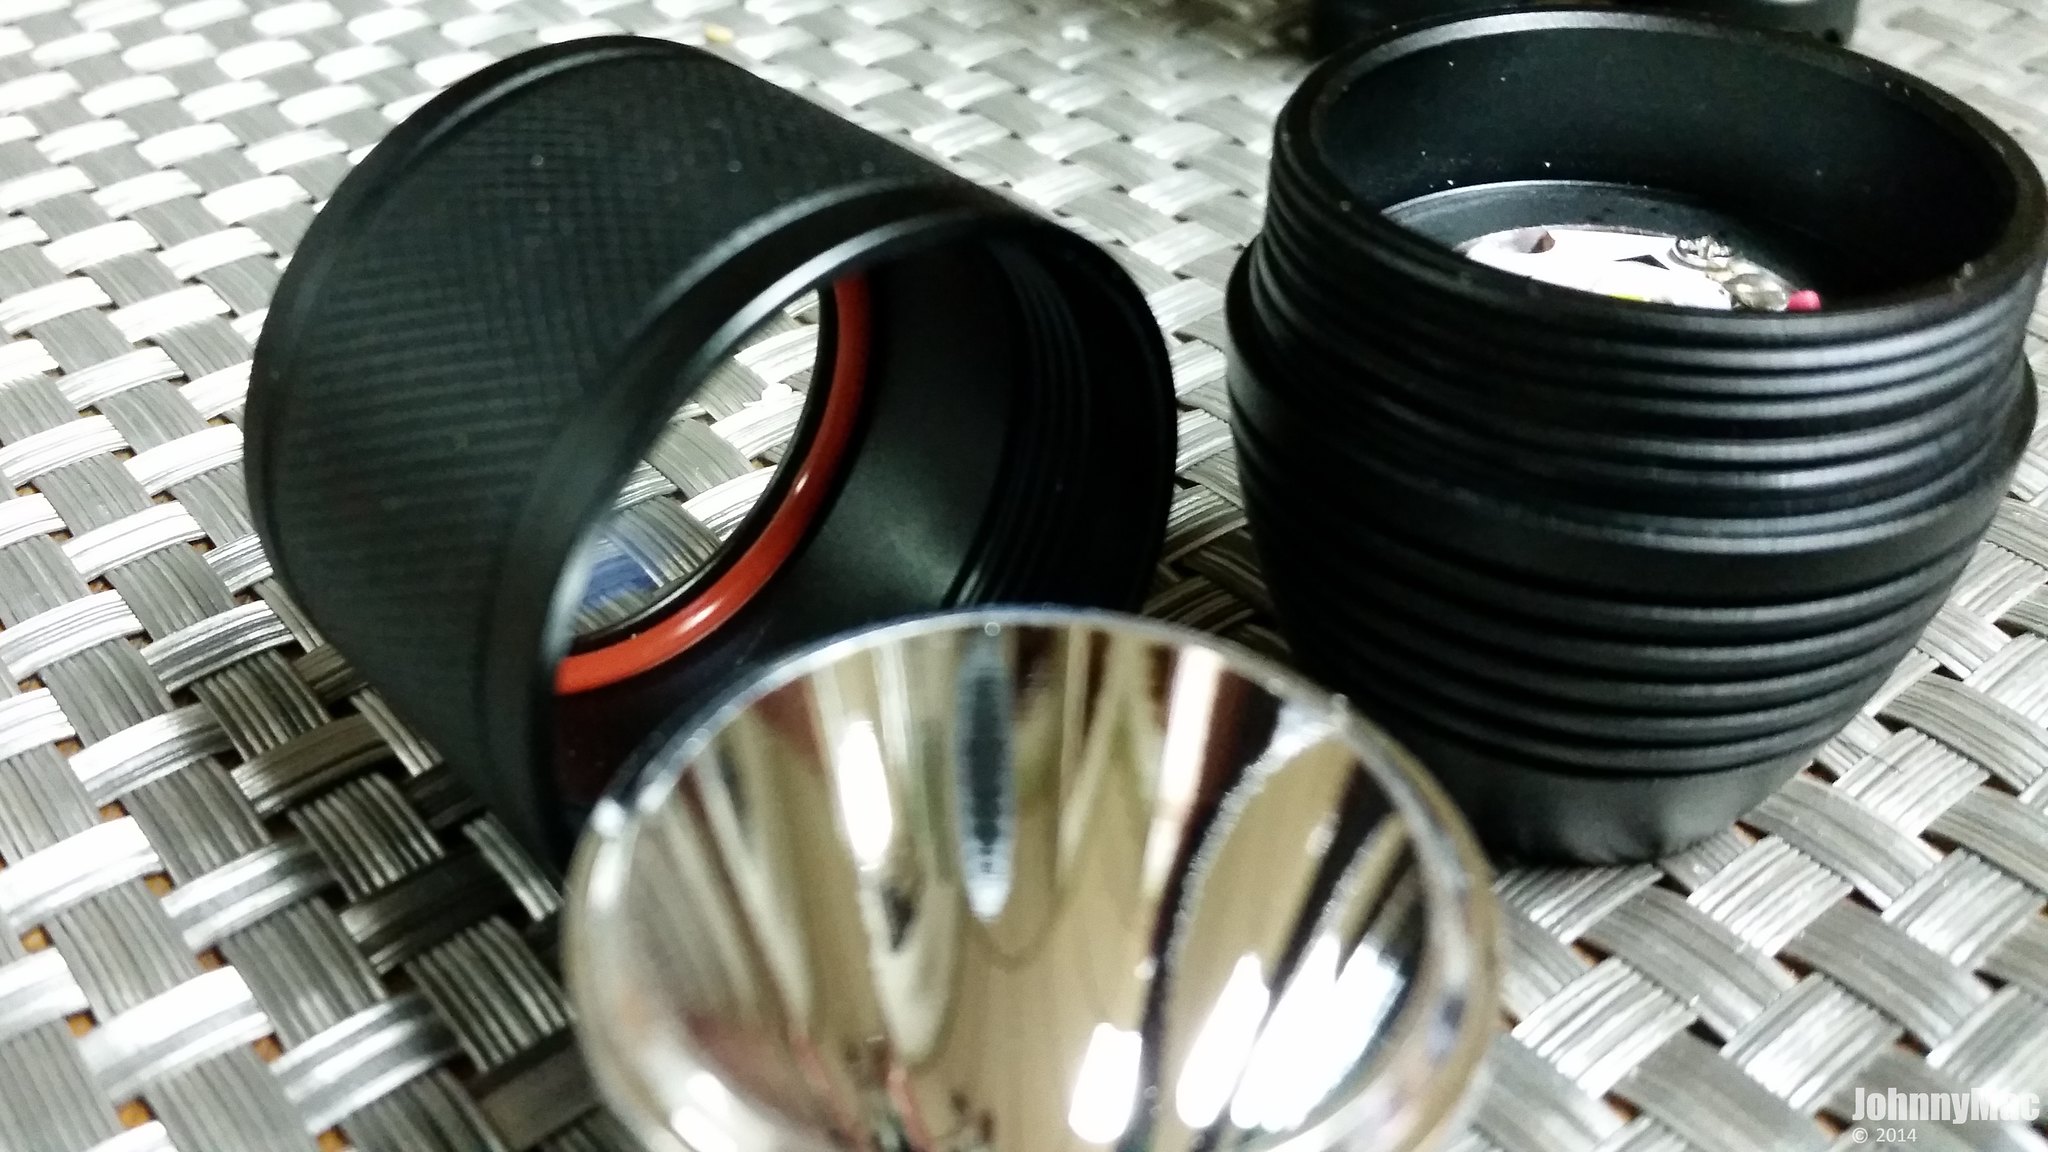
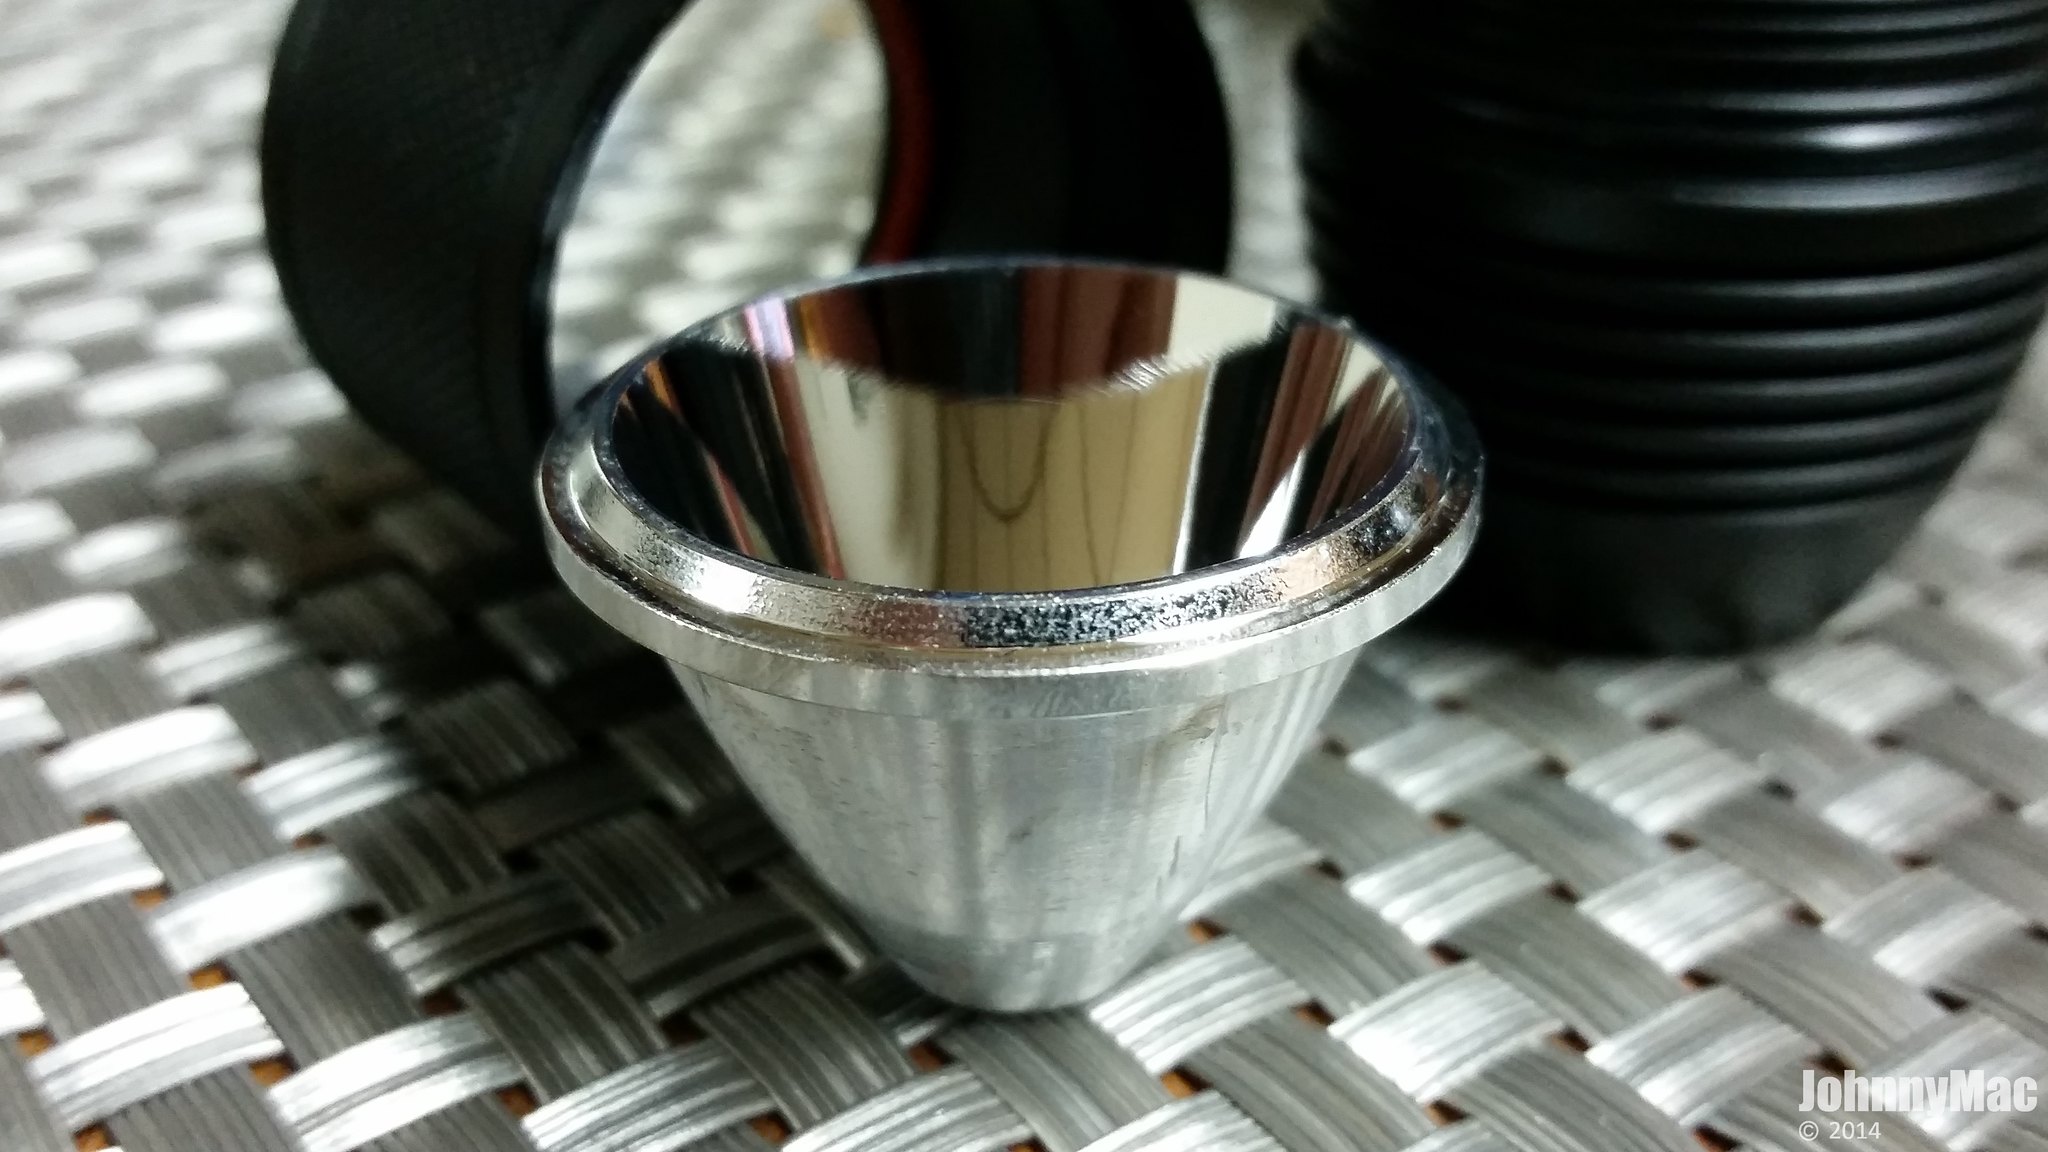
Looking to the bezel with the reflector removed you can see the thick, red O-ring that sits between the reflector and lens. The reflector has a lip that, when tightened in the head, sits inside and over the O-ring offering a fantastic seal and perfect centering of the O-ring itself.
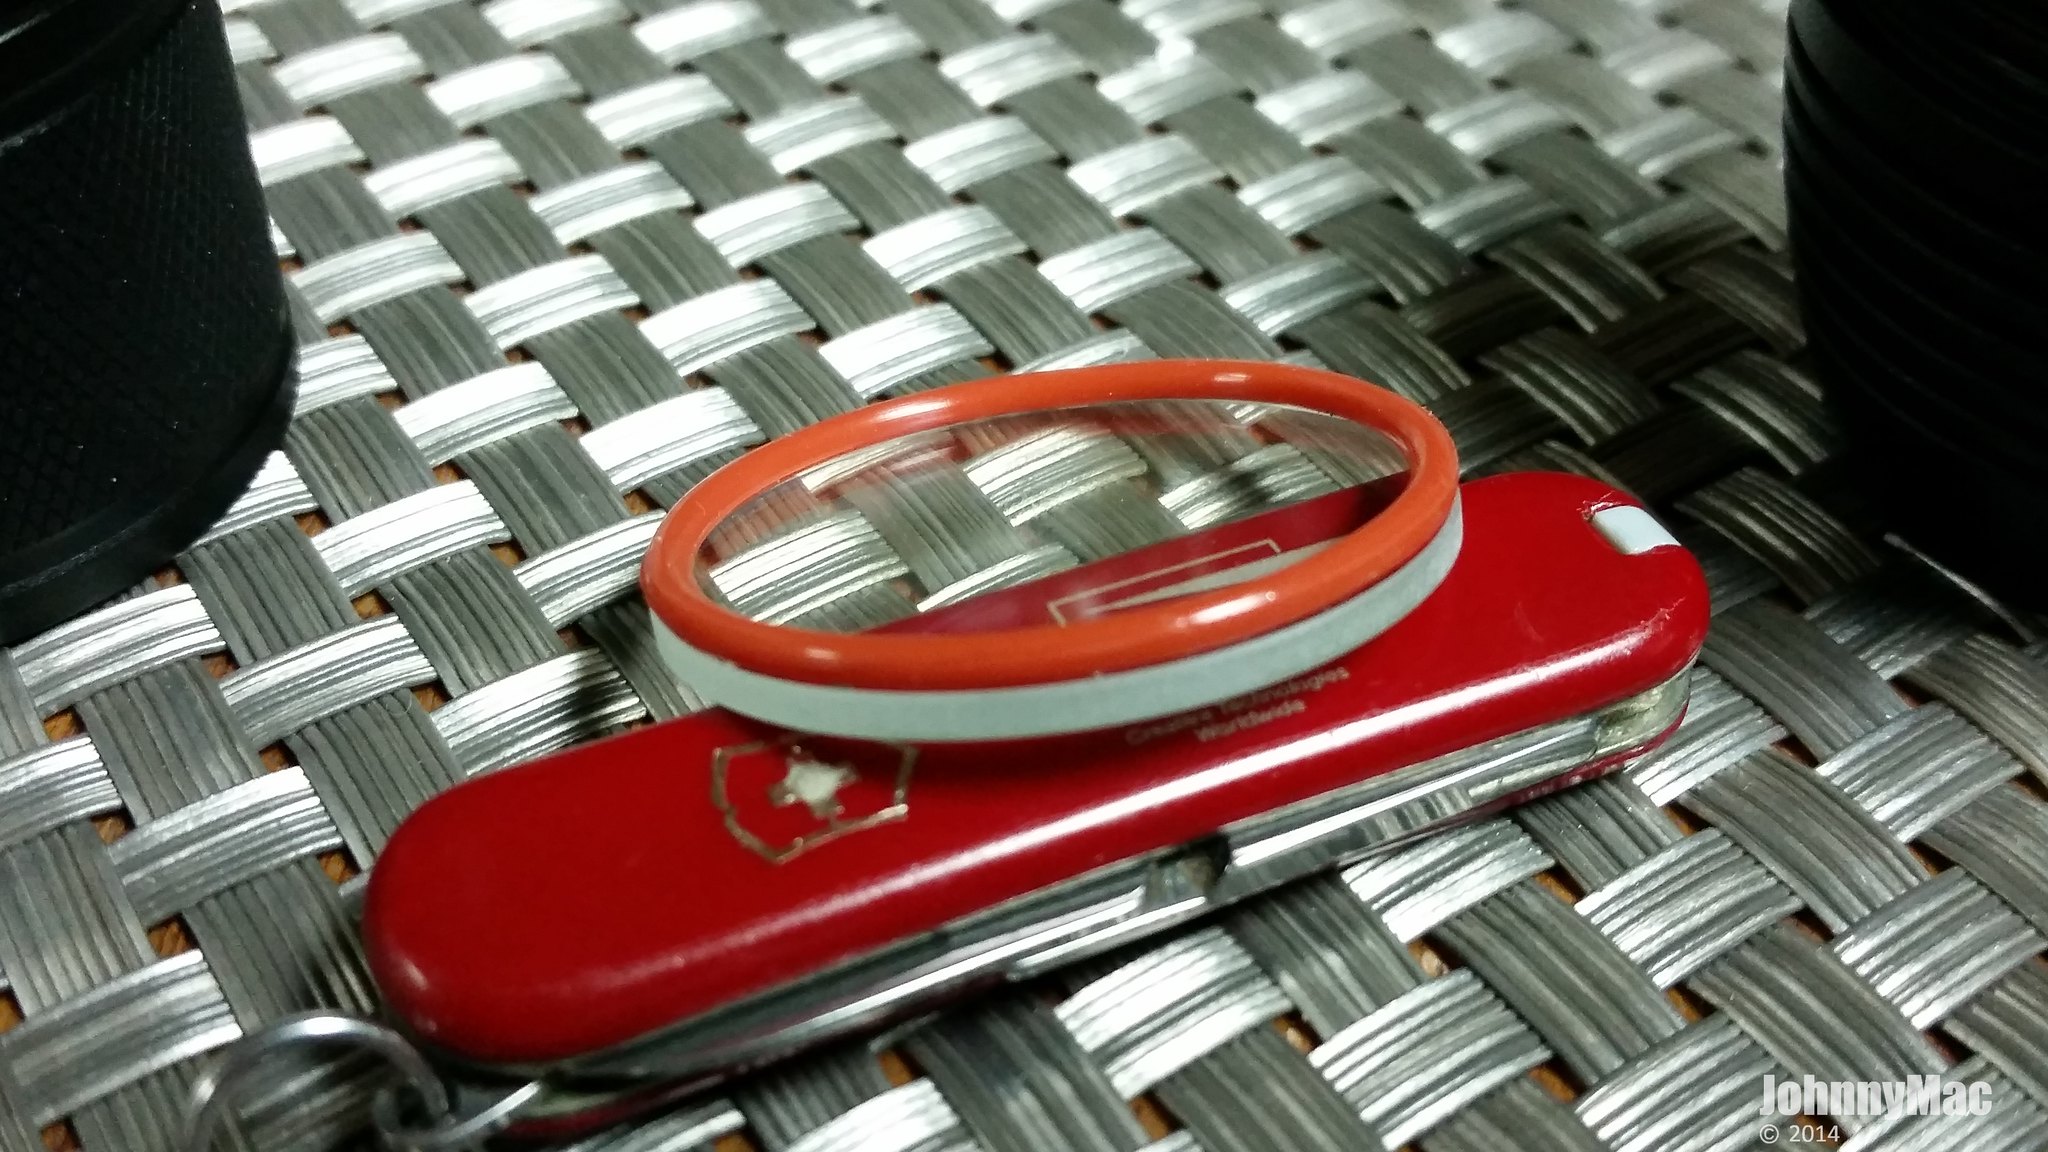

Here you can see the thick lens and O-ring as well as how it all sandwiches together inside the bezel.
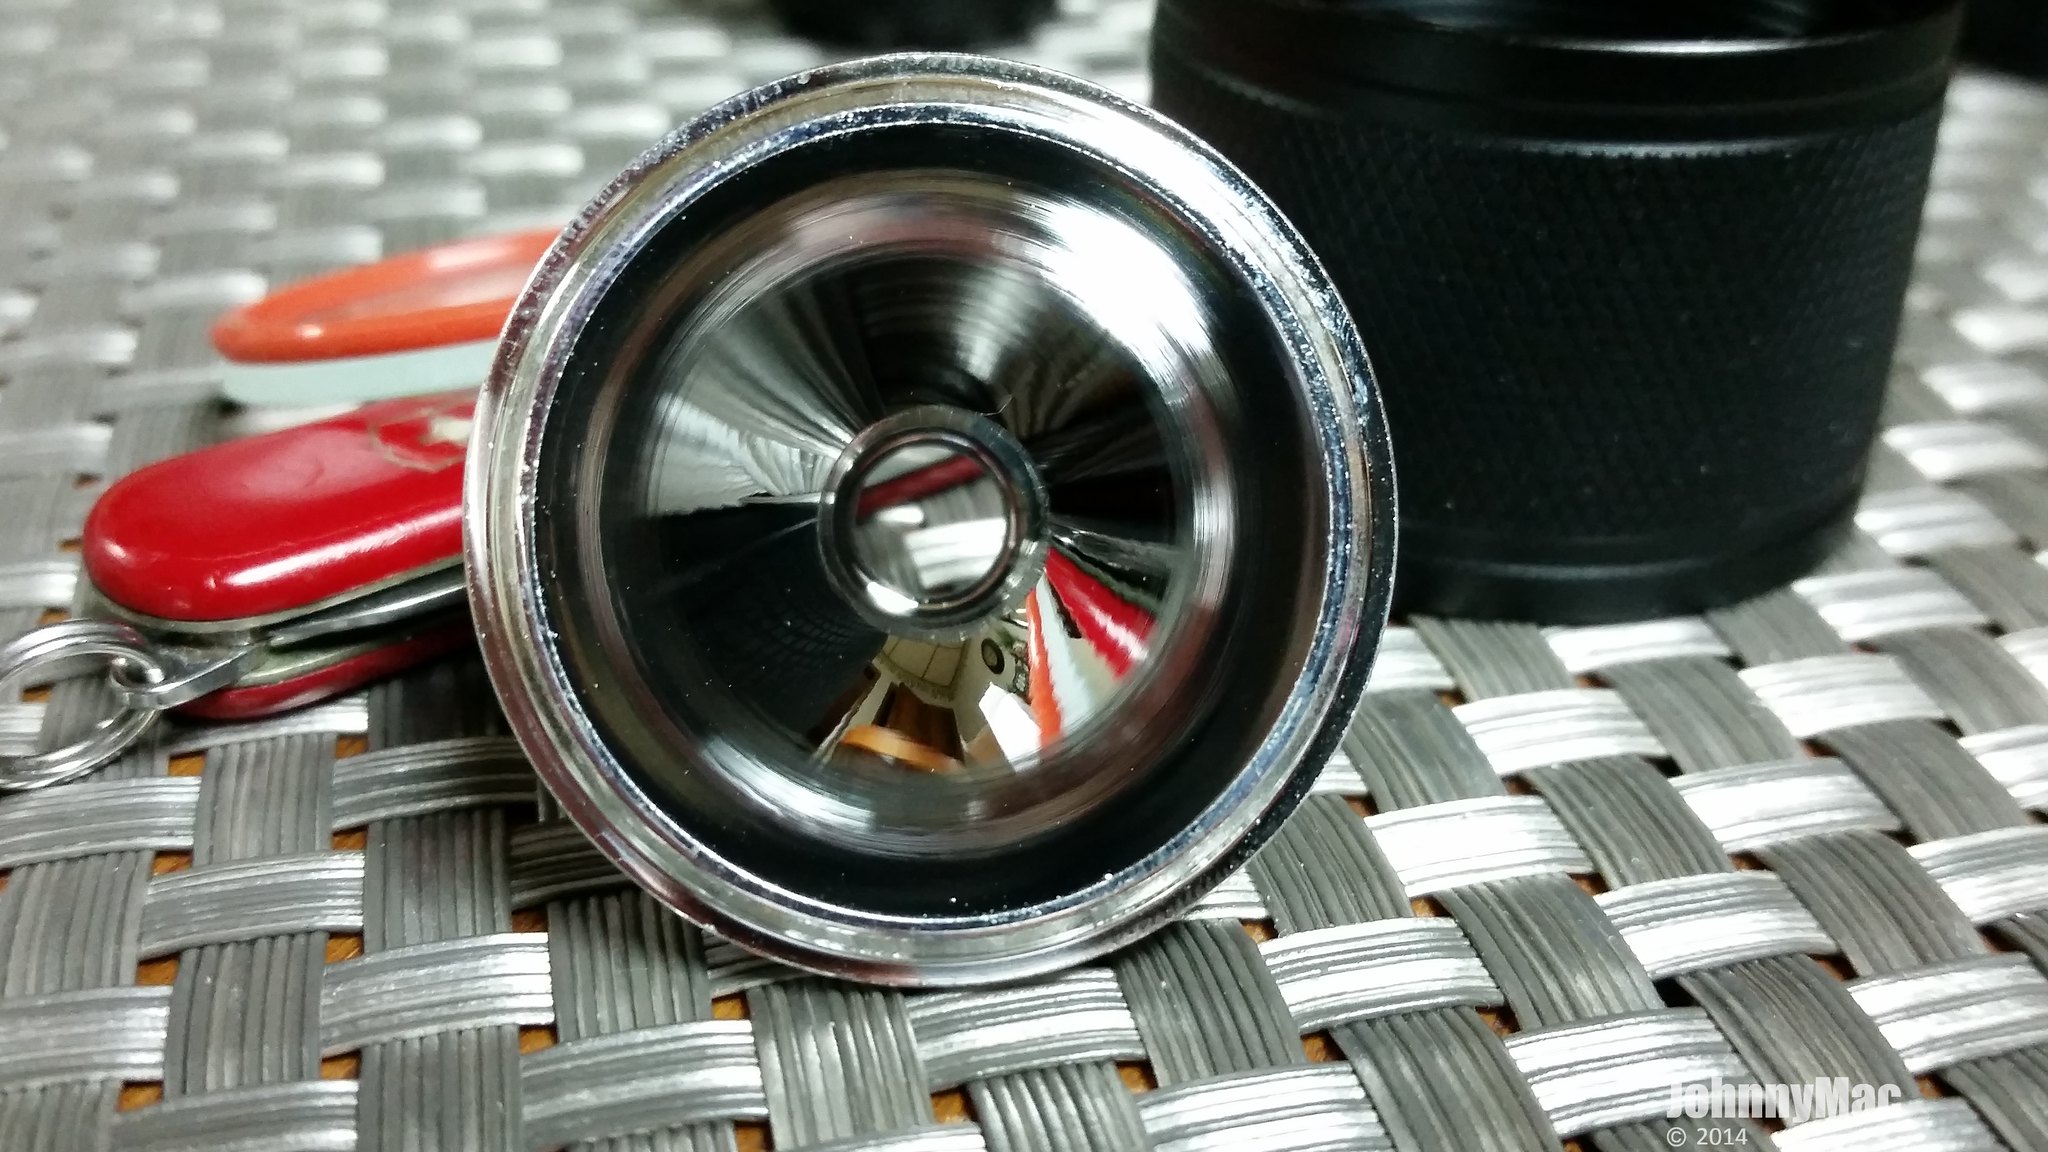
Another look at the empty smooth reflector and also inside the bezel. In the front of the bezel you can see the shelf that the lens sits on.
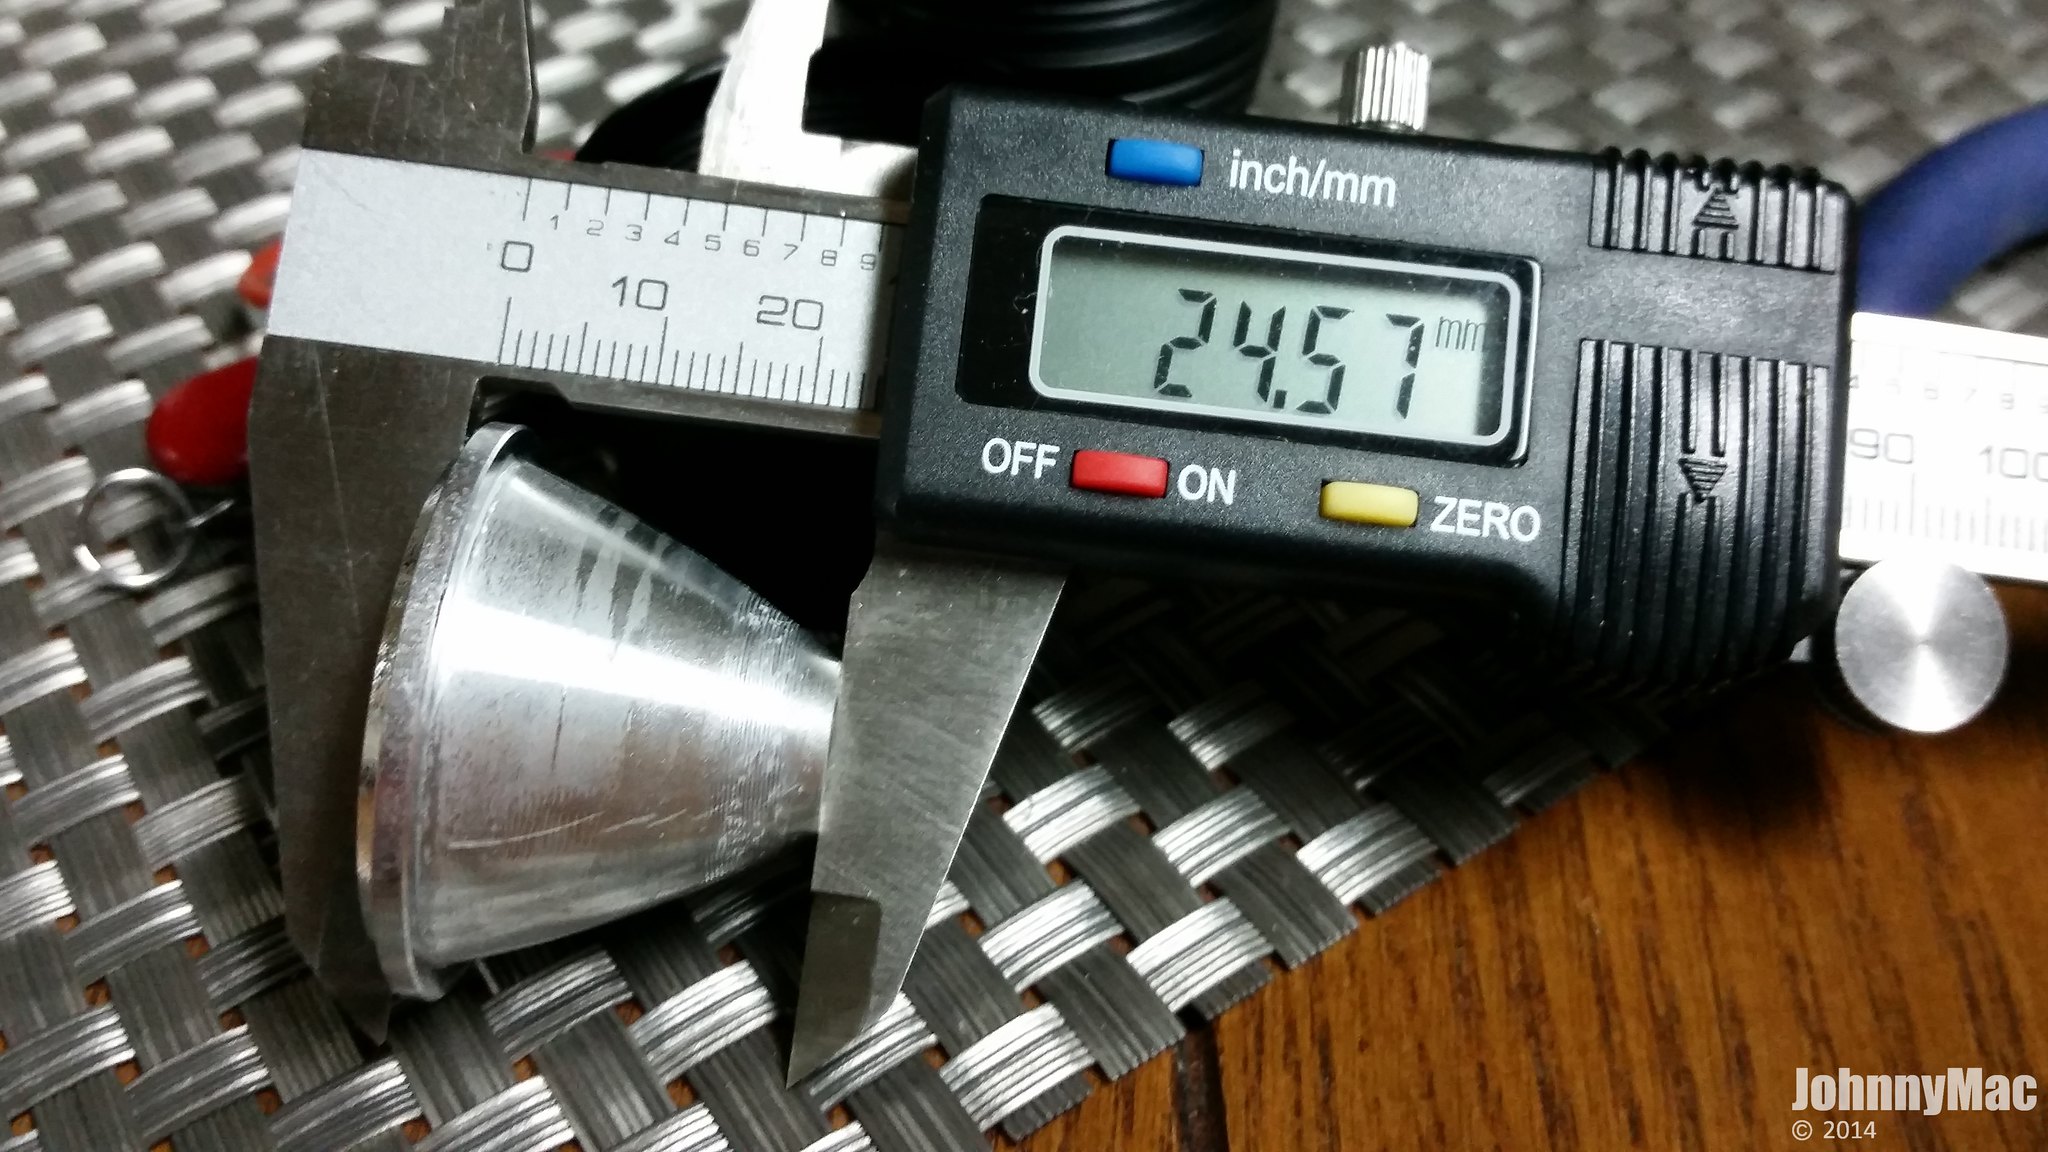
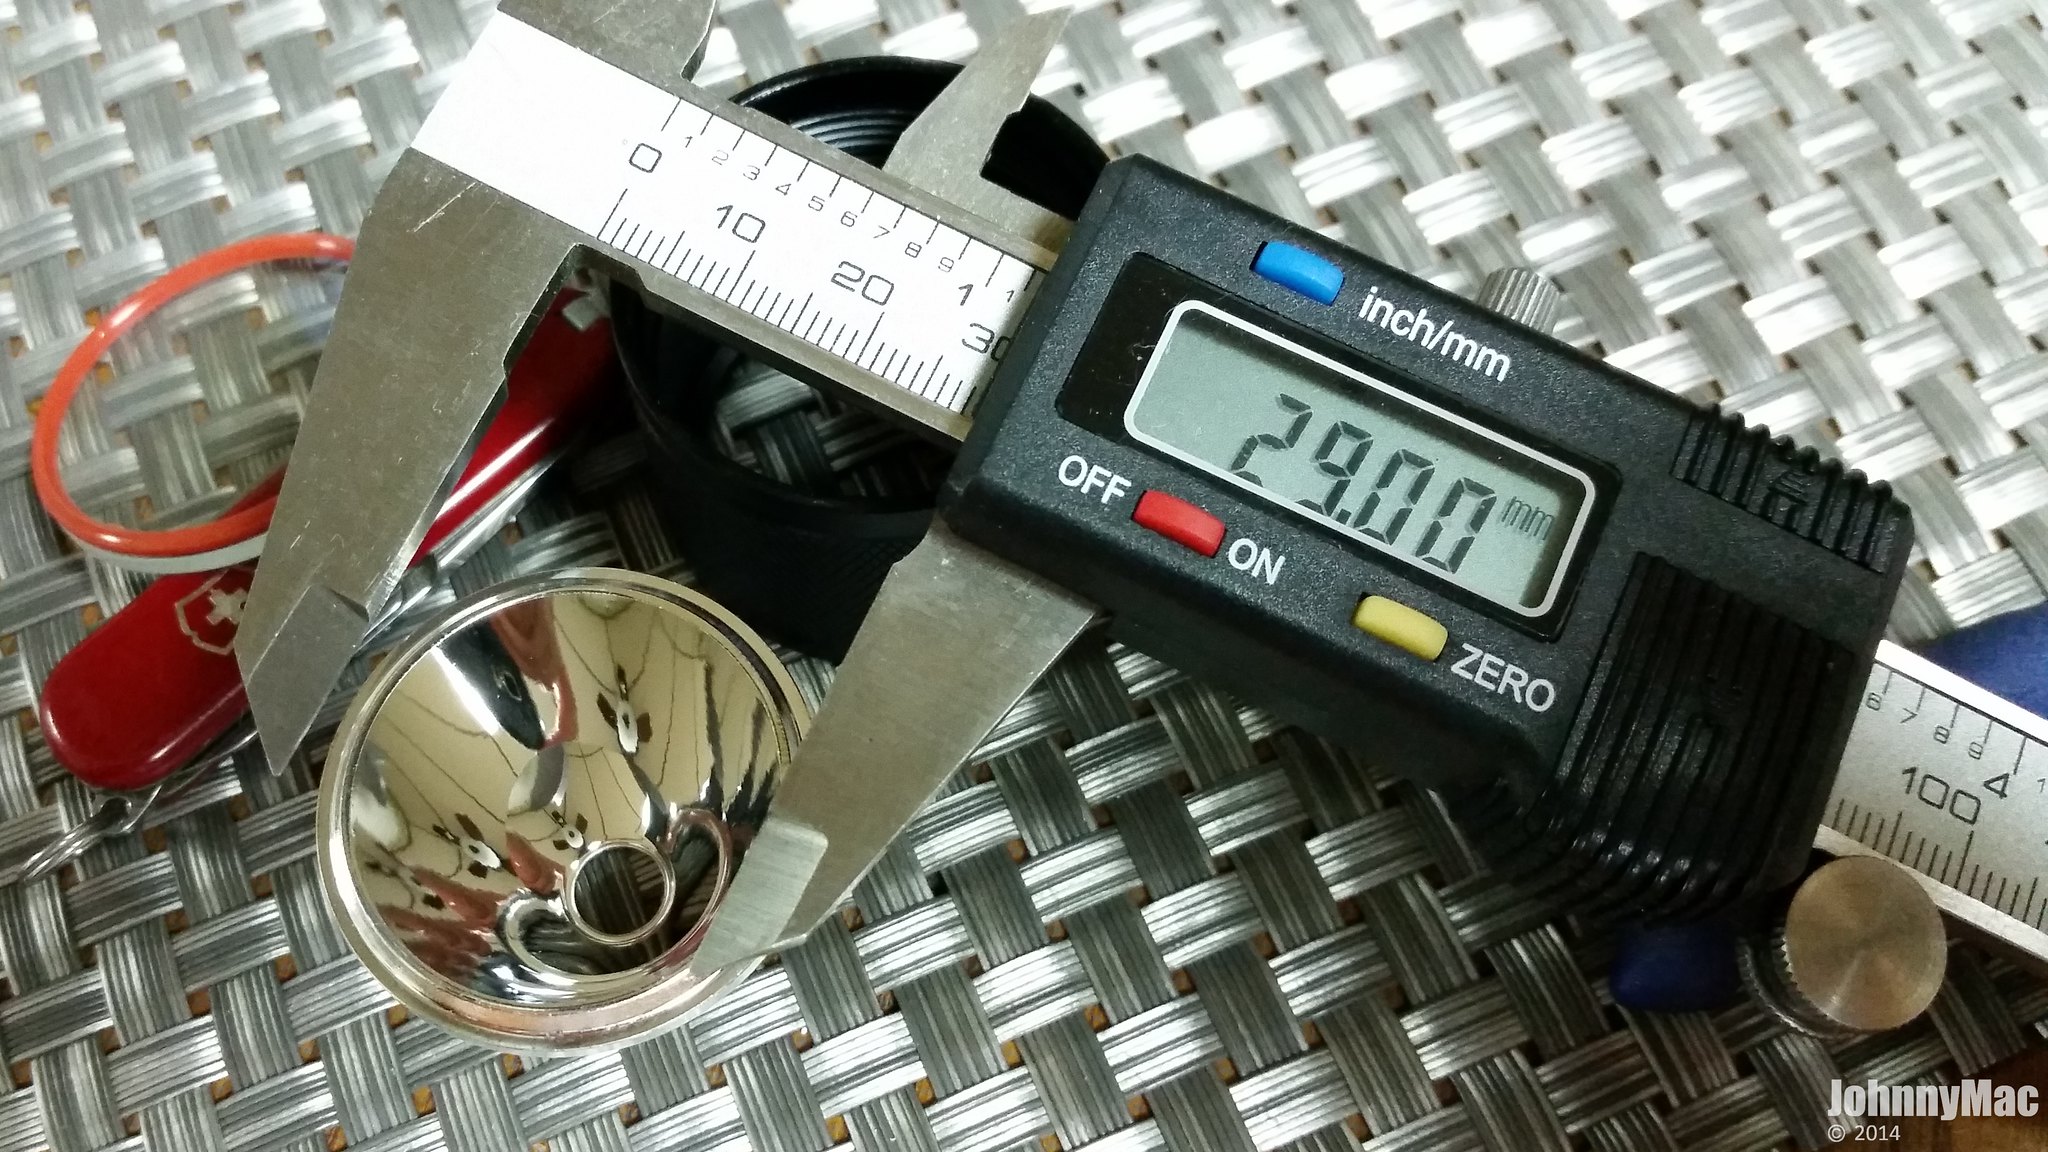
The reflector is 24.57mm deep and 29mm wide across the inside diameter.
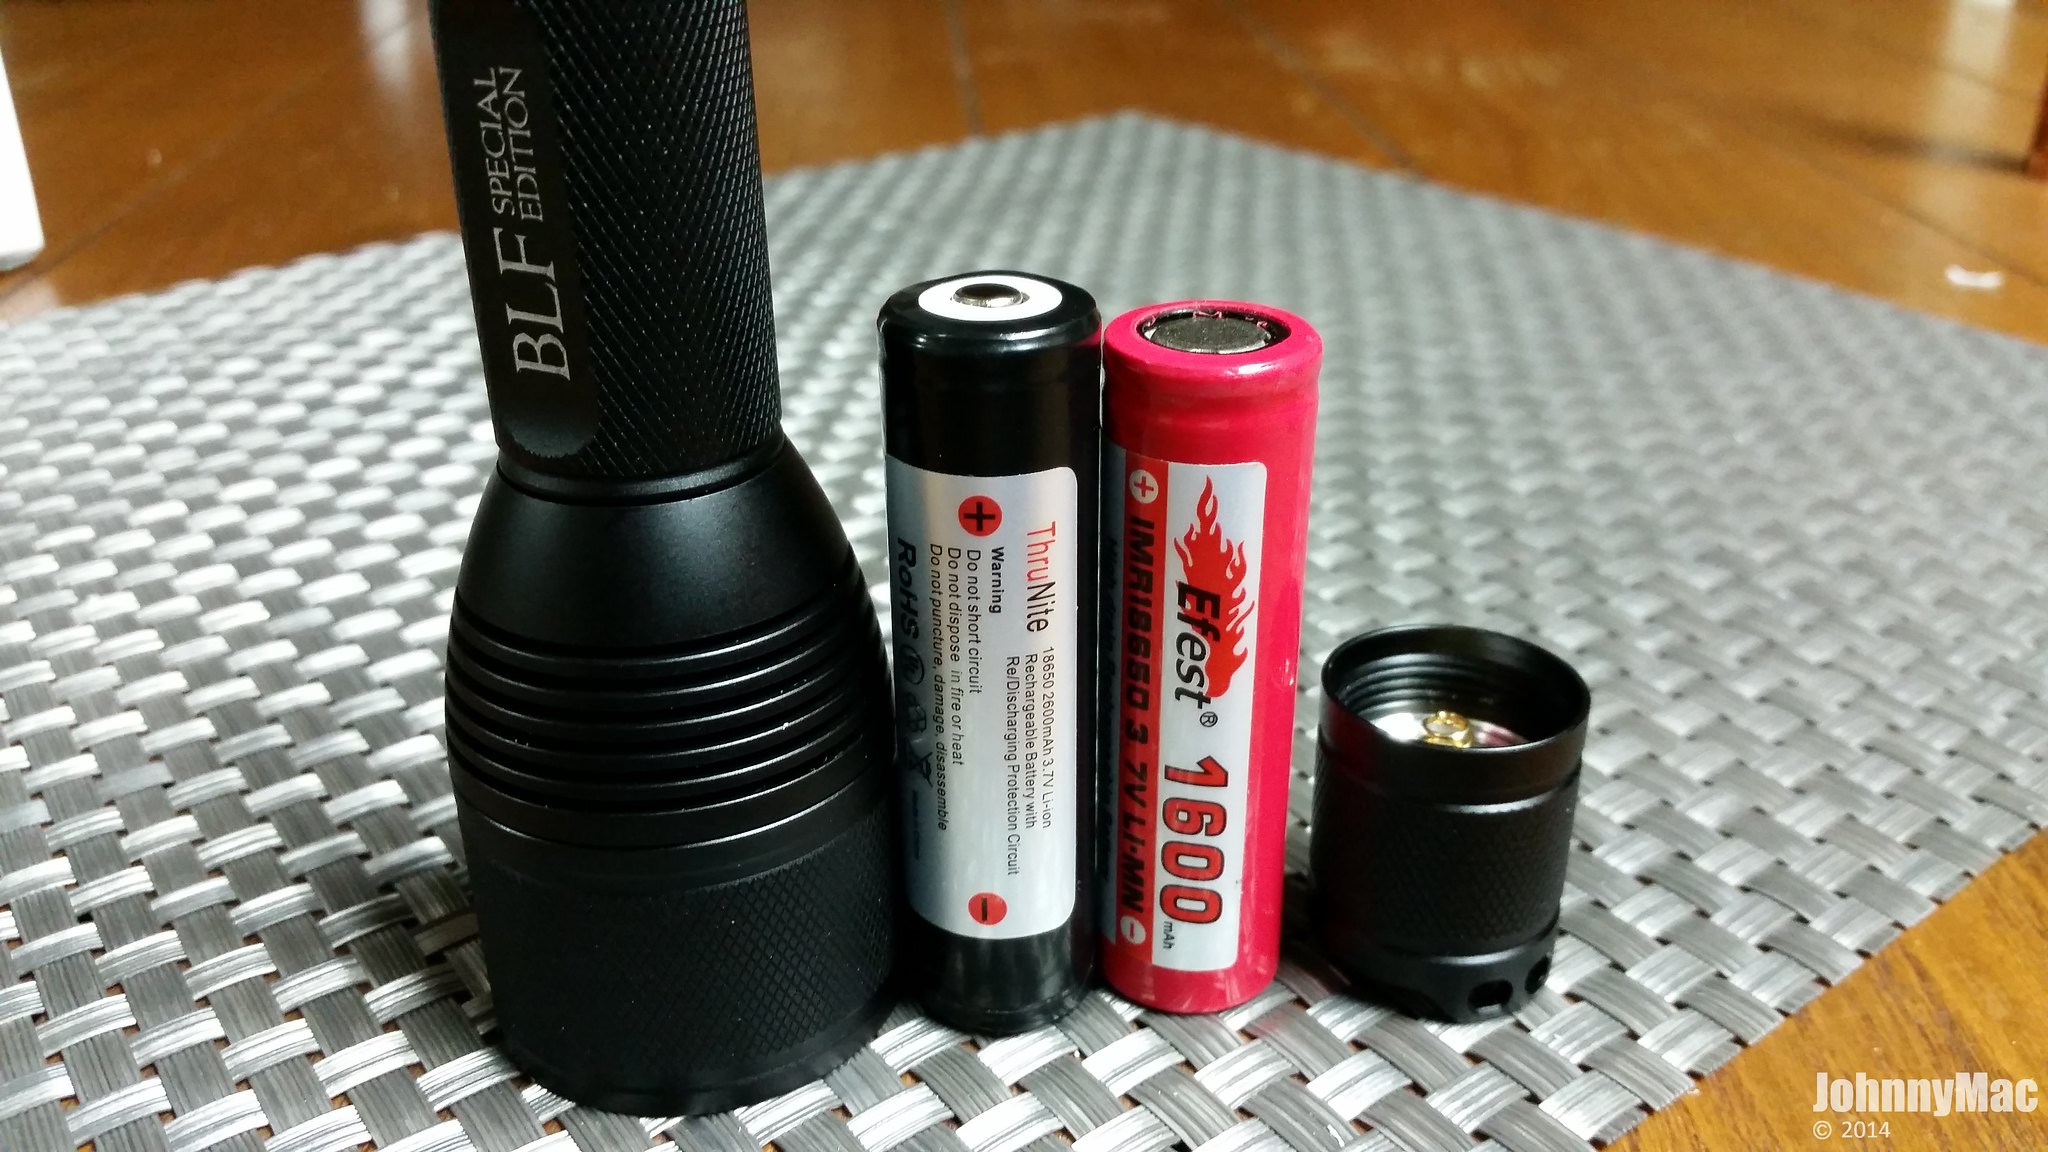
I was able to successfully use both unprotected cells and more importantly, a longer protected cell. Bit just barely.
The black Thrunite protected cell above is 69.35mm long. You can see how far it sticks out from the tail. Even pressed fully down it still sticks out by 1-2mm. In order for the current to conduct through the tail and into the body the tail cap must completely seat against the un-anodized end of the battery tube. I was shocked when the tailcap threaded completely down without forcing it. A regular unprotected cell has no issues fitting. Fortunately I only use unprotected cells and lately, IMR cells at that.
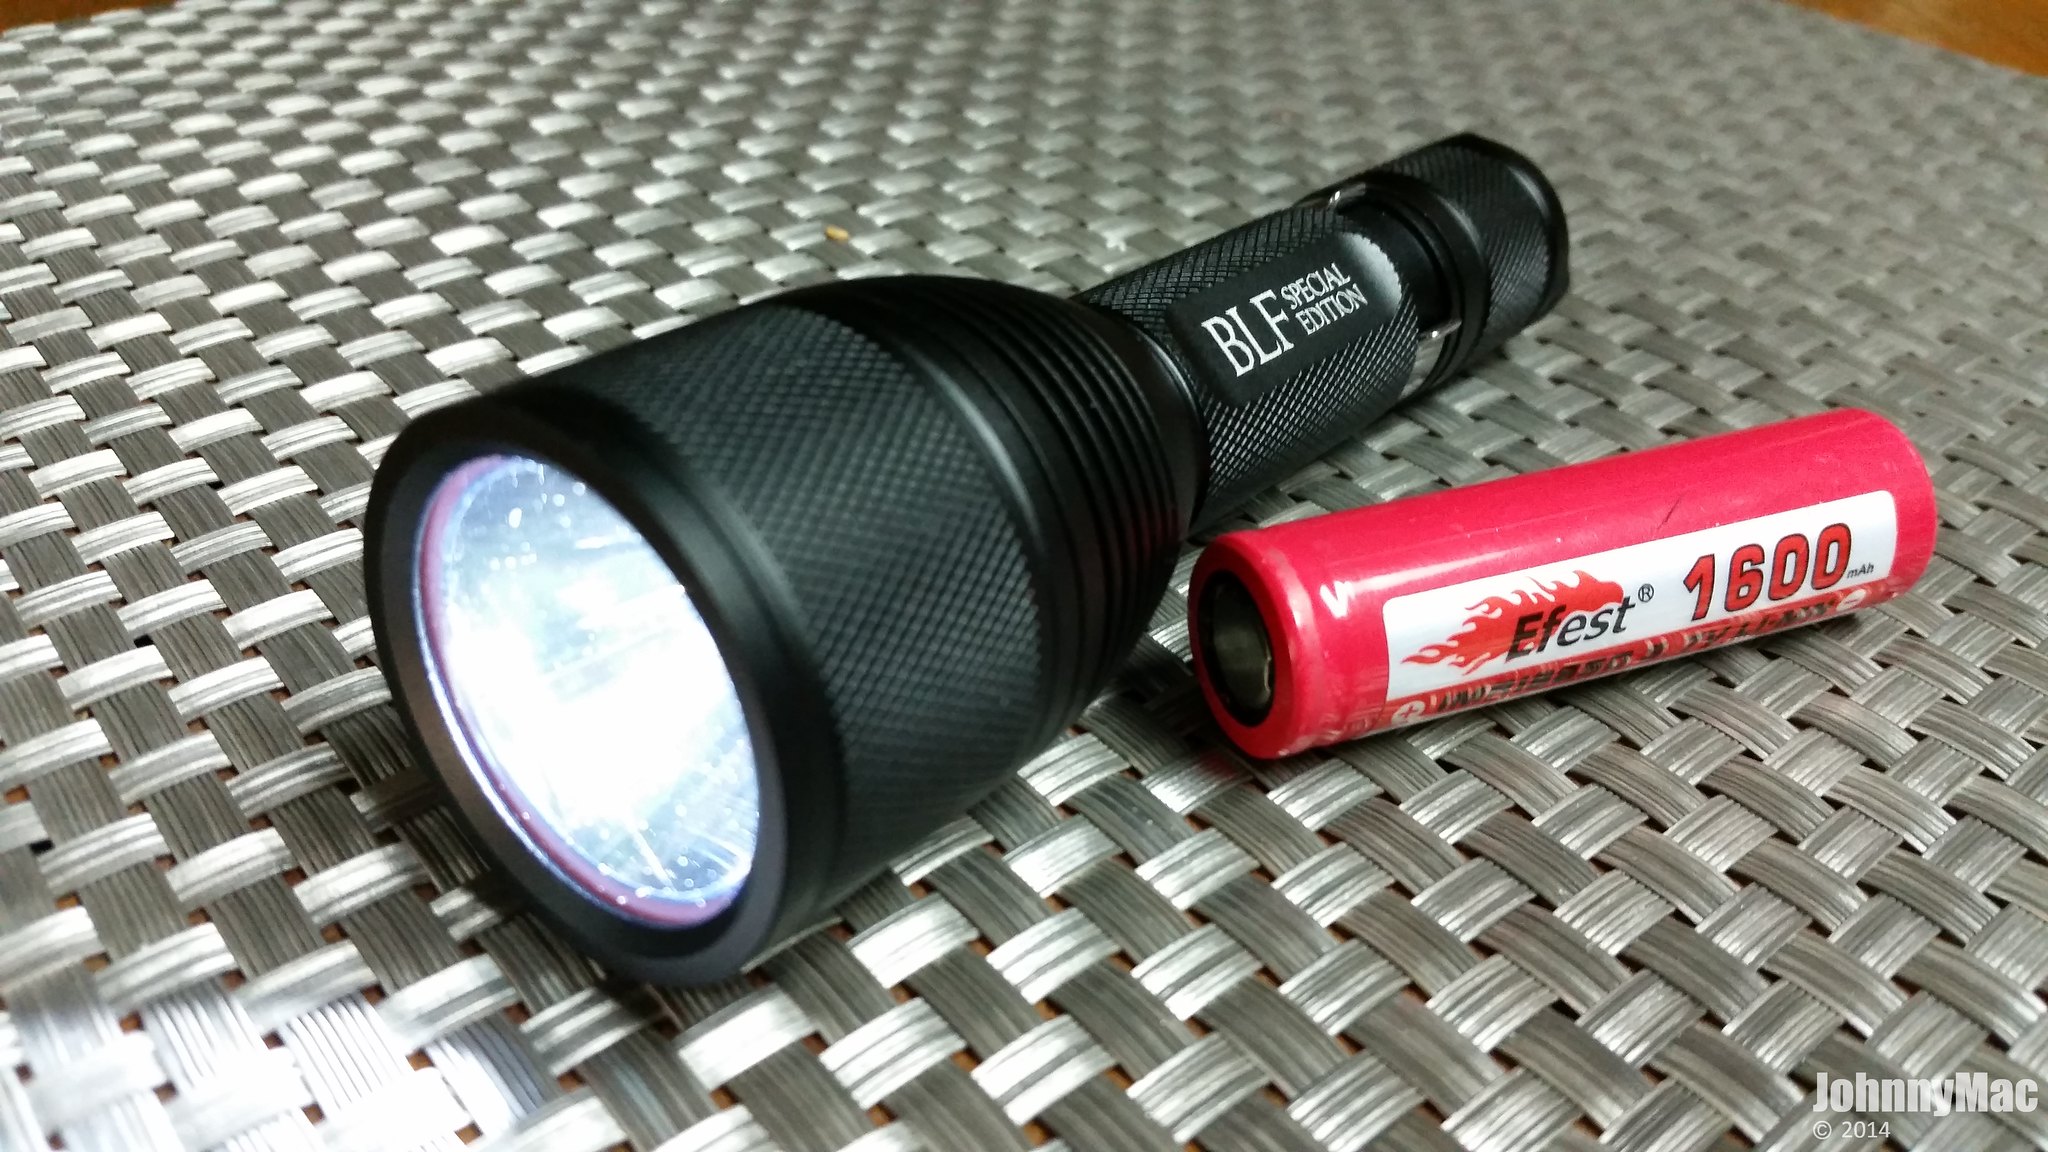
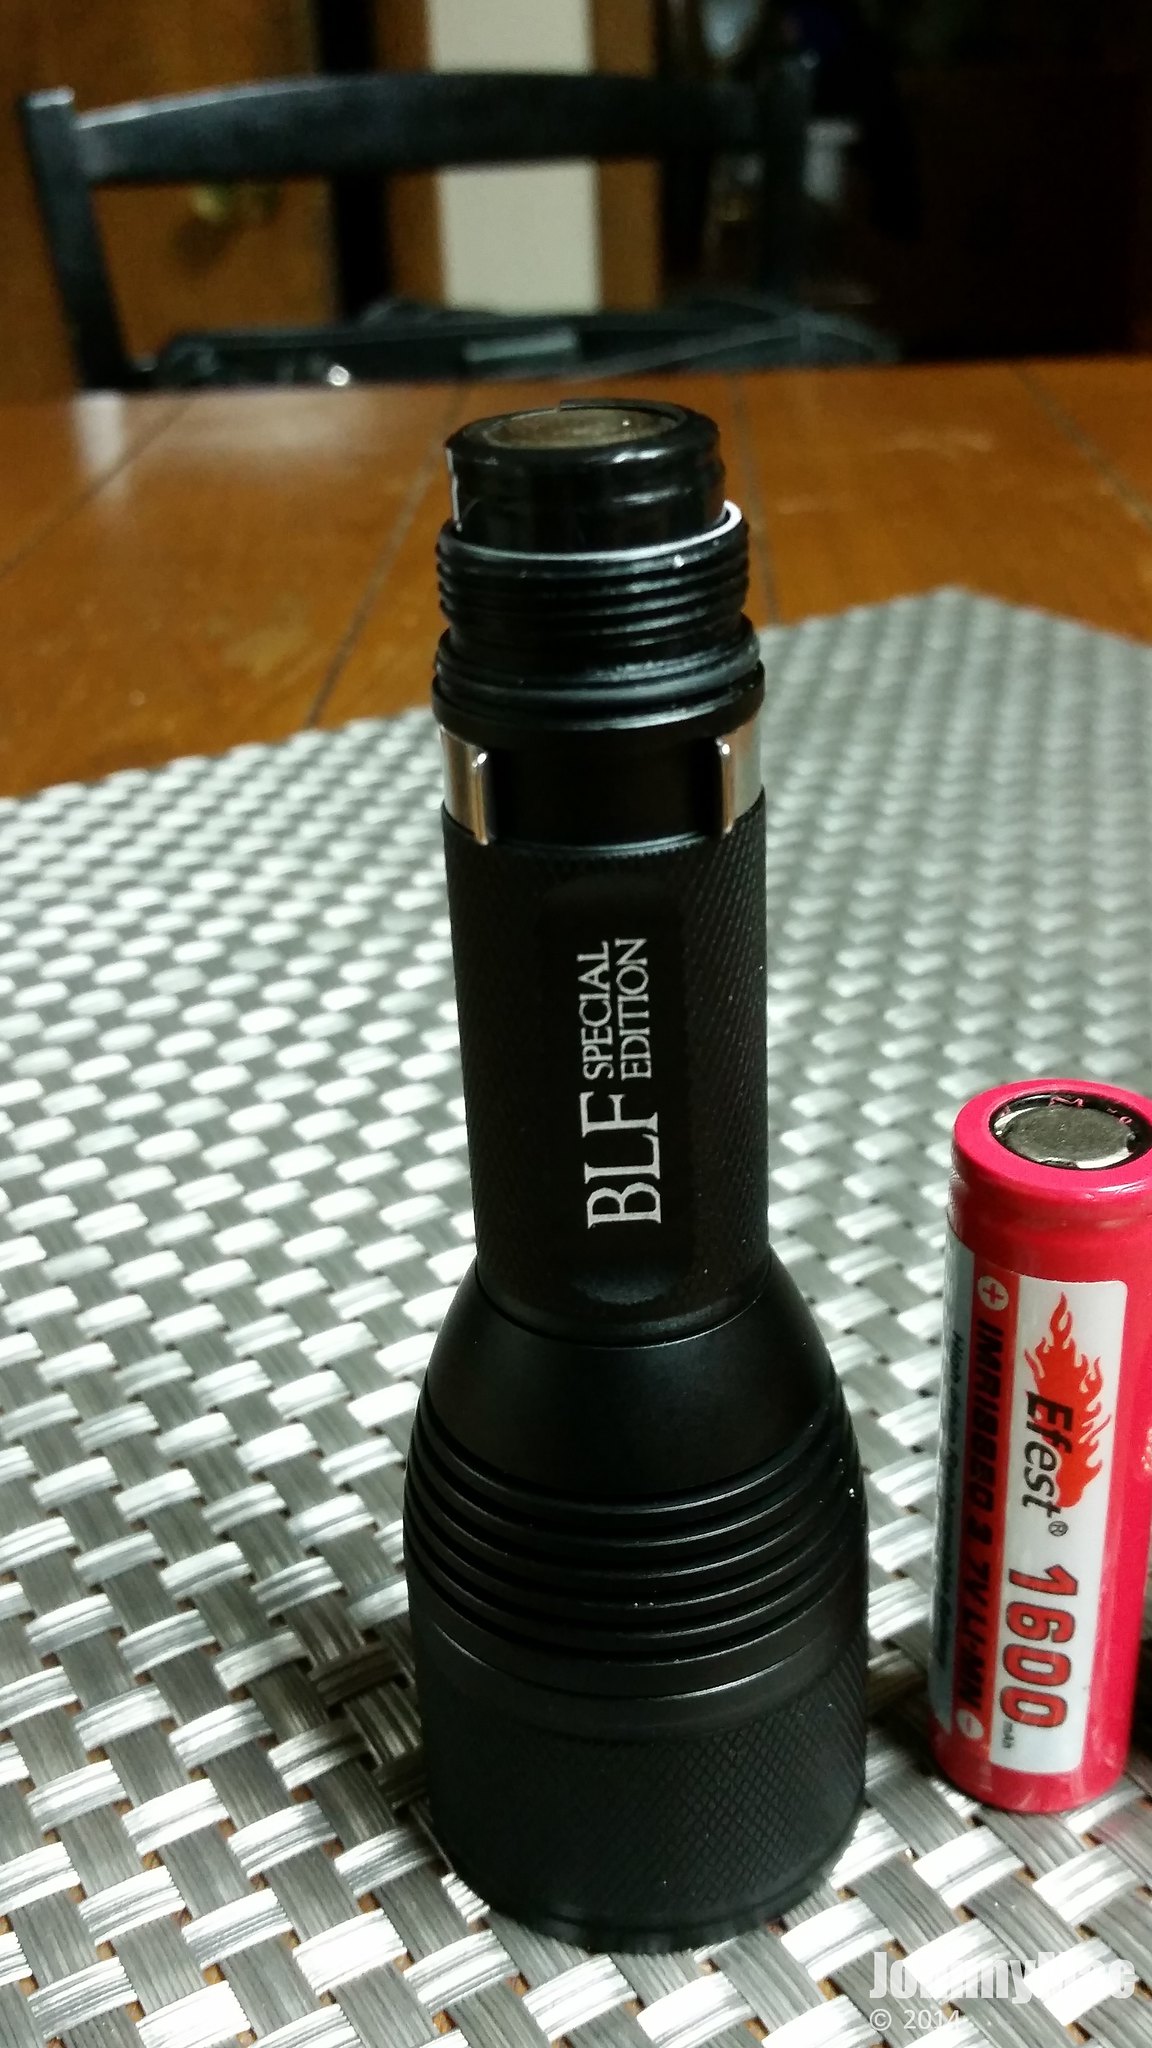
Here is the X6 lit using the protected cell. I can’t guarantee that an even longer cell would work as I know there are some protected cells out there that are over 70mm long. I don’t own any of them to test with.
The width of the large head makes the X6 not an inside the pants pocket light. It’s strong clip is designed to clip onto a thick belt. Clipping to the outside of your pants pocket guarantees you will lose the light as it’s can’t properly anchor itself securely.
One complaint about the clip is it’s length or, rather, the small opening between the tip of the clip and the head of the light. I wear a heavy leather belt to hold a gun holster and the belt is actually a tad thicker than the opening between the head and clip. This makes it just a hair difficult to clip the light to the belt one handed. I can easily tweak the clip myself though to make it easier. 😉
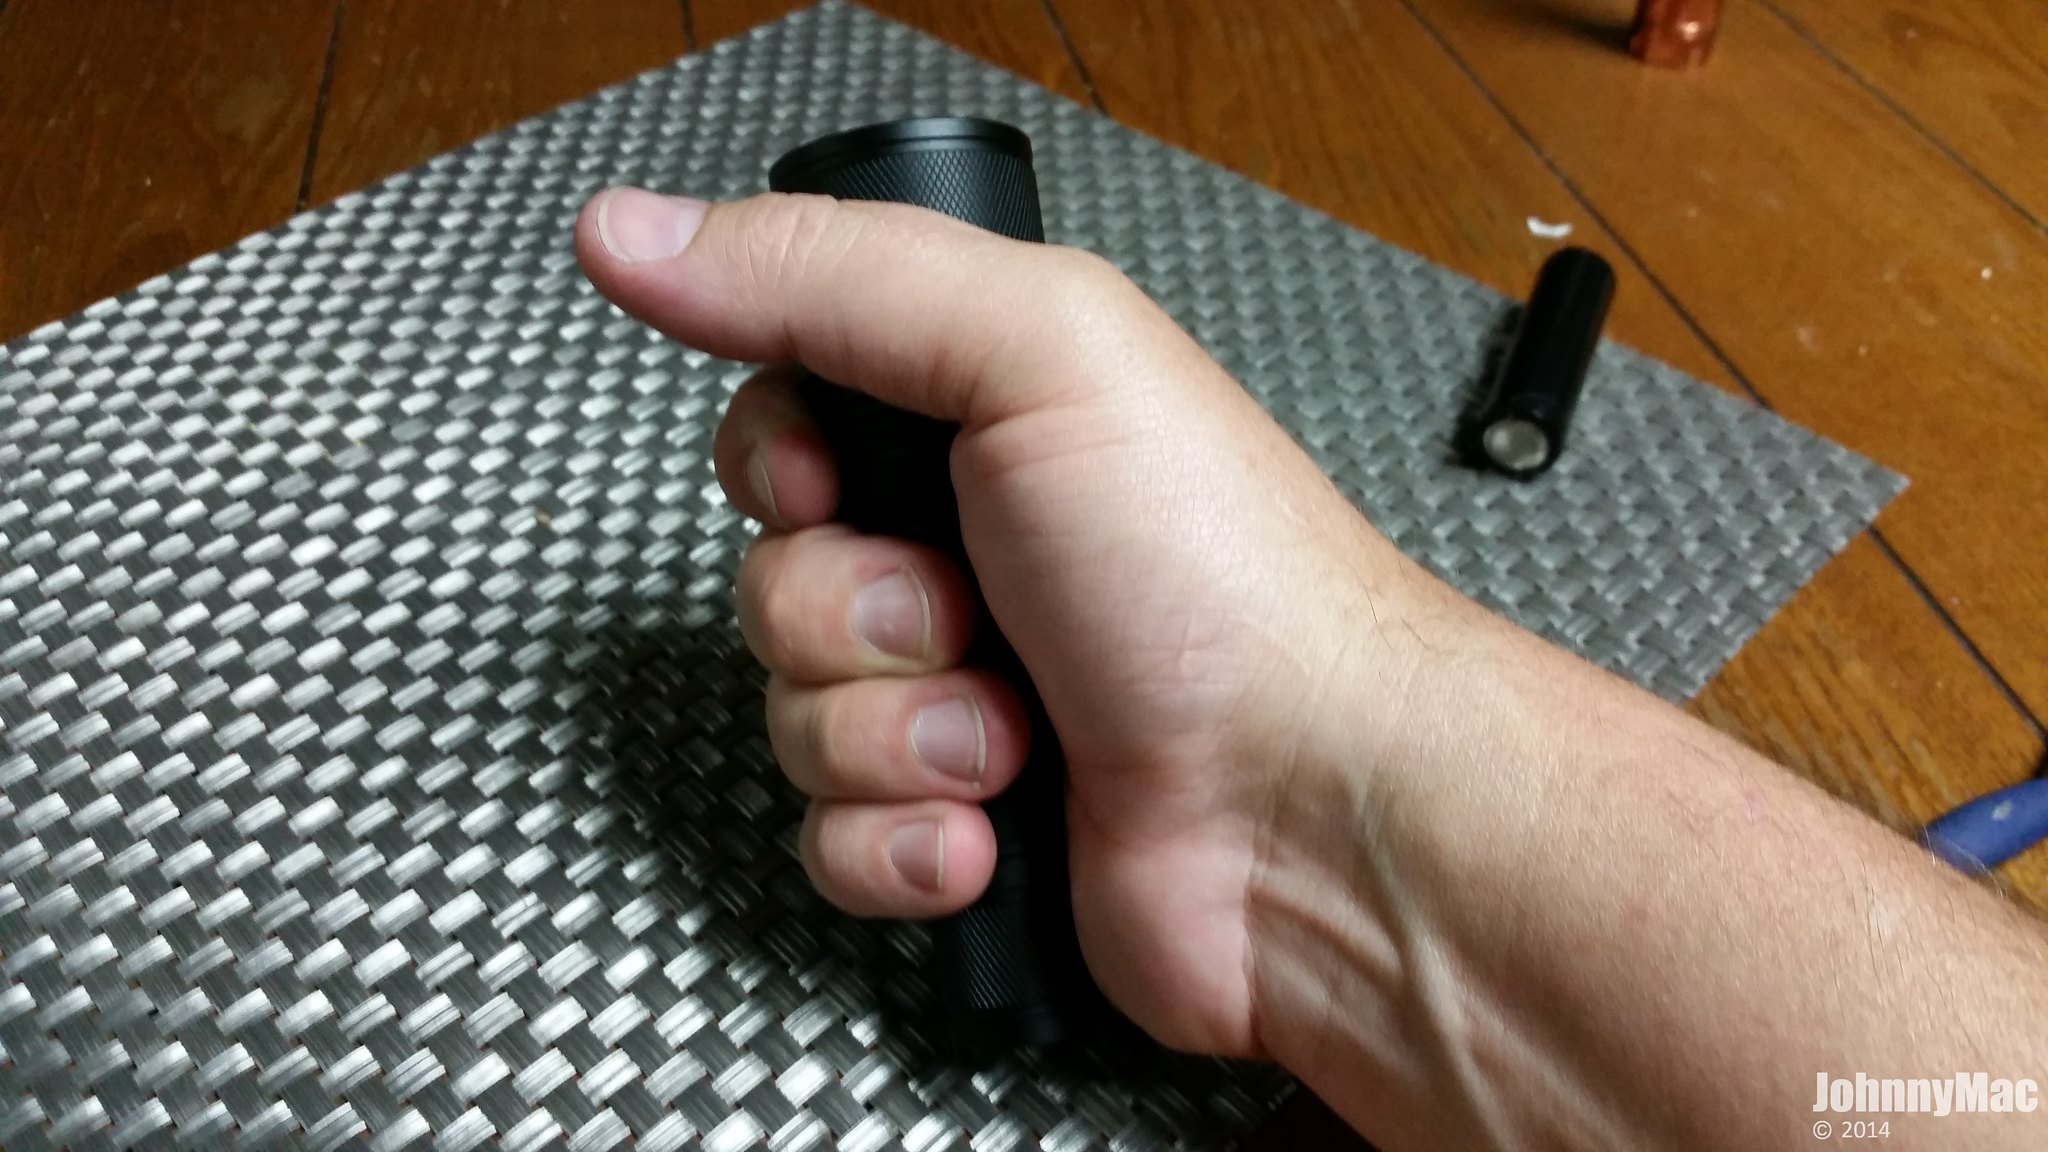
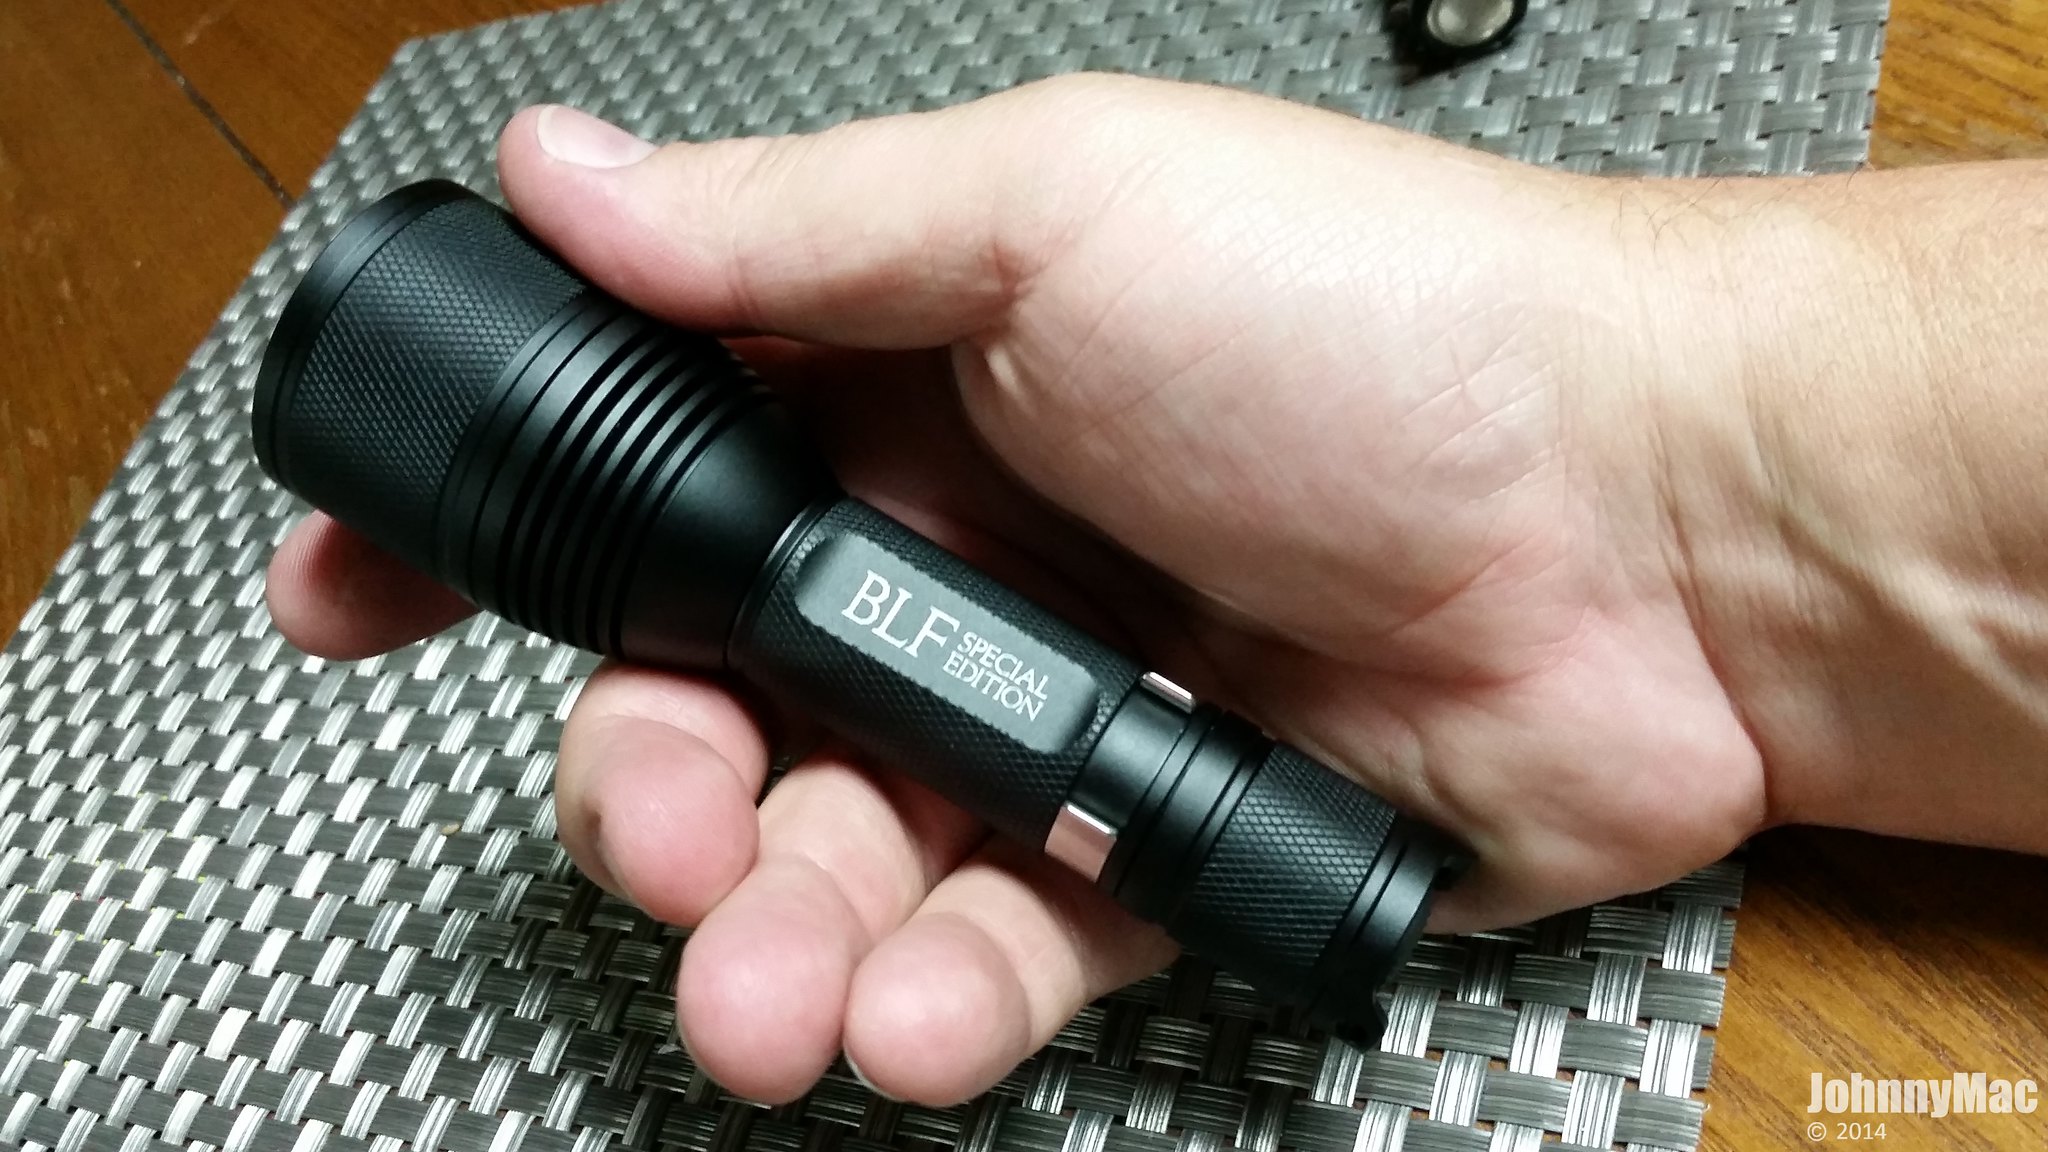
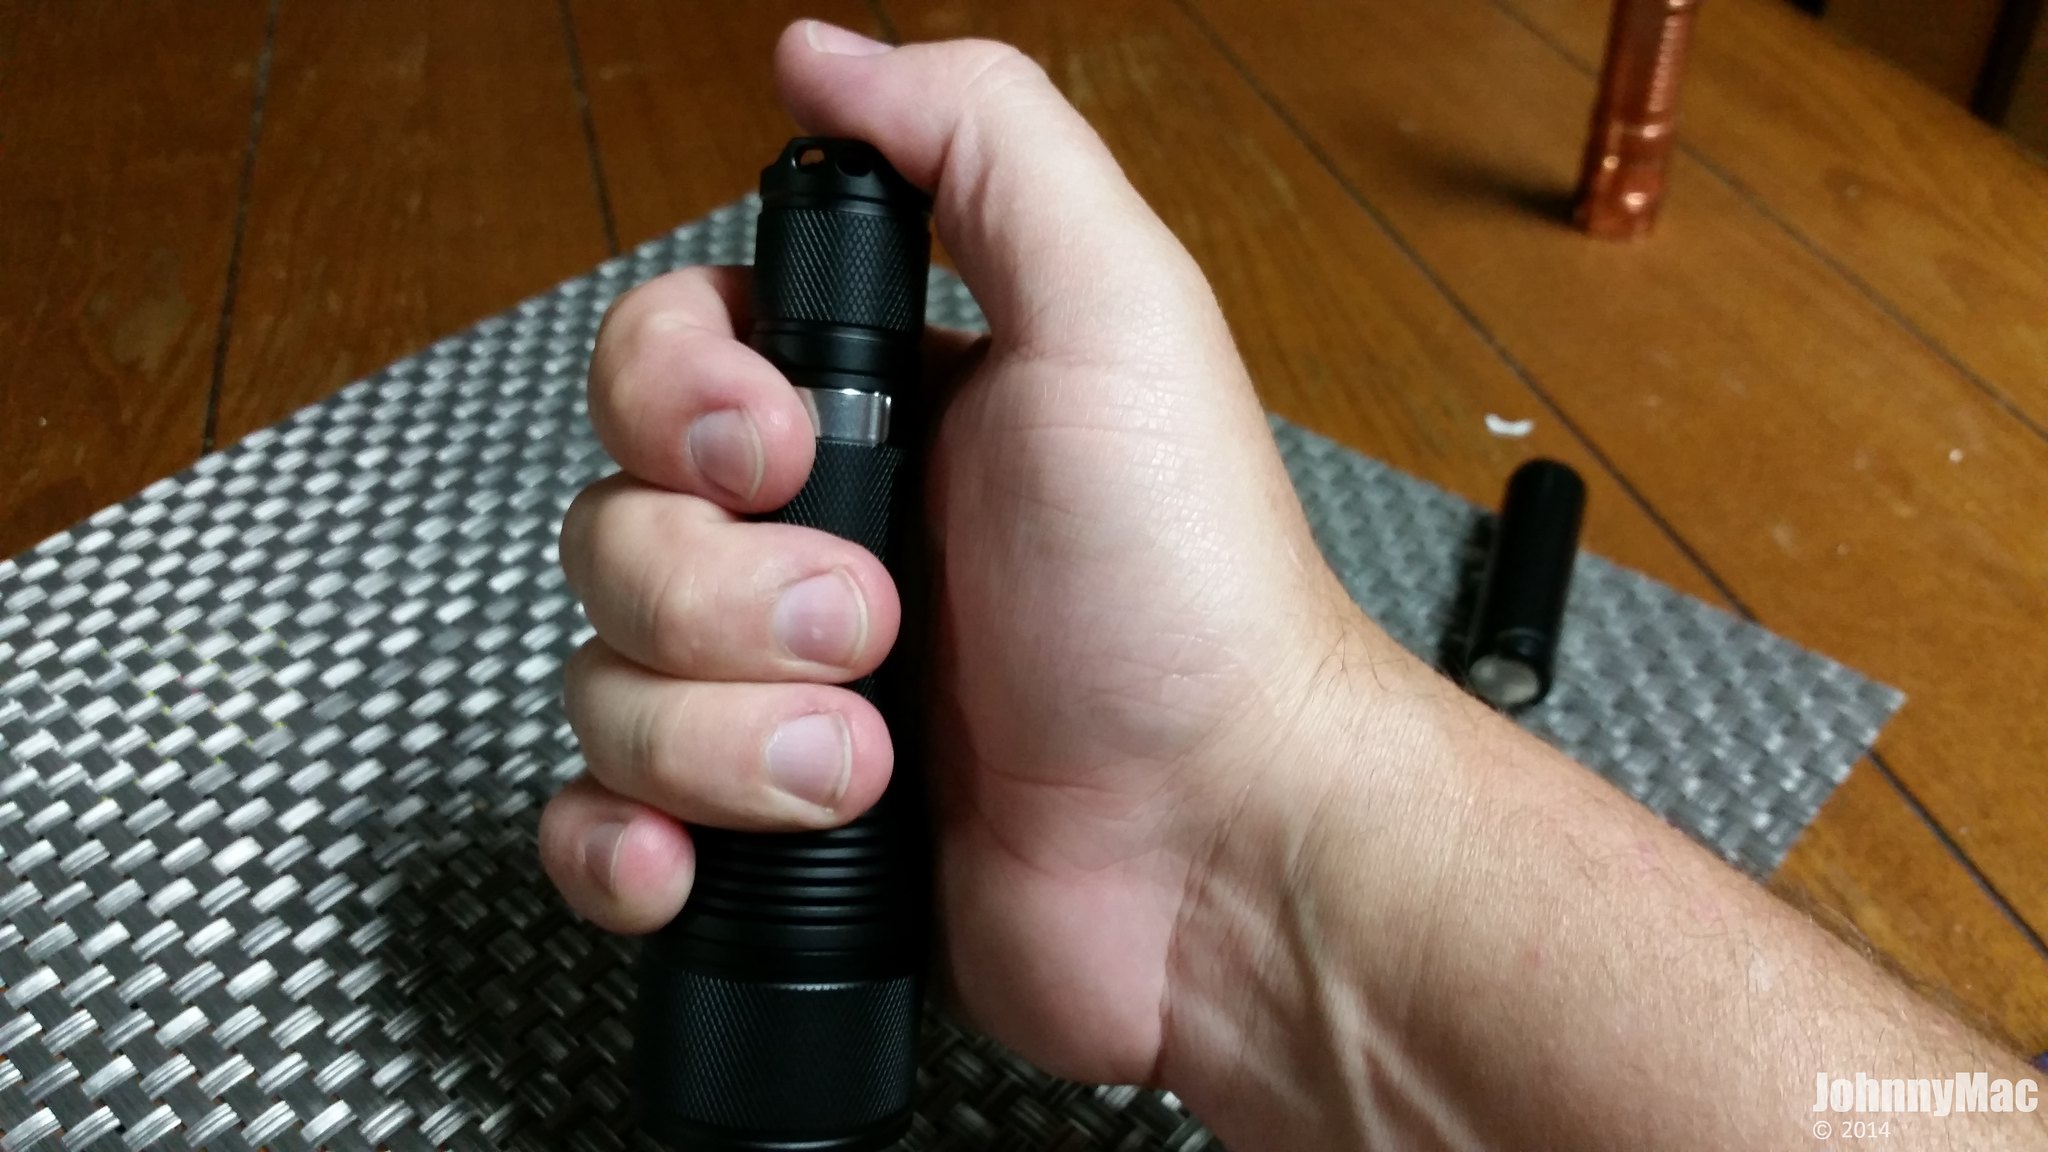
The X6 is an amazingly compact little light that nearly disappears in my hand. The solid build and heft of the little light makes it feel unbreakable. The first thing anyone who held it said was “Wow! This thing really feels solid!”. And solid it is. The aluminum feels like high quality hard alloy, not the soft, cheap aluminum most lights at this price are made of. This truly feels like a $150 light. The satin, almost matte finished anodizing only accentuates this impression. Anyone who rags on budget lights for being poor quality has his head up his @ss and never held a light like this.
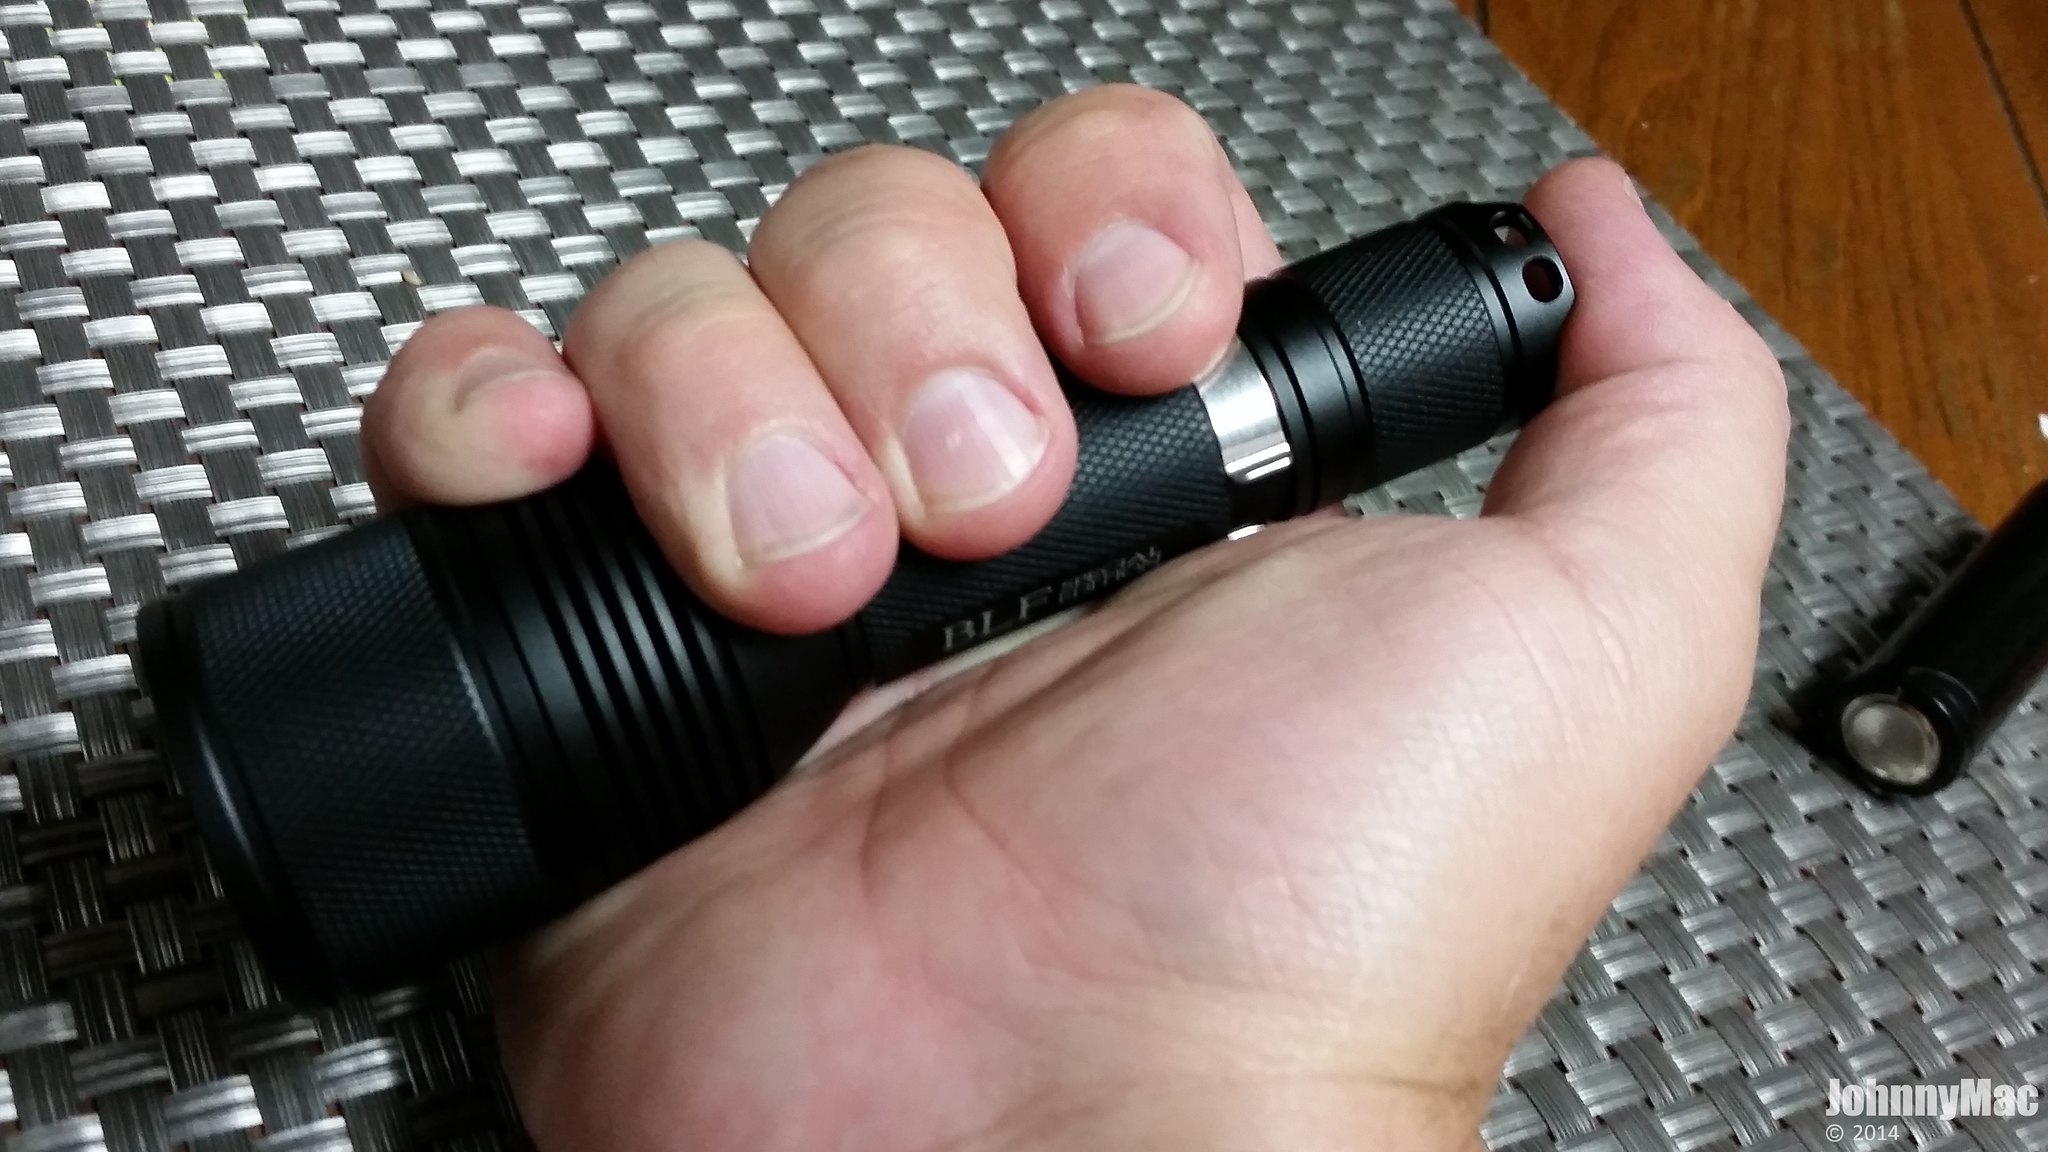
In tactical grip the light is easy to operate as well. My thumb fell into place on the switch easily with no extra thought.
Again, I will update this review with output numbers, beam shots, and UI impressions tonight or tomorrow as I make time. If you aren’t already on the list for this fantastic light you’d better get your name on the list! At the price this light is selling it’s one of the best bargains ever and also one of the best flashlights ever regardless of price!
Cheers!
Johnny

Pingback: Eagle Eye X6 BLF Special Edition 18650 flashlight | Johnny Mac Reviews
Nice review
Update? I was ‘oogling for a good summary on this light before I give one to a family member, and this is pretty thorough, but the update (and something about the interface) would be useful for a long-term reference. Or just a pointer to such, I’ve lost track of where to find it. (Google only finds the V2 nowadays)
Hank, if you are still looking for this type light go with the latest version of it. Same exact light as the BLF/Kronos edition but a bit cheaper. It’s way more light that the original EE X6 in my review. Brighter, better UI, improved reflector…worth every penny! 😉
http://www.banggood.com/Astrolux-S2-XPL-HI-1400LM-EDC-LED-Flashlight-18650-p-1037831.html?rmmds=detail-top-alsolike